Adding a contract for a certain user is one of the first steps when using Mirro for managing your company. This type of document is visible for you, the person who is entitled to add these elements and work with sensitive content such as personal data, and the employee whose contract you are uploading.
There are two options when uploading a contract: you can use the import option (either for one user, or for multiple at once), or add it manually (one by one).
1. Import contracts
Please make sure to have the proper access rights associated with your account. The access rights are Import management and App settings management.
You can find more details about associating access rights in the article How to grant access rights to a user.
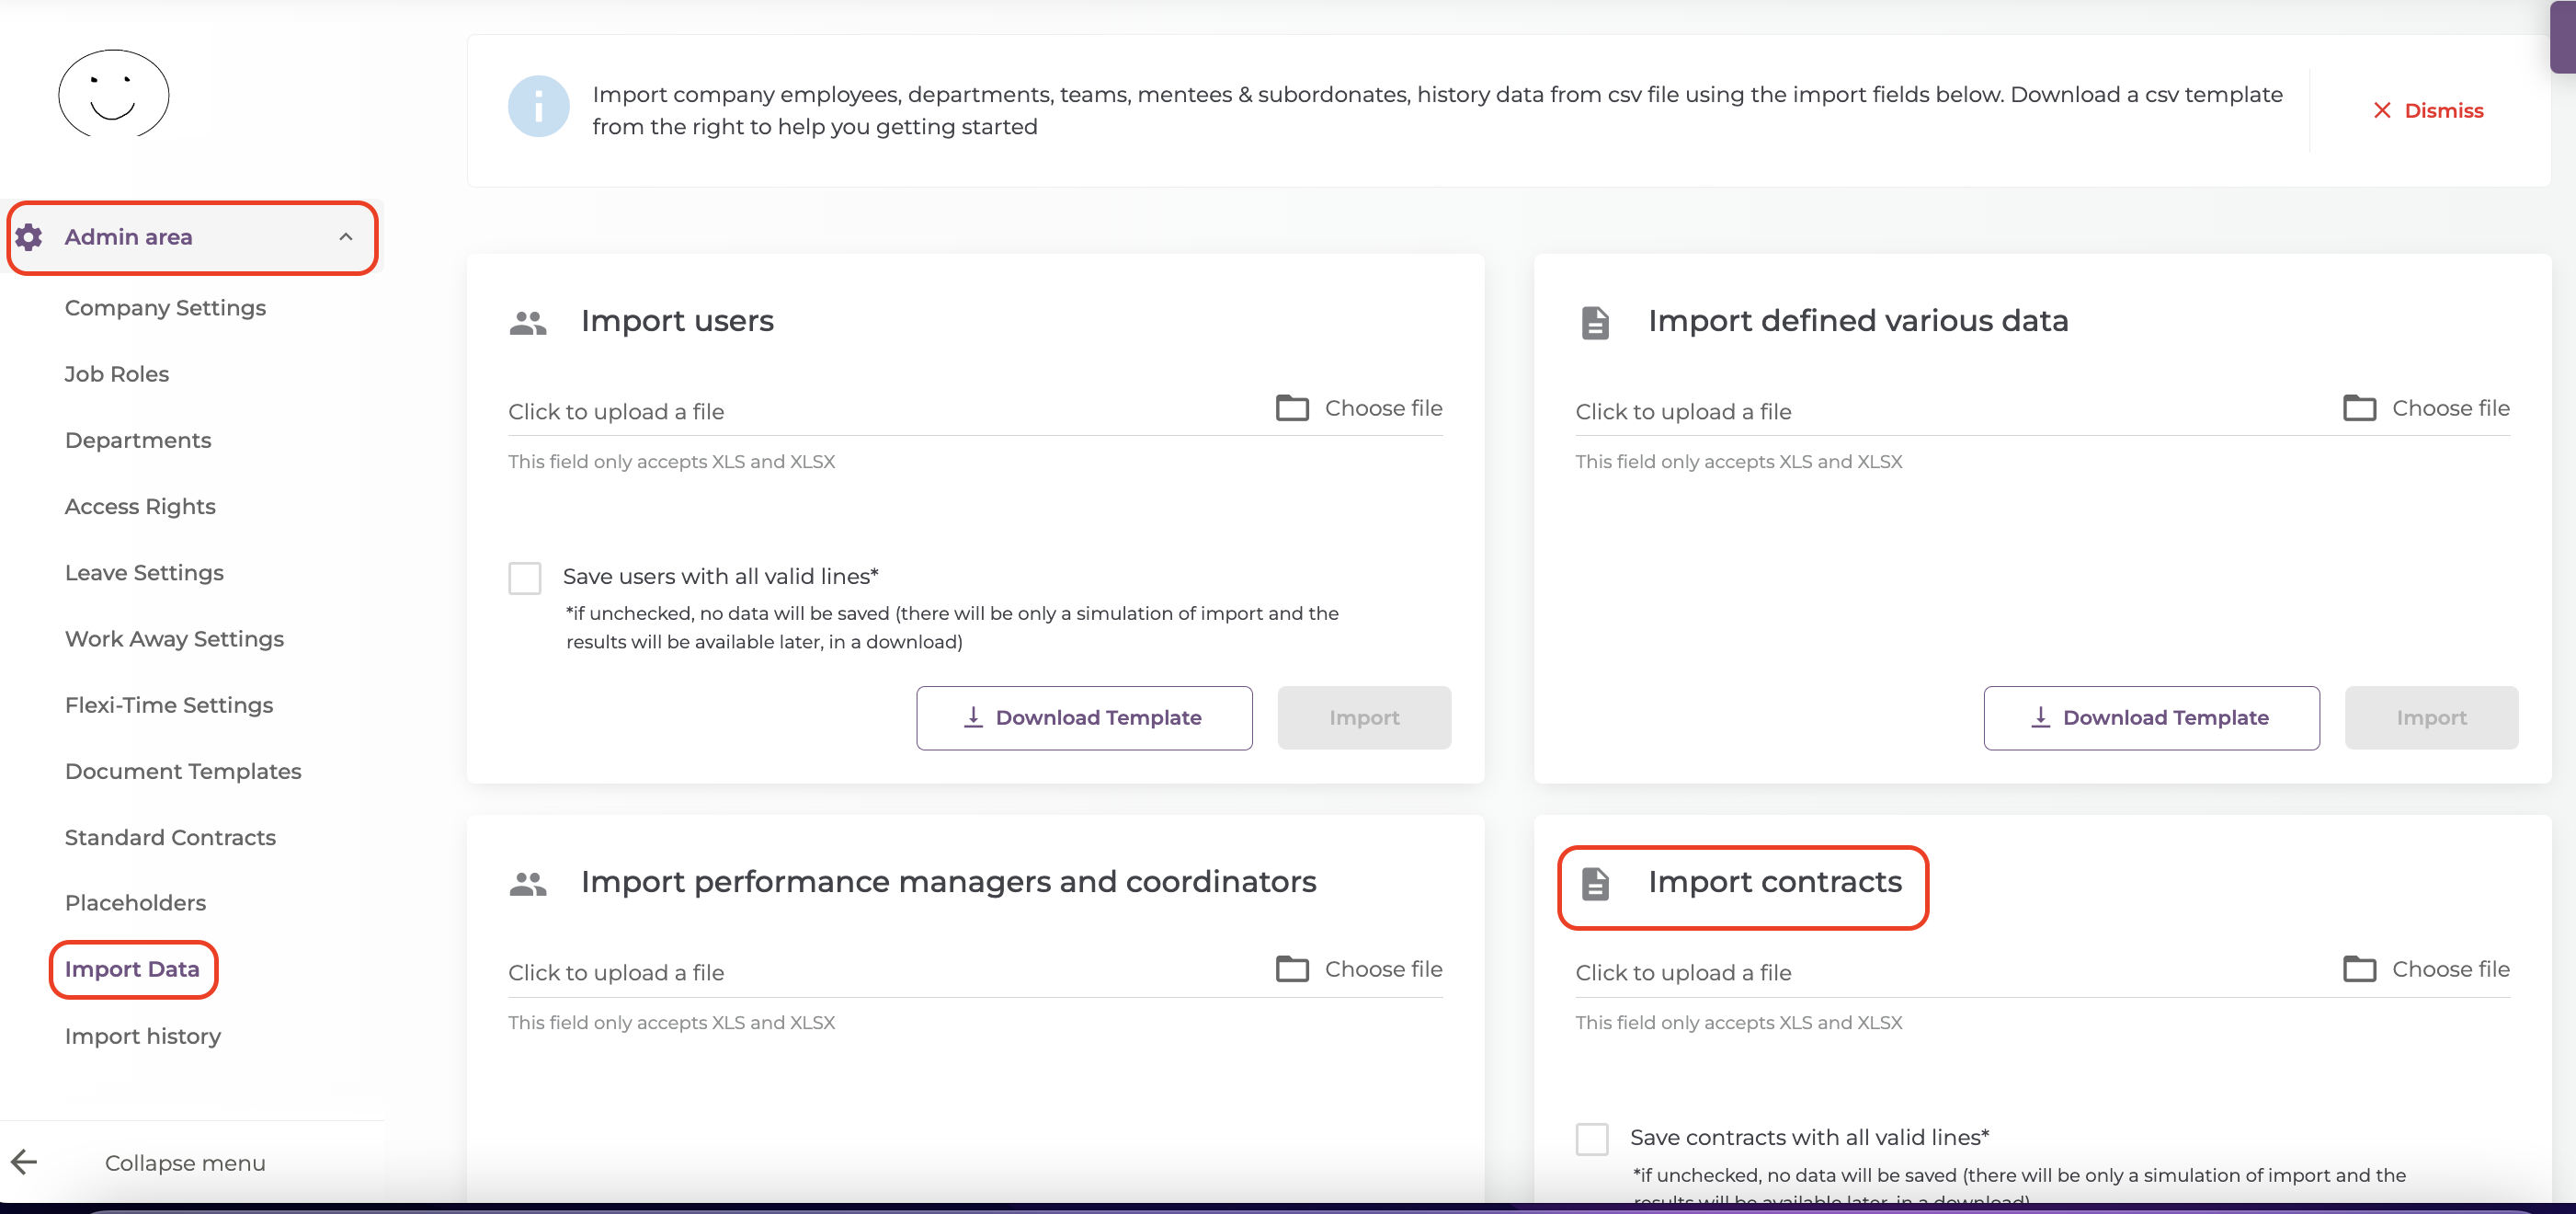
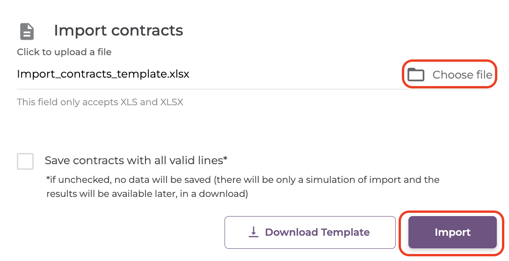
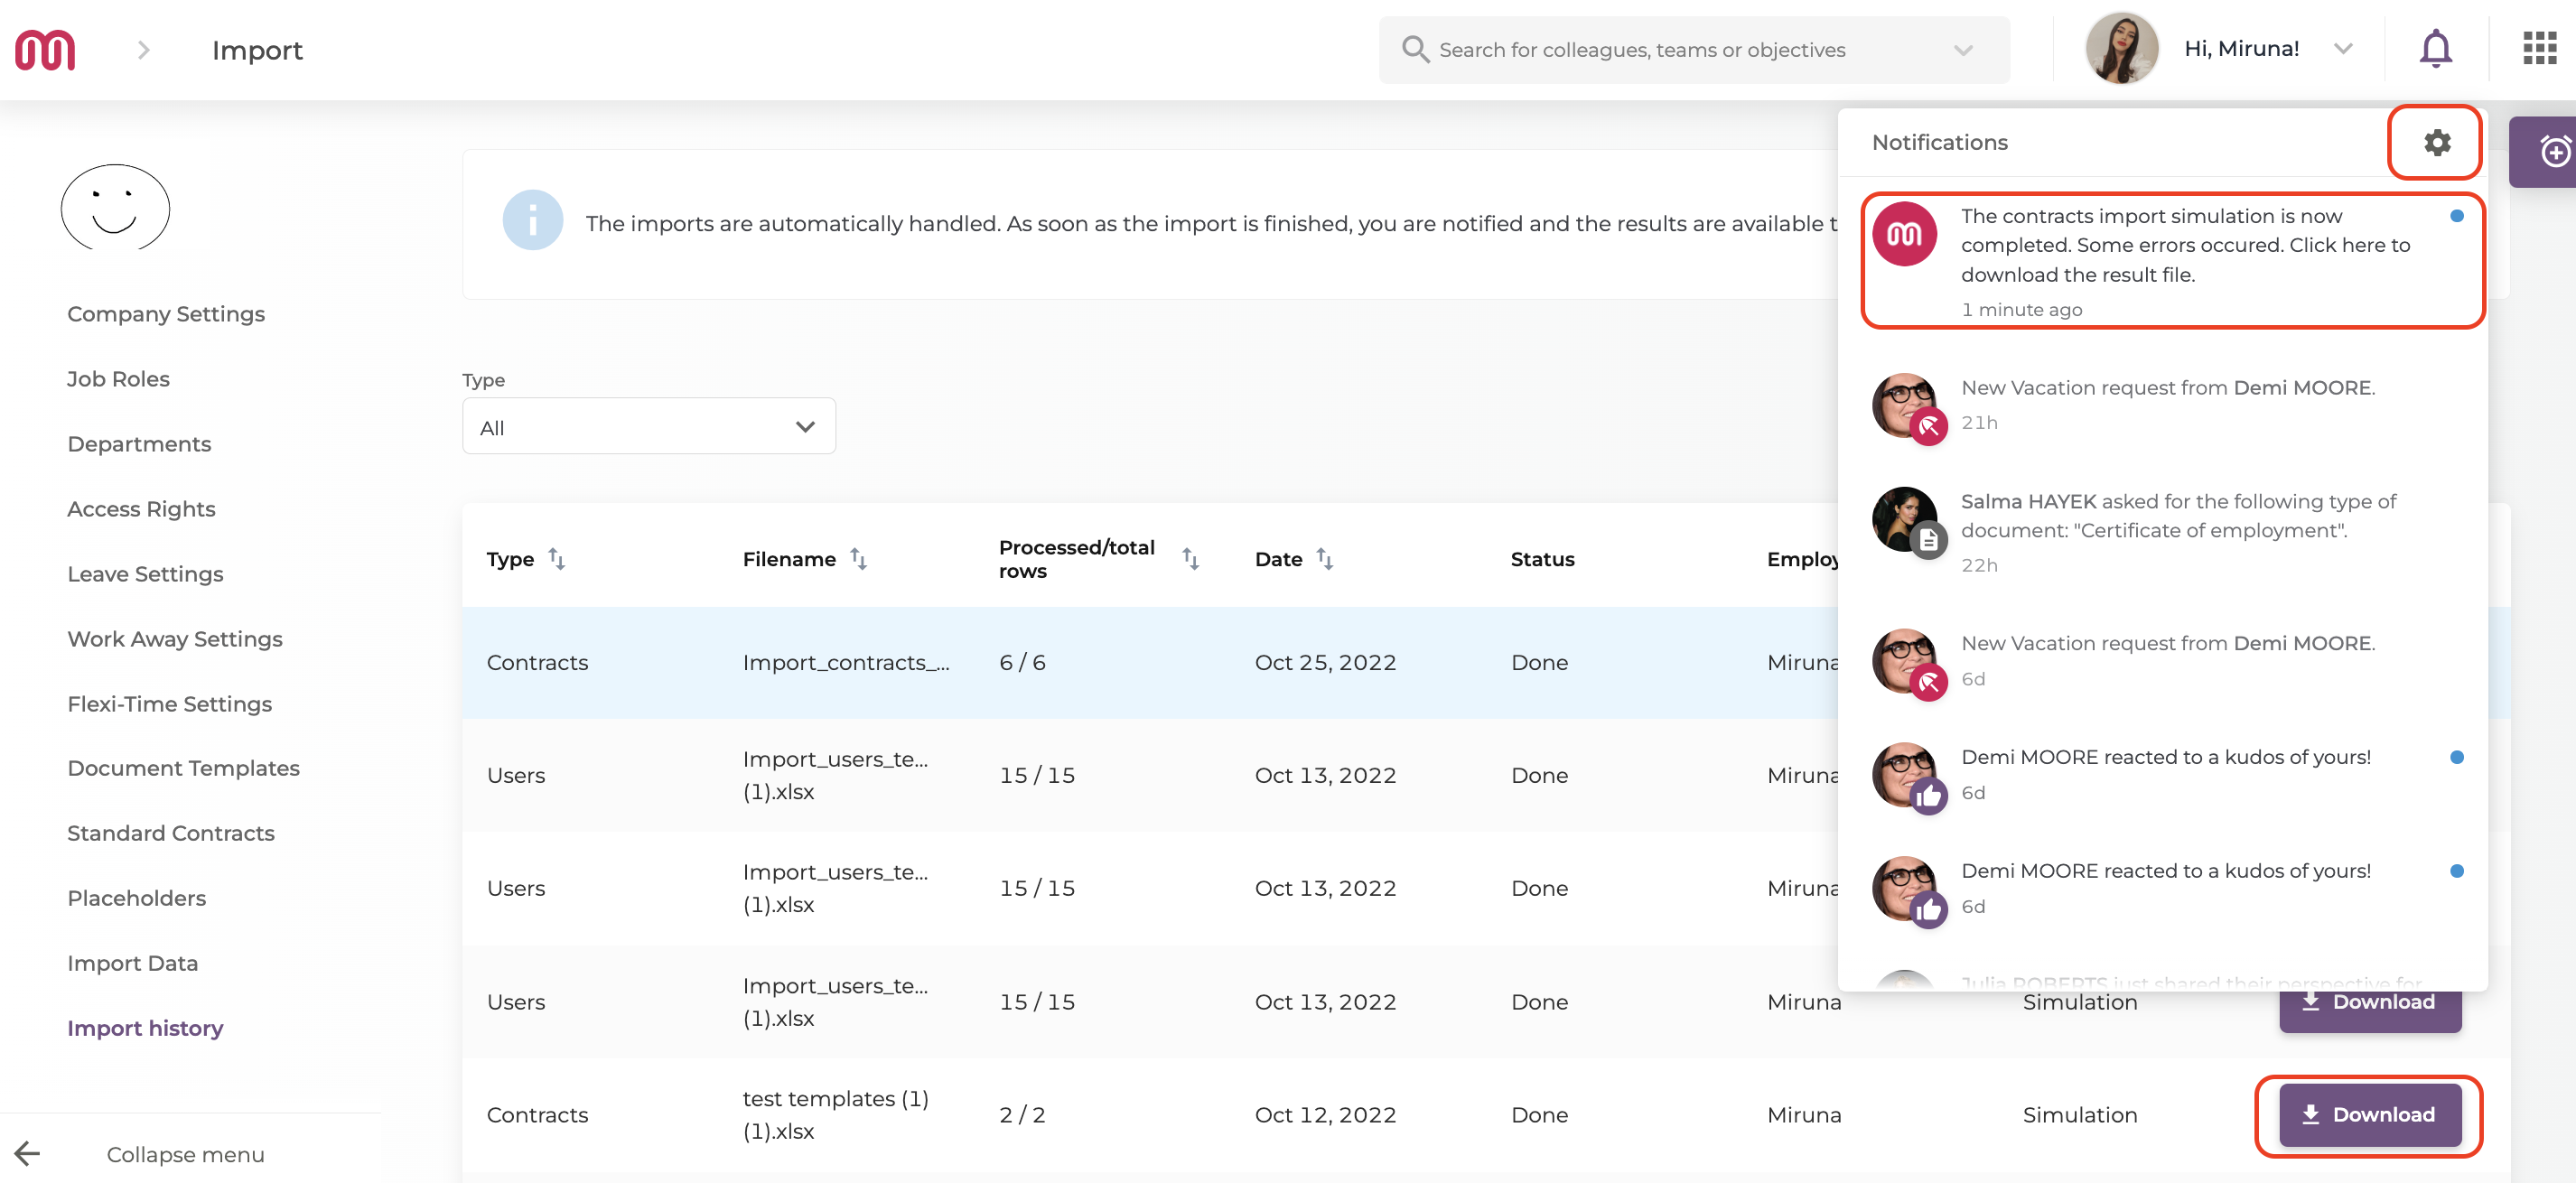
To add a contract using the import option, you need to access the Admin Area module - Import Data option - Import contracts section.

2. Activate a contract manually
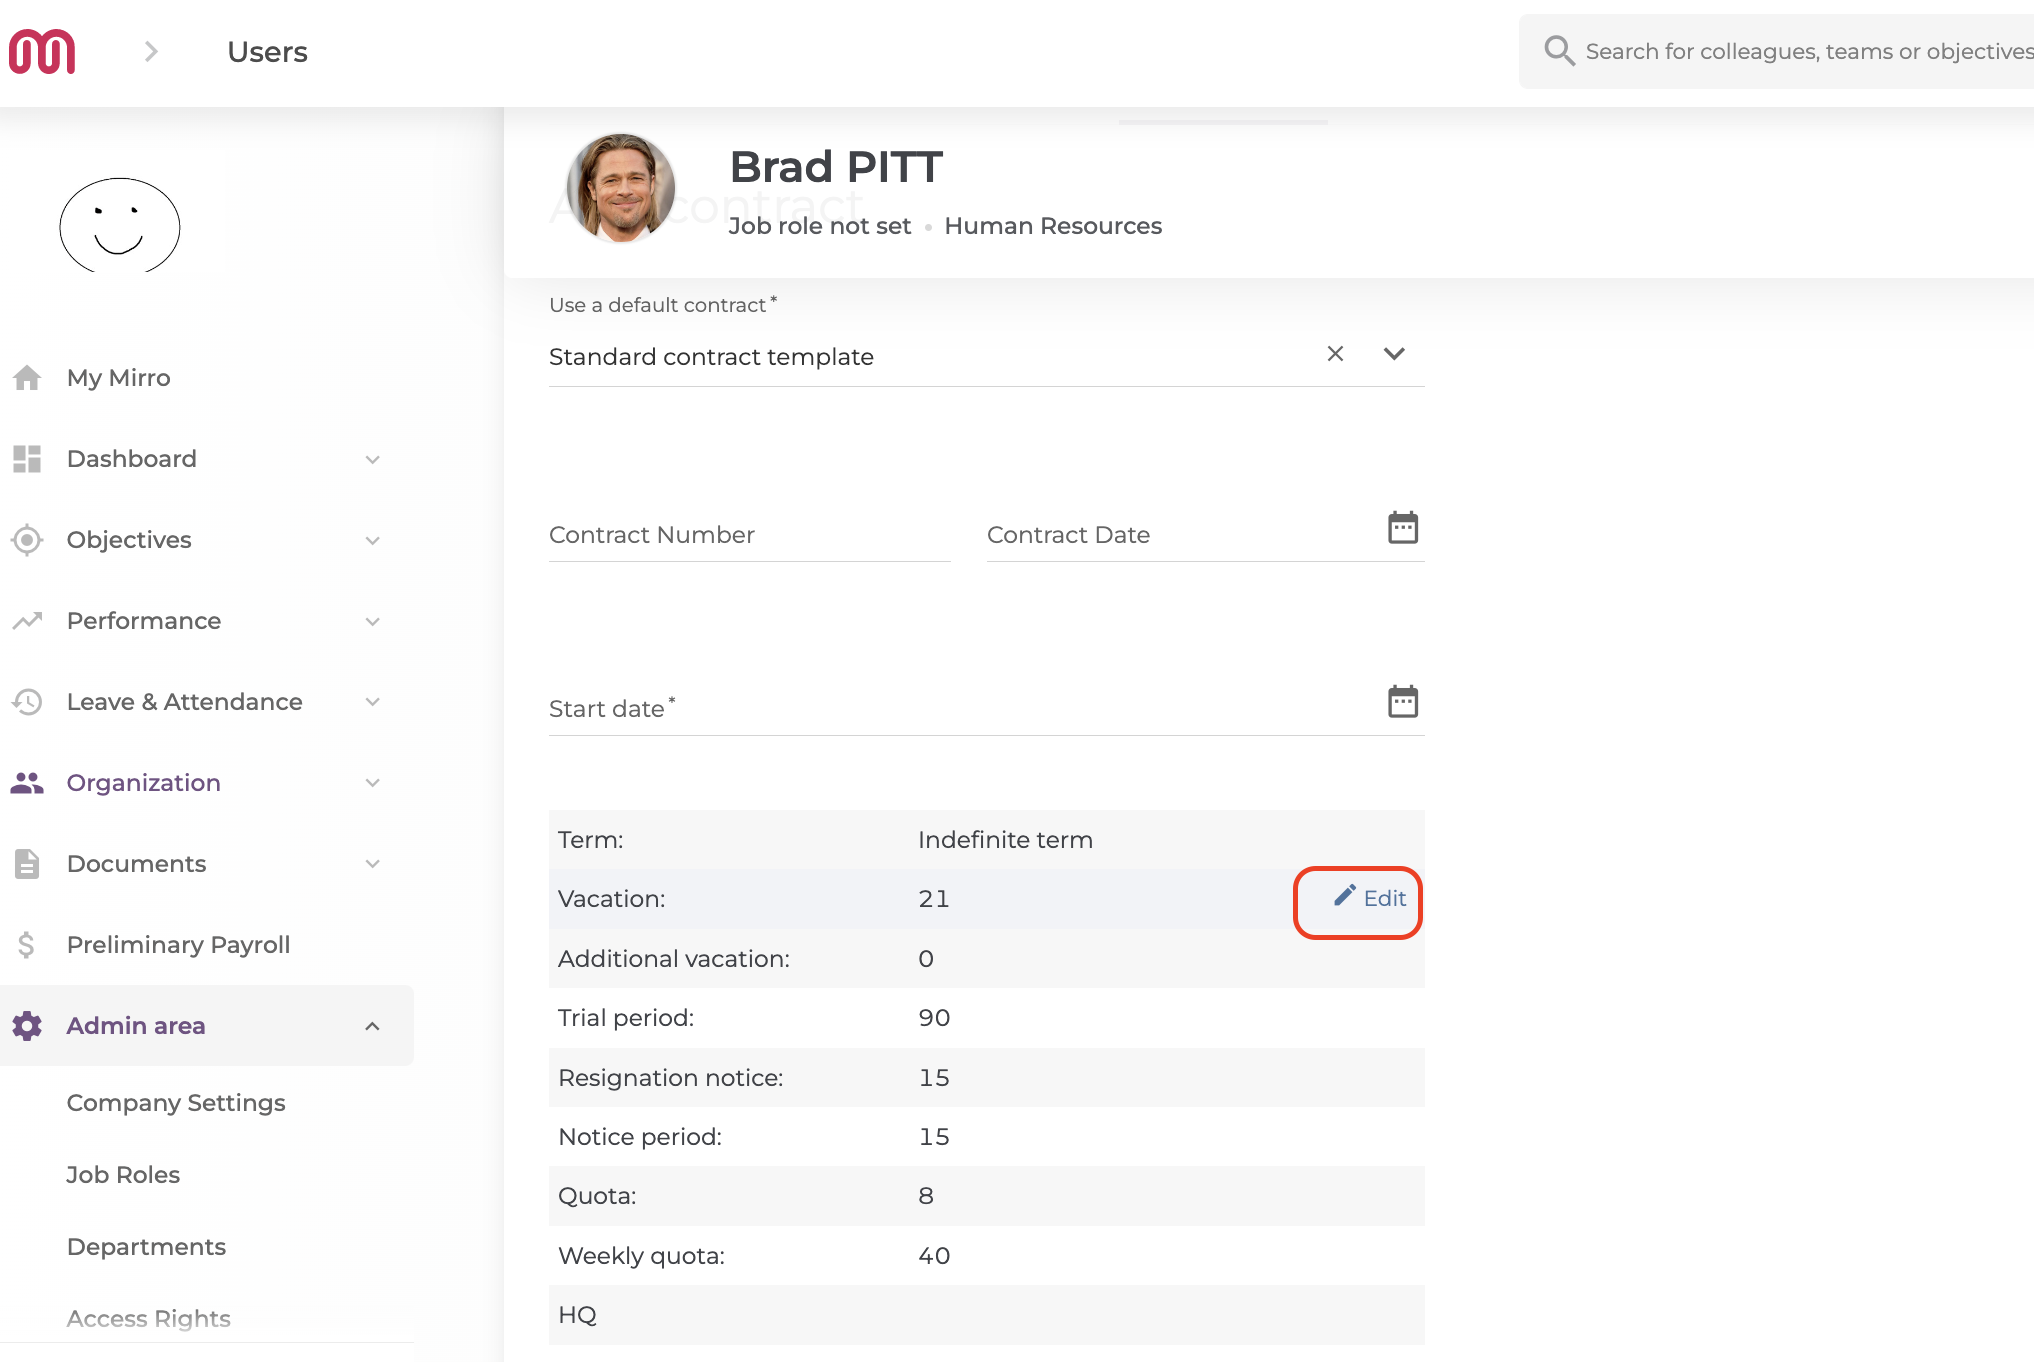
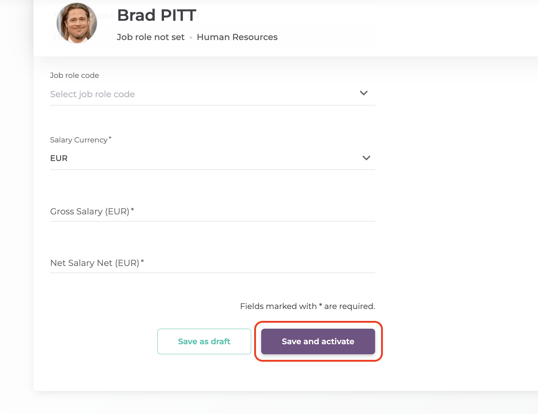
Please take into consideration that the vacation days mentioned in the contract will not have impact over the leave balance, the number of days is just pure informative. The Leave module and Contracts module are not linked.
What if I want to add multiple contracts for an employee?
If you want to add multiple contracts for an employee, you can do that in a few steps.
1. Through the import:
Simply access the module Admin Area- Import data, go to the section Import contracts and download the template. After that, you will have to complete it, save it and import it into the platform.
2. Manually:
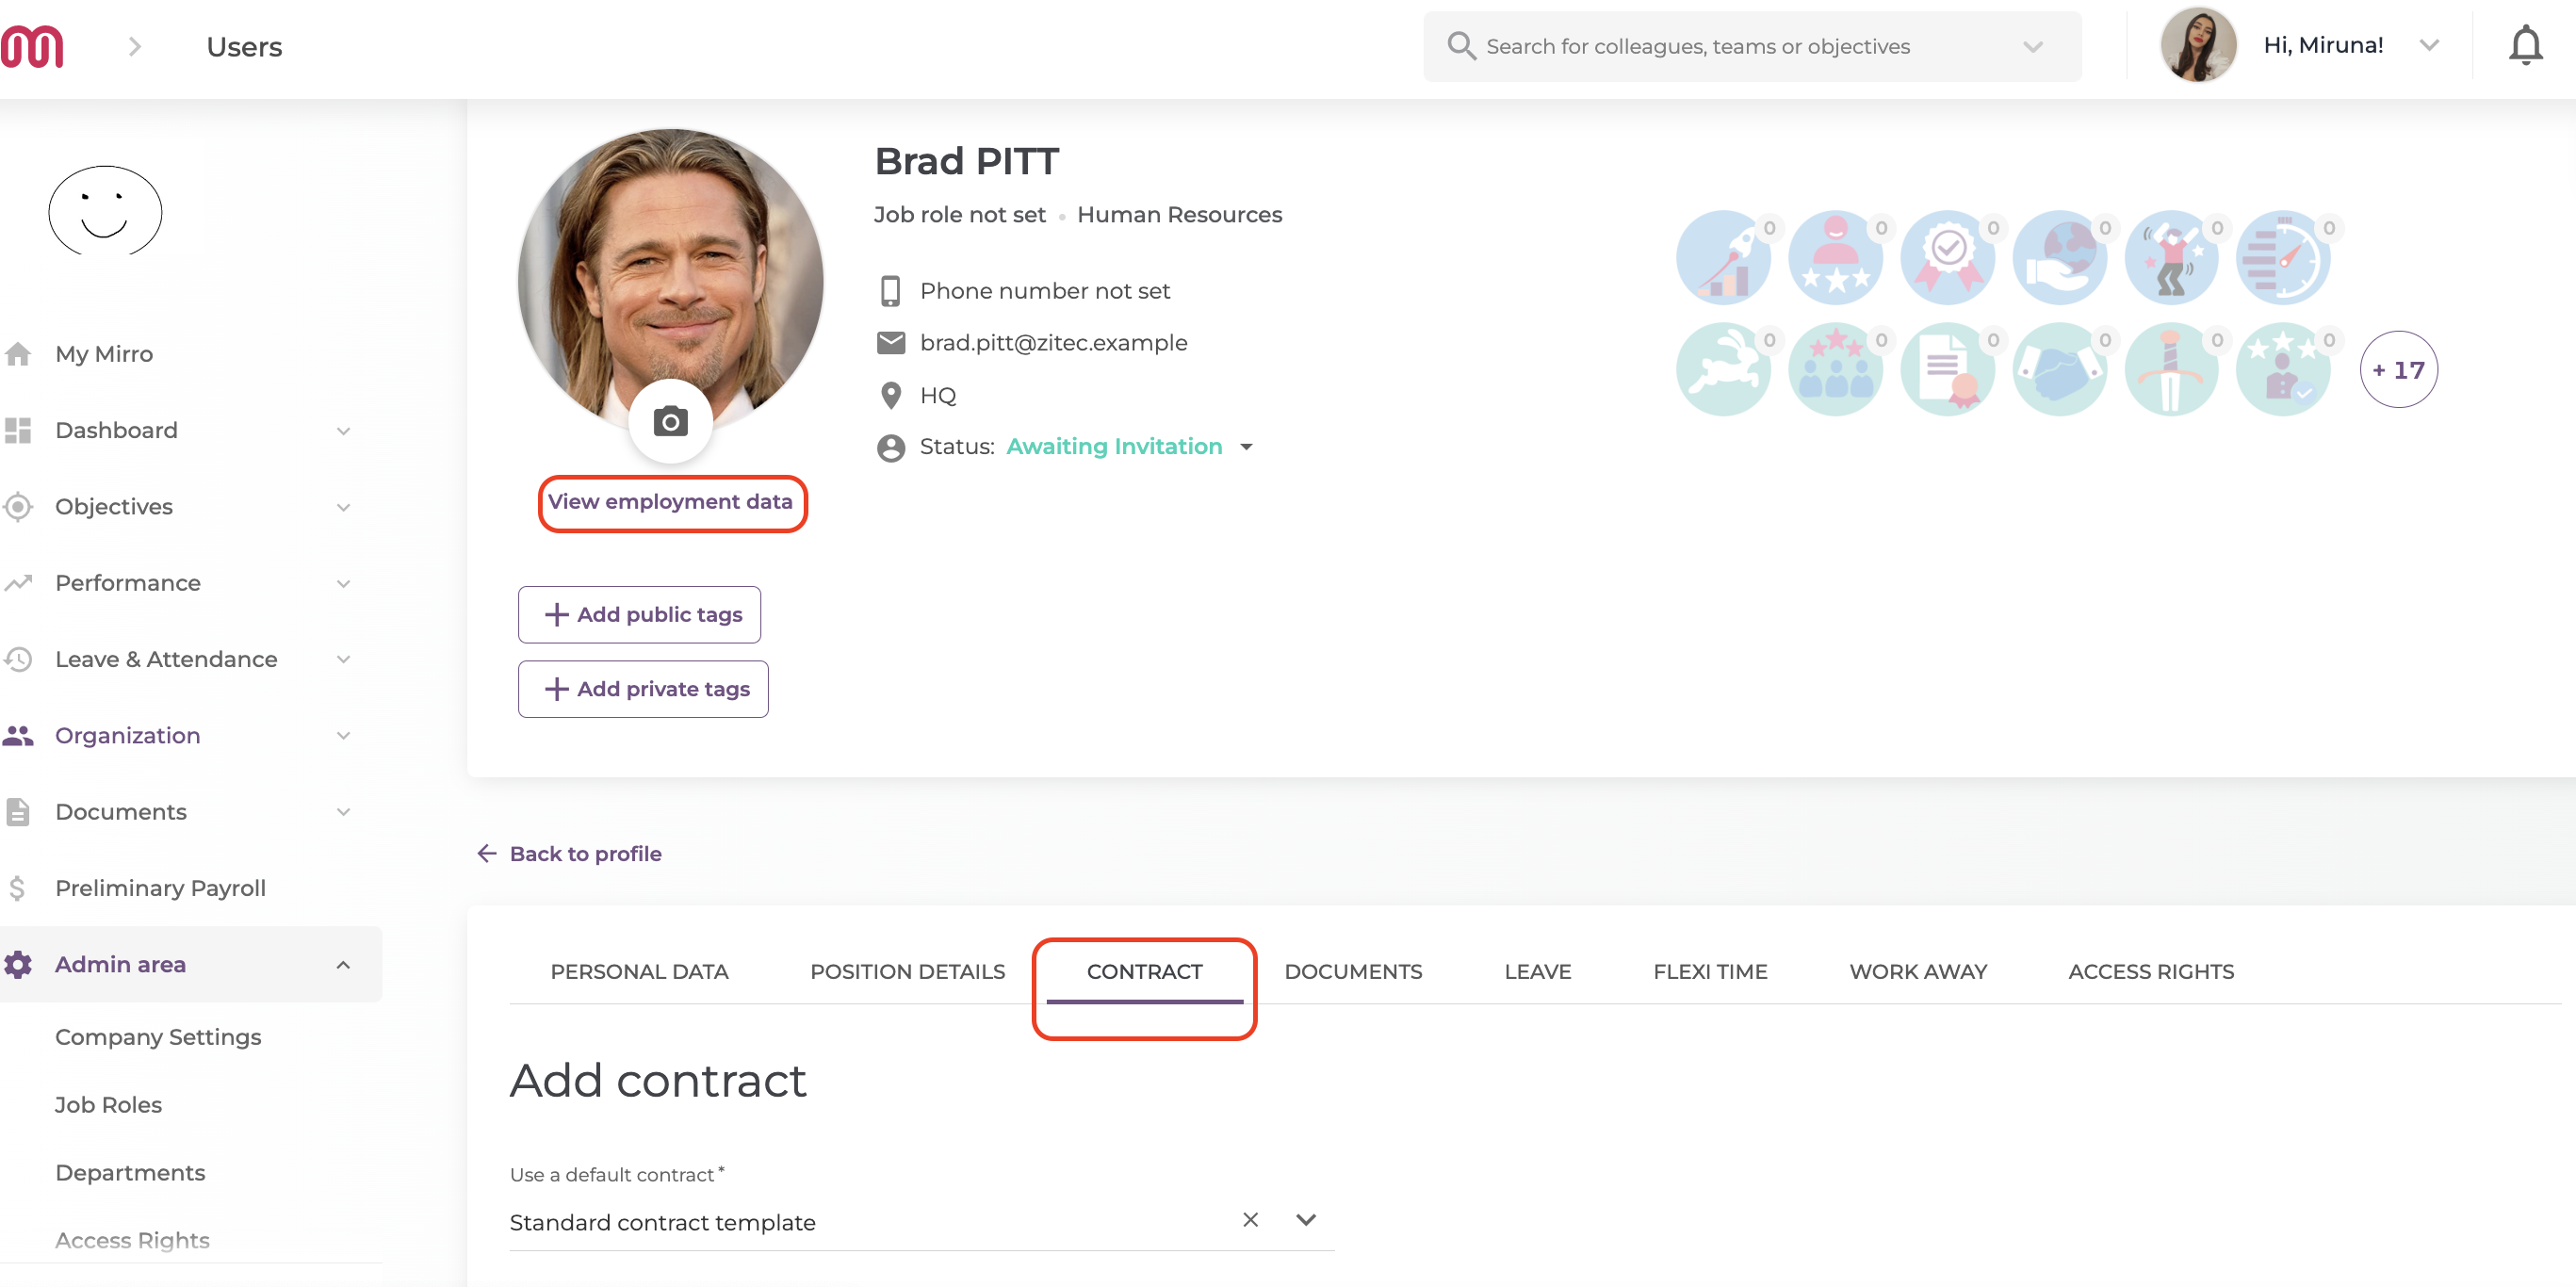
You can also add multiple contracts manually. Simply access the user's profile- View employment data- Contract- Add contract. The process is exactly the same, even if you have another contract added or not.
Good to know:
1. You can add a contract for each legal entity that you have; you can do that by accessing the module Admin area- Company settings, and scroll down until the option Contract legal entity enablement, where you will have to click on Yes:
Another section will show up, where you will be able to add your legal entities. After that, when adding the contracts through import or manually, you will have to add the legal entity to each contract in part.
2. If the user doesn't have the overwrite last worked day setting checked, then we will update this field when all active contracts are terminated, using the most recent date.
3. If the user doesn't have the overwrite hire date option checked, then we will update this field using the oldest active or suspended contract.
4. When exporting the payroll and timekeeping, we will add separate entries for each contract in part.
