To open Mirro, you can login from a computer accessing the link https://app.mirro.io/. Once you arrive in the login page, you will need to use your credentials - username and password - to finalize the process.
However with Mirro you can easily log-in as well with your Google account using Google Workspace SAML v2.
Activate the Single Sign-On option and authenticate yourself using the same credentials provided by your company.
To do so you will need to follow the steps below:
1. Login in Google Admin account / Microsoft Admin account.
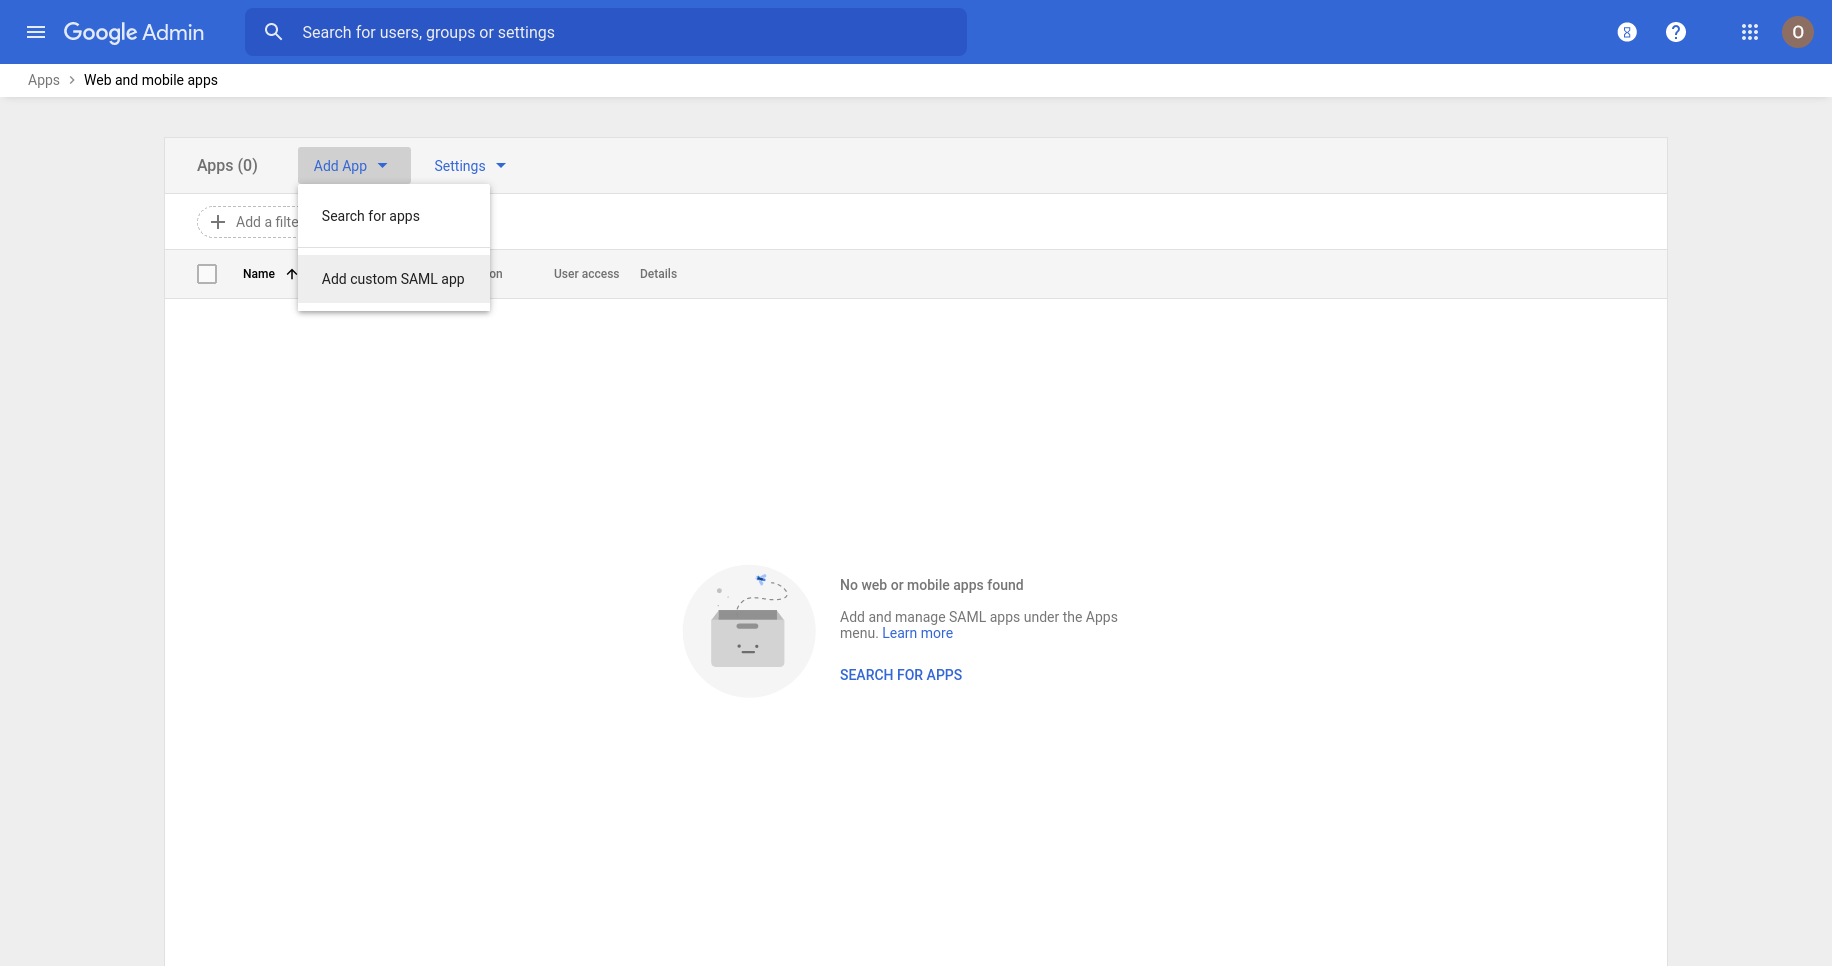
2. Access Google Admin > Apps > Web and mobile apps and access the option Add App > Add custom SAML app.
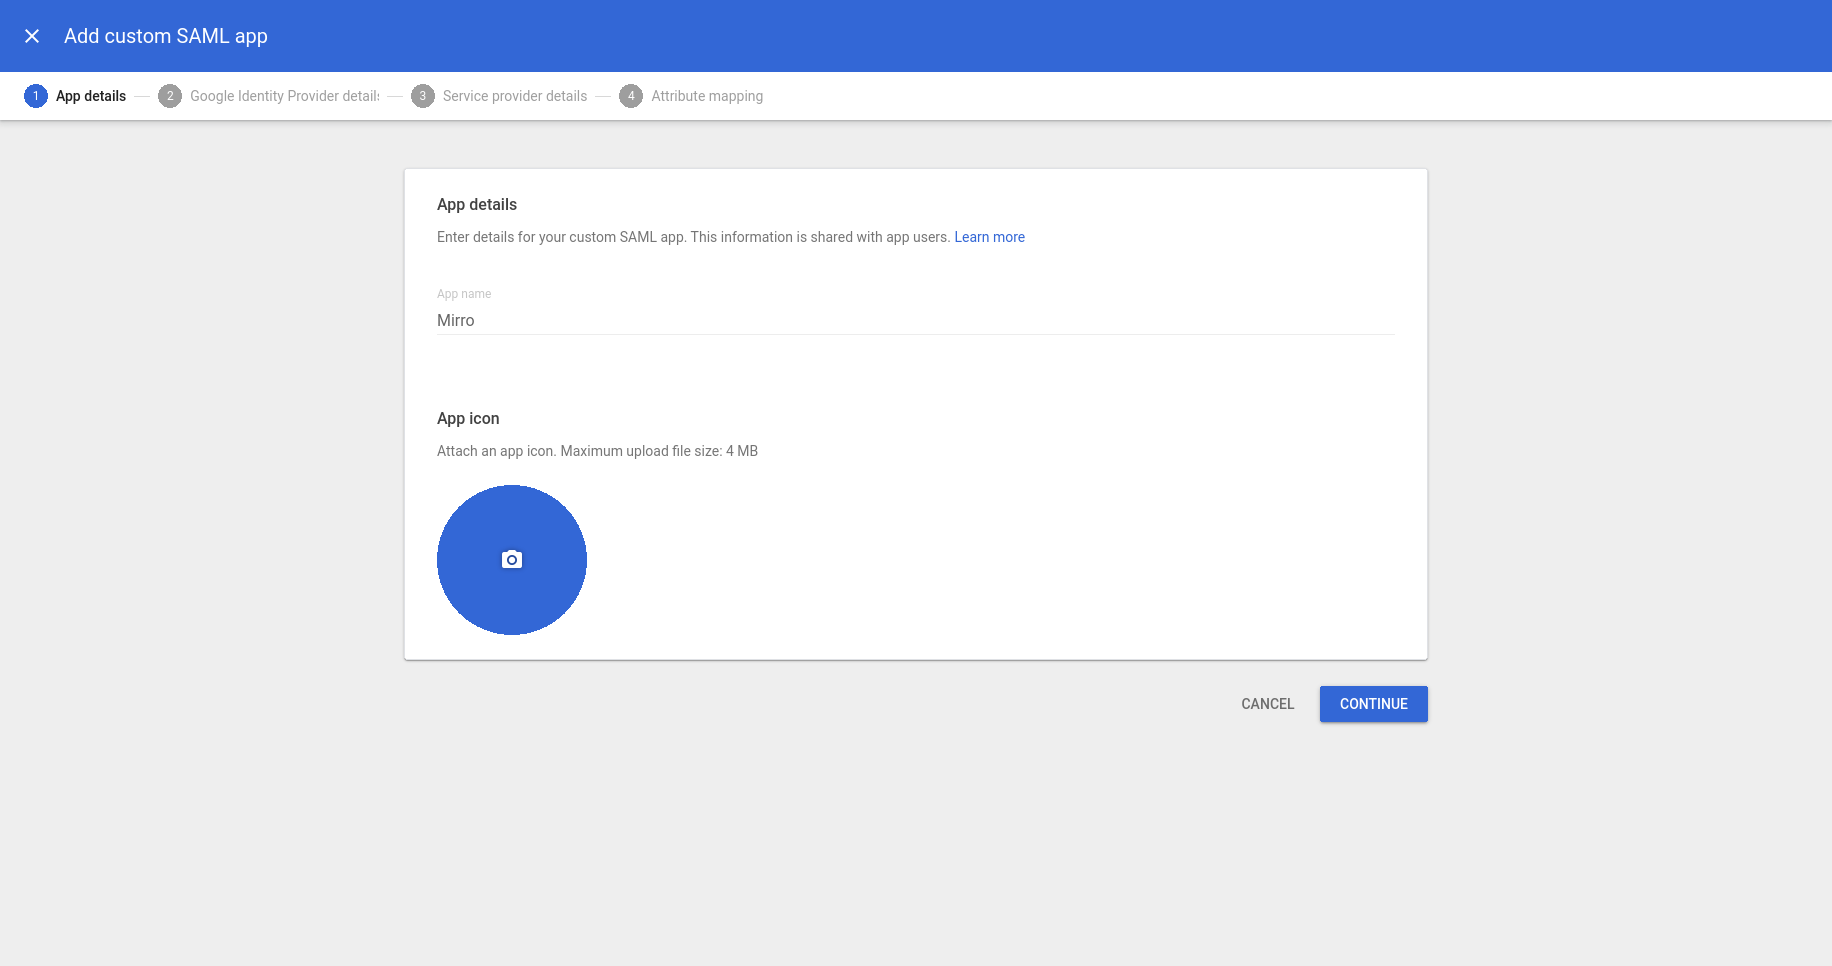
3. Enter Mirro as the name of the app and click Continue.
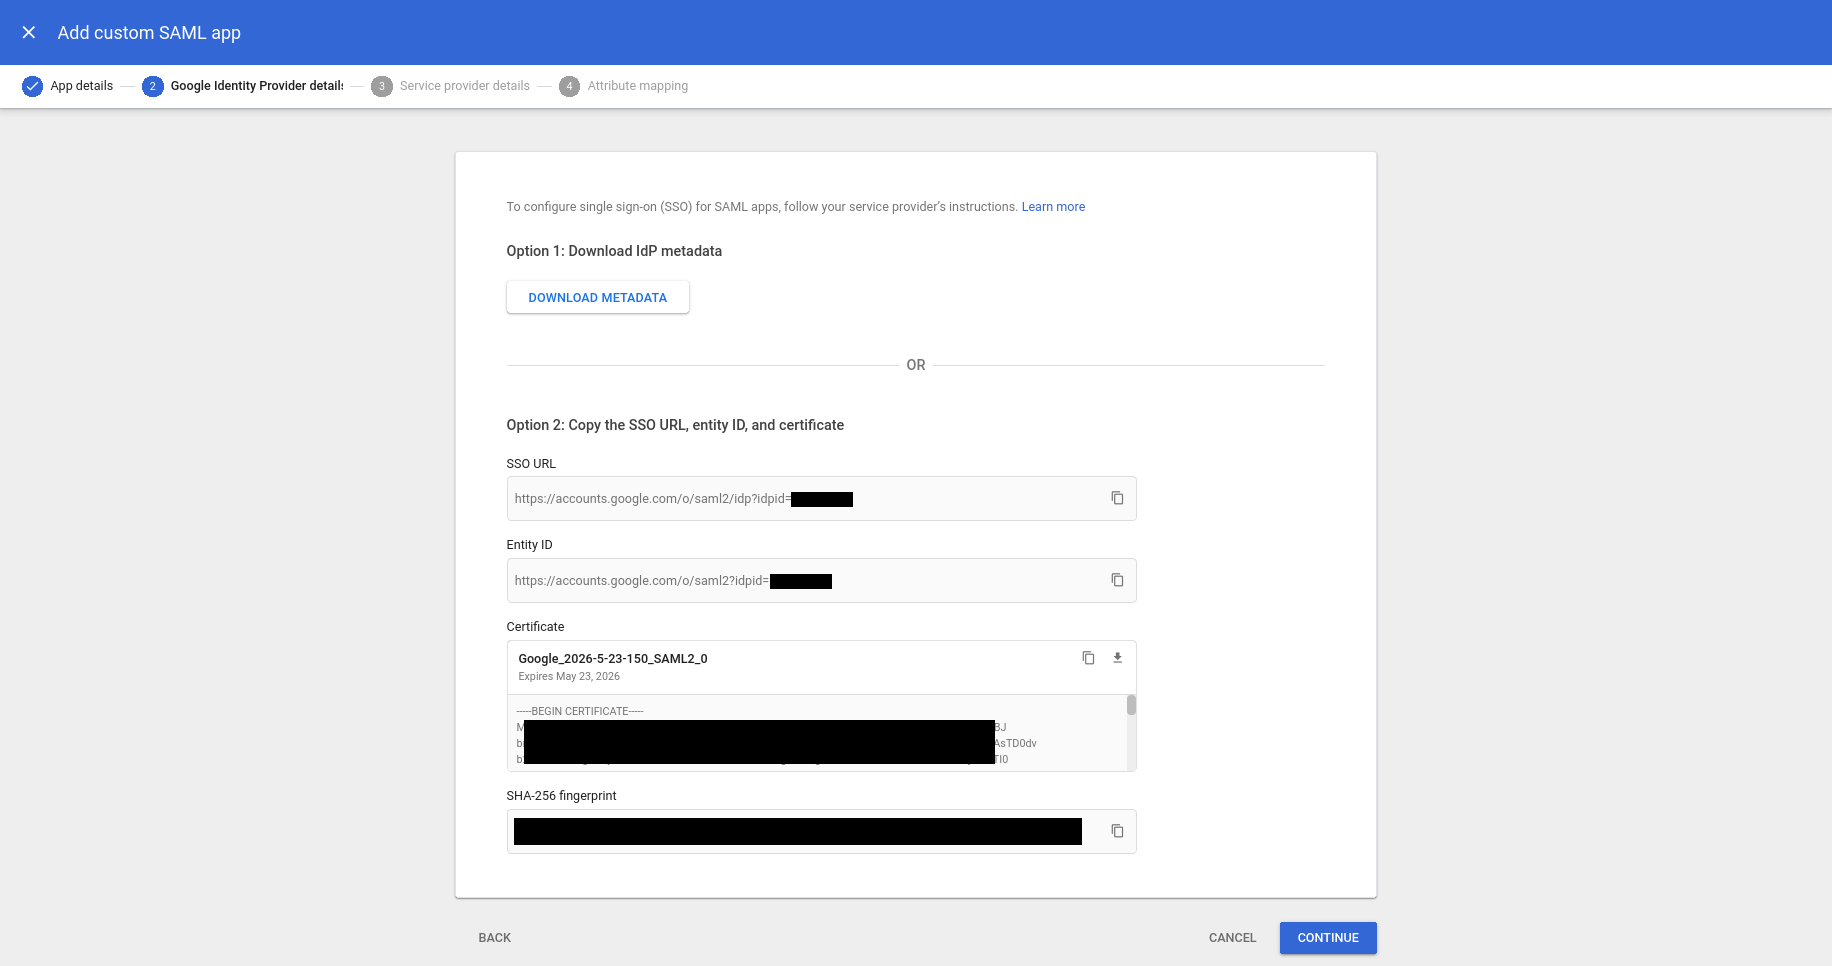
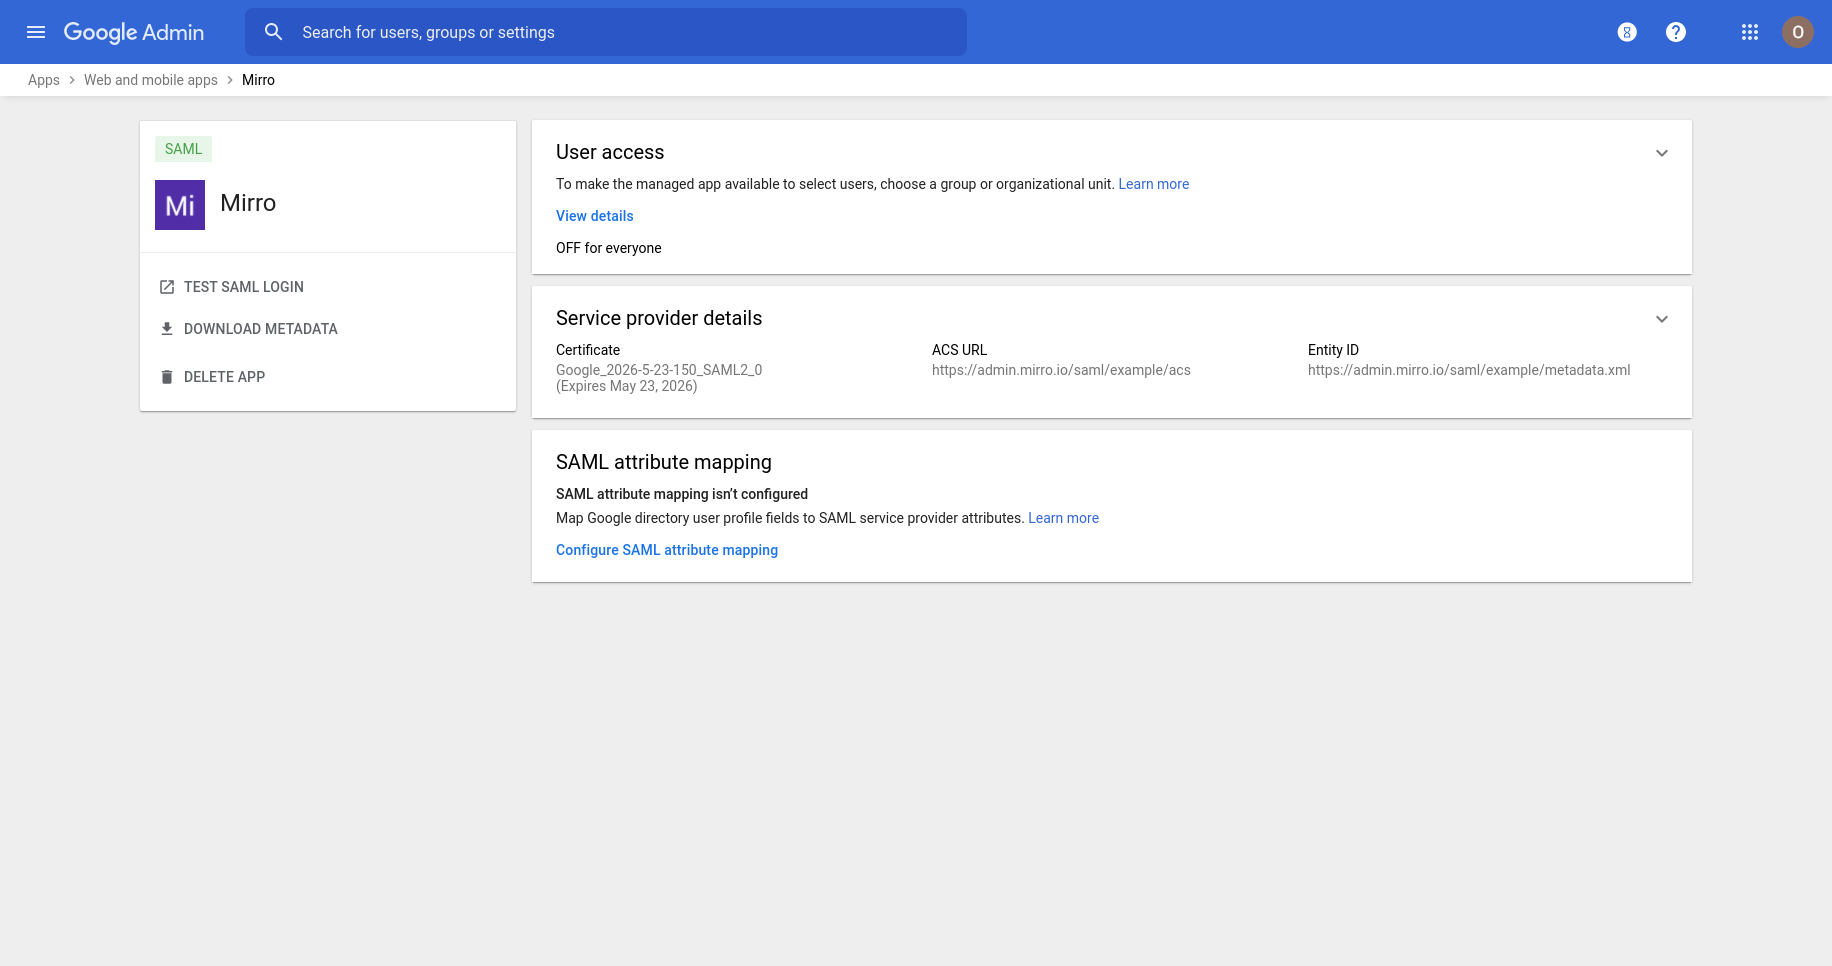
4. Copy the data from the SSO URL, Entity ID and Certificate field then click Continue.
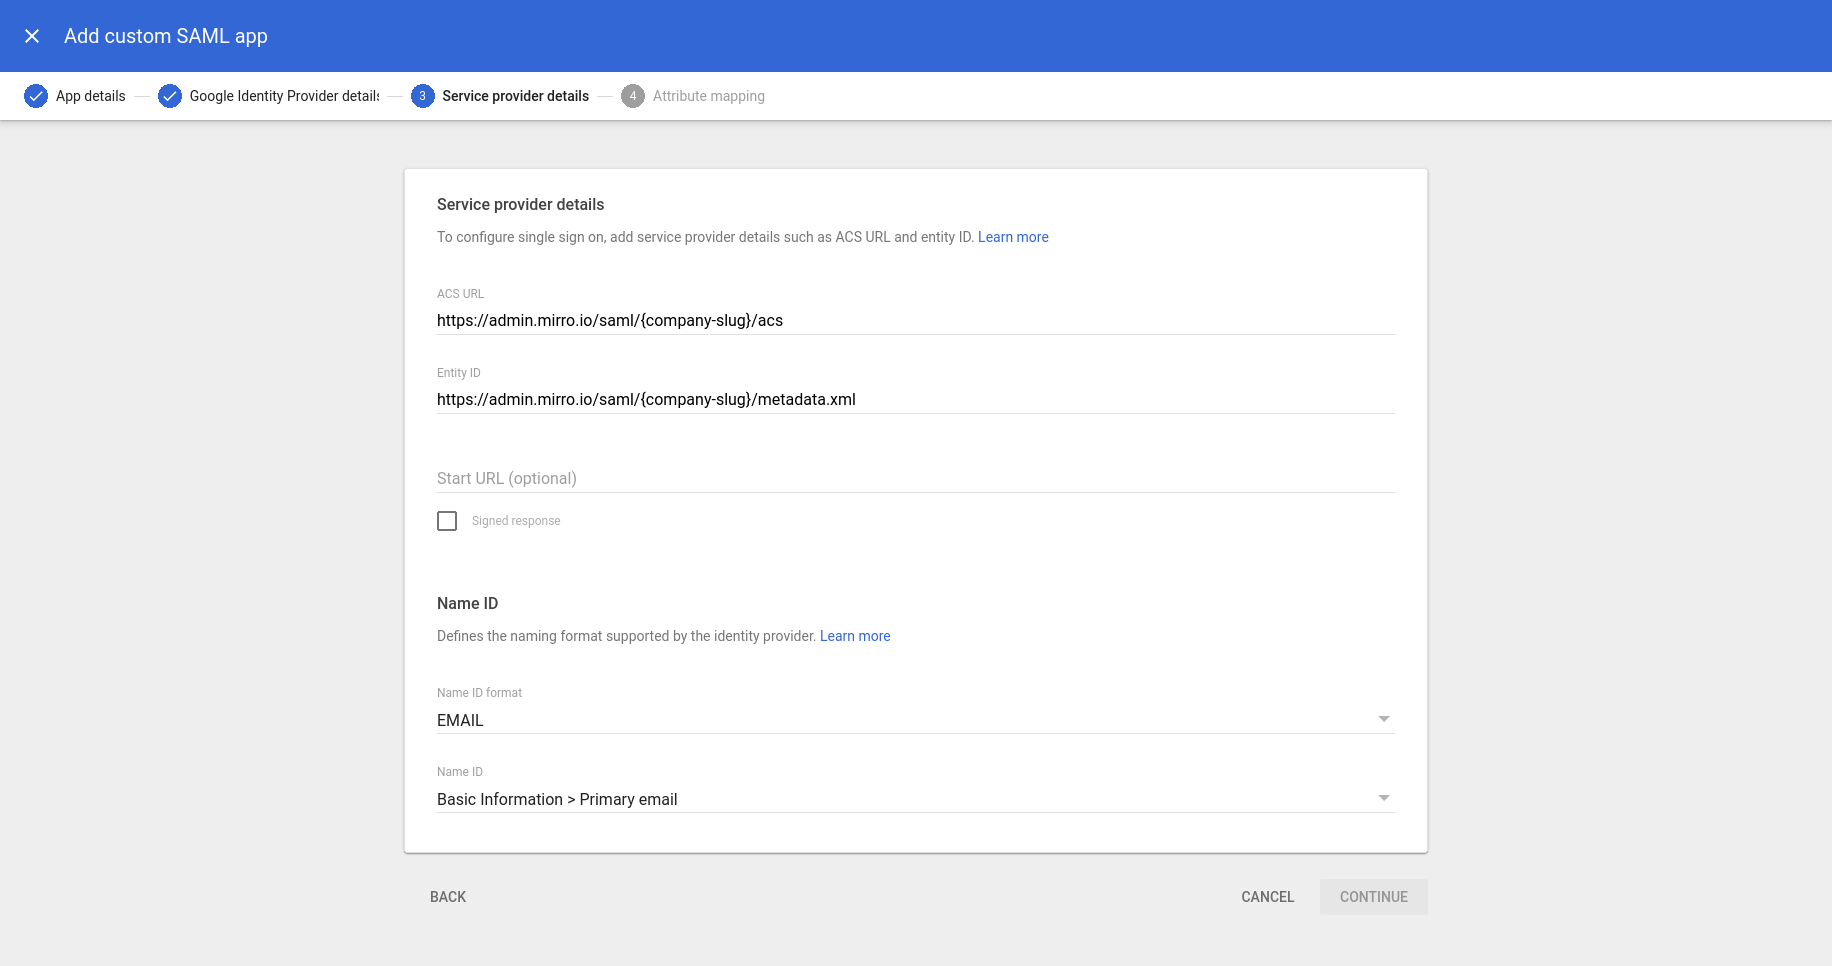
5. In the next screen, enter the following information then click Continue:
ACS URL: https://admin.mirro.io/saml/company-slug/acs
Entity ID: https://admin.mirro.io/saml/company-slug/metadata.xml
Start URL: leave empty
Signed response: leave unchecked
Name ID Format: EMAIL
Name ID: Basic Information > Primary email
company-slug must be replaced with your company slug. Please reach us at support@mirro.io to offer you your company slug.
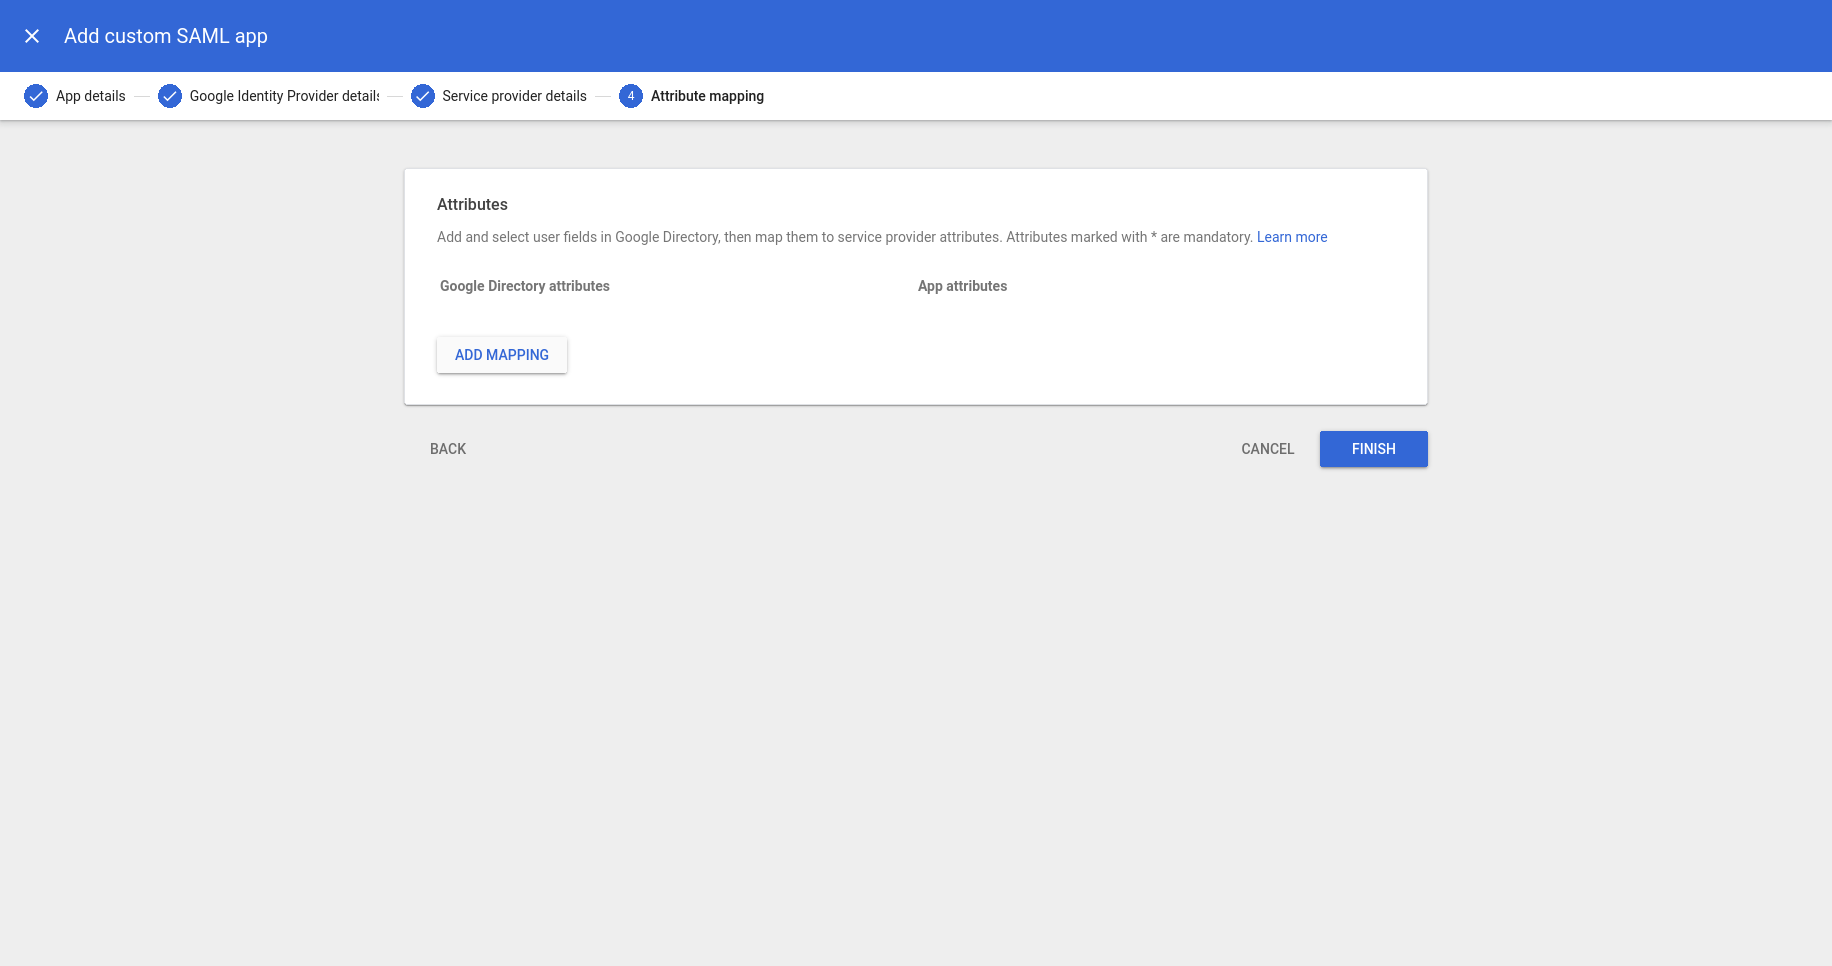
6. In the next screen, enter the following information then click Continue:
7. Click on the Users access box.
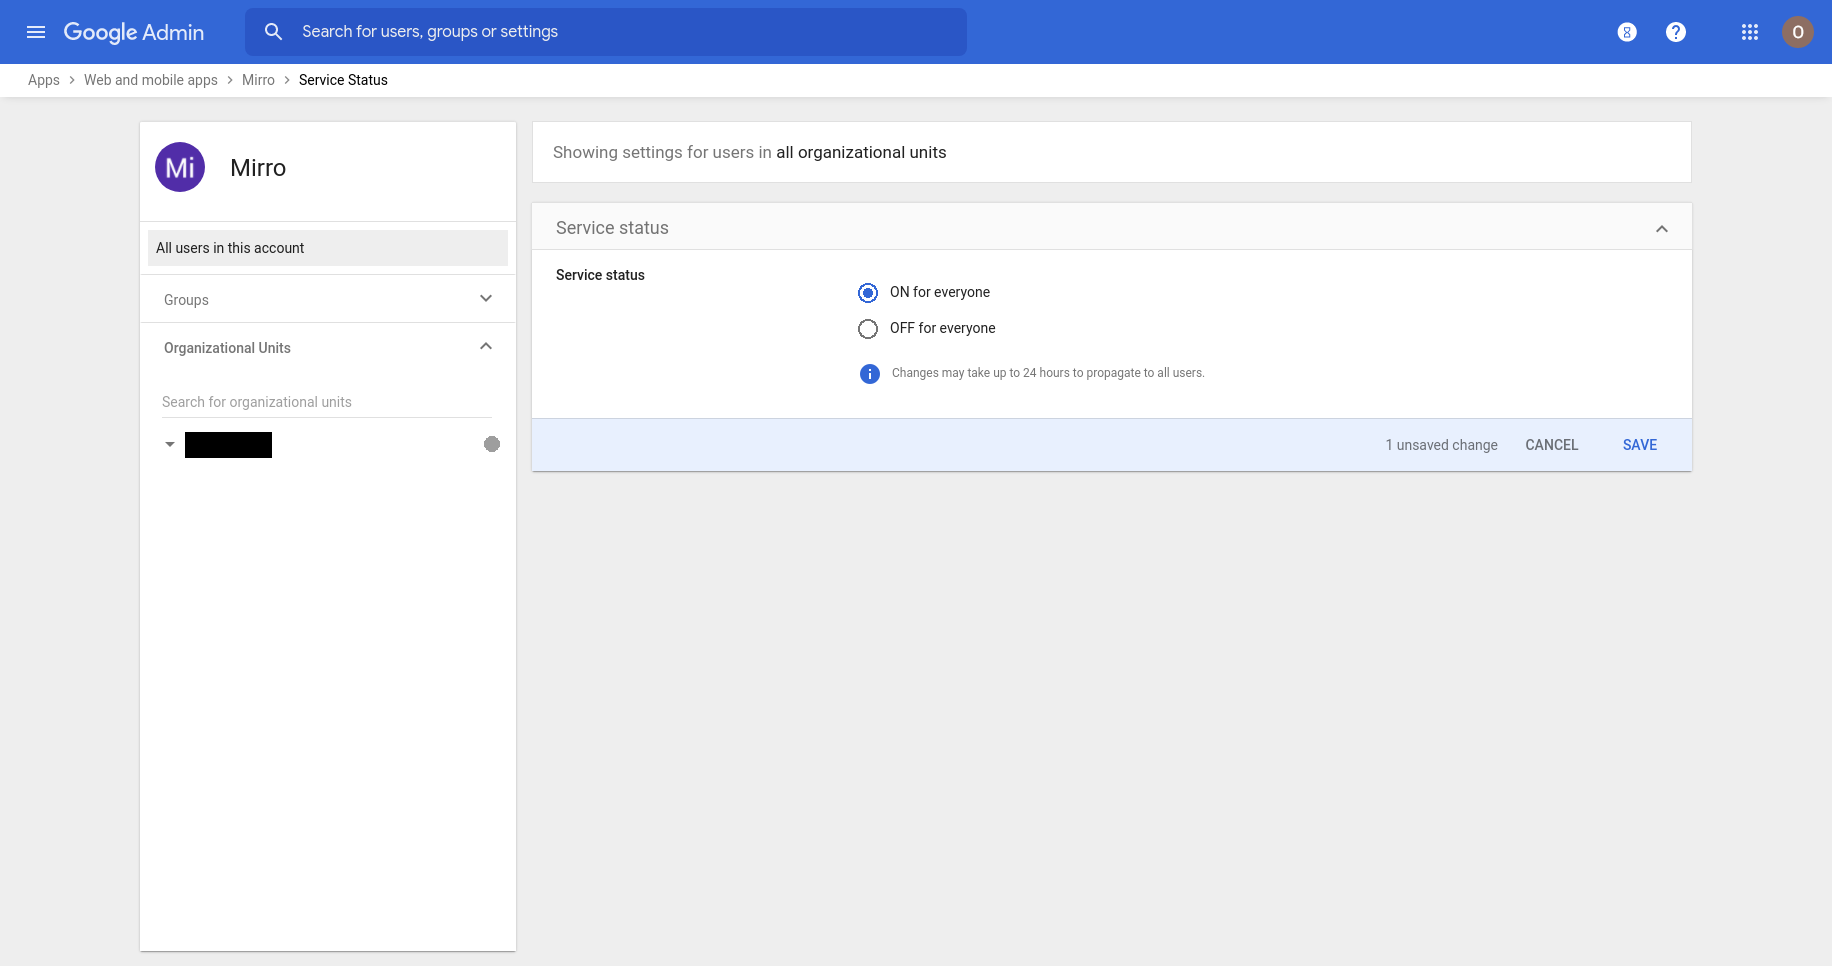
8. Turn ON the service for the entire organization then press Save.
For further reference, please see the Google documentation on this topic.
For Microsoft, please make sure to consult the Microsoft documentation explaining how to enable Single - Sign On option.
From Mirro point of view, you will need the details provided at the 5th step:
-> ACS URL: https://admin.mirro.io/saml/company-slug/acs-> Entity ID: https://admin.mirro.io/saml/company-slug/metadata.xml
-> Start URL: leave empty
-> Signed response: leave unchecked
-> Name ID Format:
urn:oasis:names:tc:SAML:1.1:nameid-format:emailAddress.-> Name ID: Basic Information > Primary email
company-slug must be replaced with your company slug. Please reach us at support@mirro.io to offer you your company slug.
9. In the end login in your Mirro account with admin access rights. Access the module Admin Area > Company Settings section > SSO tab. Fill in the SSO URL, Entity ID and Certificate fields with the information saved on step 4 and press Save.

From now on, when a colleague of your company starts the login process in Mirro, after he enters his email address, Mirro will open without asking for any password. If the user is not logged in his company provided Google Workspace account, he will be prompted to login in Google Workspace before accessing Mirro.