Managing time can be a challenging task sometimes. With MIRRO, we try to ease all admin processes, including the leave balance management.
Think about the cases when a user needs a maternity leave or a sabbatical year or even just a rest period, we got you covered with freeze balance.
Keep track of all leave balance changes with MIRRO.
1. How to freeze the balance for a user:
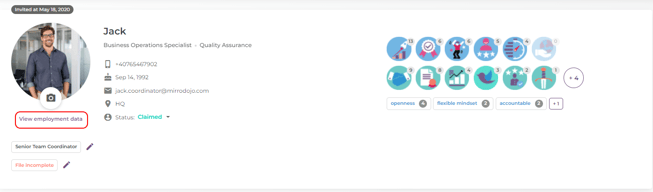
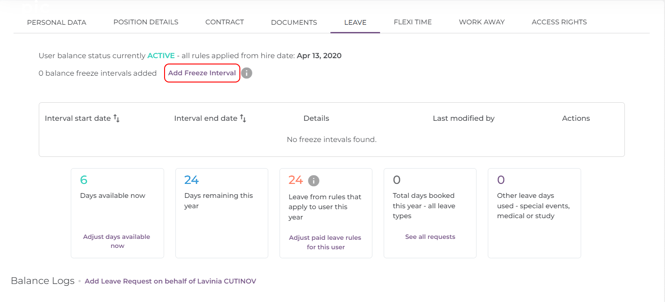
You will need to access the administrative profile of the user. To do so, you will have to access the Employment data option from the user profile and go to the Leave tab. Make sure you have the proper access rights to perform the changes, as Organization Specialist and Time-off Approver. For more details about the access rights, please visit the article How to grant access rights to a user .
In the Leave tab, you will access the option Add Freeze Interval. Once the option is accessed, a new page will open, allowing you to fill in the necessary details for the freeze period.
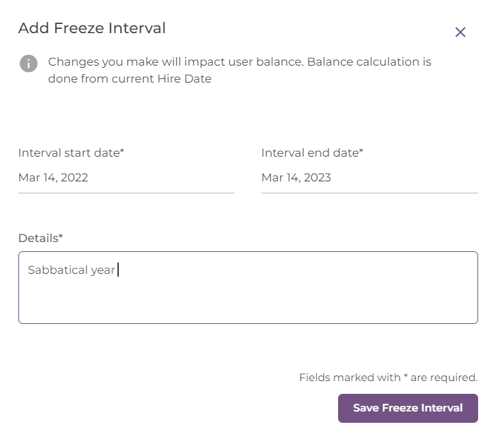
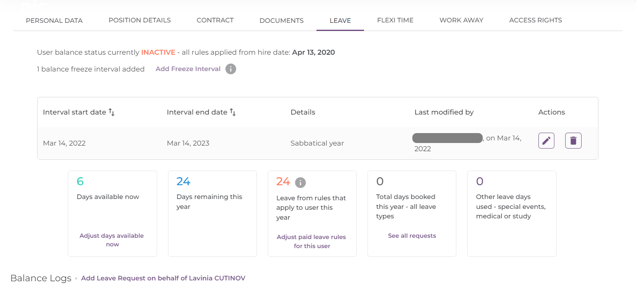
Make sure to fill in all the mandatory fields and save the details. Once the details are saved, the profile of the user will be updated. The balance will be marked as inactive and you will have the possibility to visualize the changes in a historical panel, where you will be able to edit or delete the freeze period.
2. The impact of a frozen balance:
Once a leave balance is frozen, the leave days counting will be placed on hold so that when the user is returning, the leave balance will be exactly as it was before the suspension.
Also, the changes will be visible as well in the preliminary payroll exports:
- In the payroll export you will find the information under the suspended day's column ;
- In the timekeeping export you will find the information in each column, for each day when the freeze is applicable;