Mirro makes the setup process easier by using Imports. You can import multiple pieces of information in your application:
- Users and their details
- Management lines
- Employment Contracts
- Performance managers and coordinators
- Time off balances
- Carry over days
Import files support .xlsx format and import templates are available to download. For a successful import, please mind data formatting from the downloaded templates.
Import multiple users at once
Add multiple users at once with their details. This will save a lot of your time on company setup. Mind data formatting and fill in all data about your people that you want Mirro to handle according to the following legend:
- The columns which are marked in purple are mandatory;
- Please use this date format: yyyy-mm-dd (format all columns that contain dates before uploading the file);
- Internal positions will be matched based on the short name. Make sure you have all the positions short names defined in the Internal Positions section. In case the short name will not be found in the internal positions list, the position will be automatically added as new;
- Departments will be matched based on the short name. Make sure you have all the departments short names defined in the Departments section. In case the short name will not be found in departments list, the department will be automatically added as new;
- Please note that users are matched by email (Column D). New users will be added through import, existing users will be updated;
- Please make sure the Employee Identifier (Column A) is unique per user. It will be used for user matching on various imports and 3rd party integration;
- Id Type (column M) may be "id" or "passport";
- Please use the Company Location code for the employee's main location (column AC). The details about the quarters of your company can be found in the second sheet of the file;
- Handicap grade (column AG) may be 0 (no handicap), 1 (first grade), 2 (second grade), 3 (third grade), or 4 (forth grade);
- Base function (column AH) may be TRUE or FALSE;
- Tax Exempt (column AH) may be TRUE or FALSE;
- Employee status (column AL) may be Active or Inactive;
To make sure that all details are filled in accordingly, you will have the possibility first to simulate the import. When you perform a simulation, the application will let you know if the information from the file is correct or not. The difference between the simulation process and the import process consists of the option: Save employees with all valid lines* which should be unselected when performing a simulation.
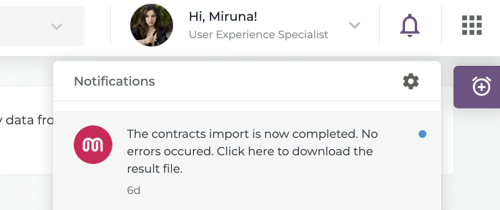
After the simulation has been finished, you will be redirected to the Import History page, where you will be able to download the file imported to see the errors, if any errors occur. At the same time, when the process is finished, you will be notified, offering you the possibility to download the file from the notification.
Once you managed to correct all errors from the file, to perform the import you will need to access the Admin Area module > Import Data section > Download the template for import employees > Fill in the information according to the details from the legend > Save the information > Select the file to upload > Access the option Import and mark the field Save employees with all valid lines*.

Once you access the import option, you will be redirected to the Import History section, where you can track the progress of the import. At the same time, when the process is finished, you will receive a notification that will let you know when the process is finished.
When the details are imported, you will be able to find the users in the application by accessing the Organization module > Users Management.
For more detailed information, you can check our video How to import users' details.