Documents management is a delicate matter for all companies, but luckily, Mirro handles the entire process, using custom, user-defined templates.
Create templates to automate document issuing
Templates are used to generate employee documents. Once you have set templates up, you can generate different types of documents using employee data applied on a custom form with placeholders - ${placeholderName}.
You can find all fields supported in Placeholders (Admin Area module > Placeholders section). The Placeholders will be pasted in the documents which will be further imported as templates in Mirro. Supported document formats are .docx.
Before uploading the template in Mirro, you will need to customize your template by adding the proper placeholders. The placeholders are the variables based on which the information will be extracted automatically from the application.
3. Generate a new document:
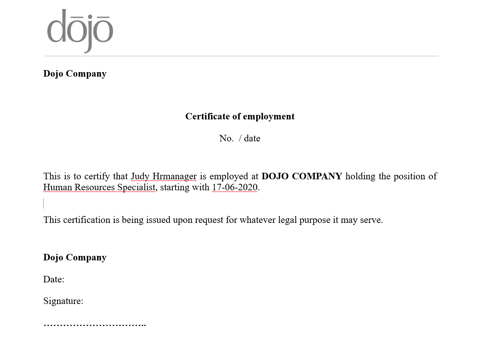
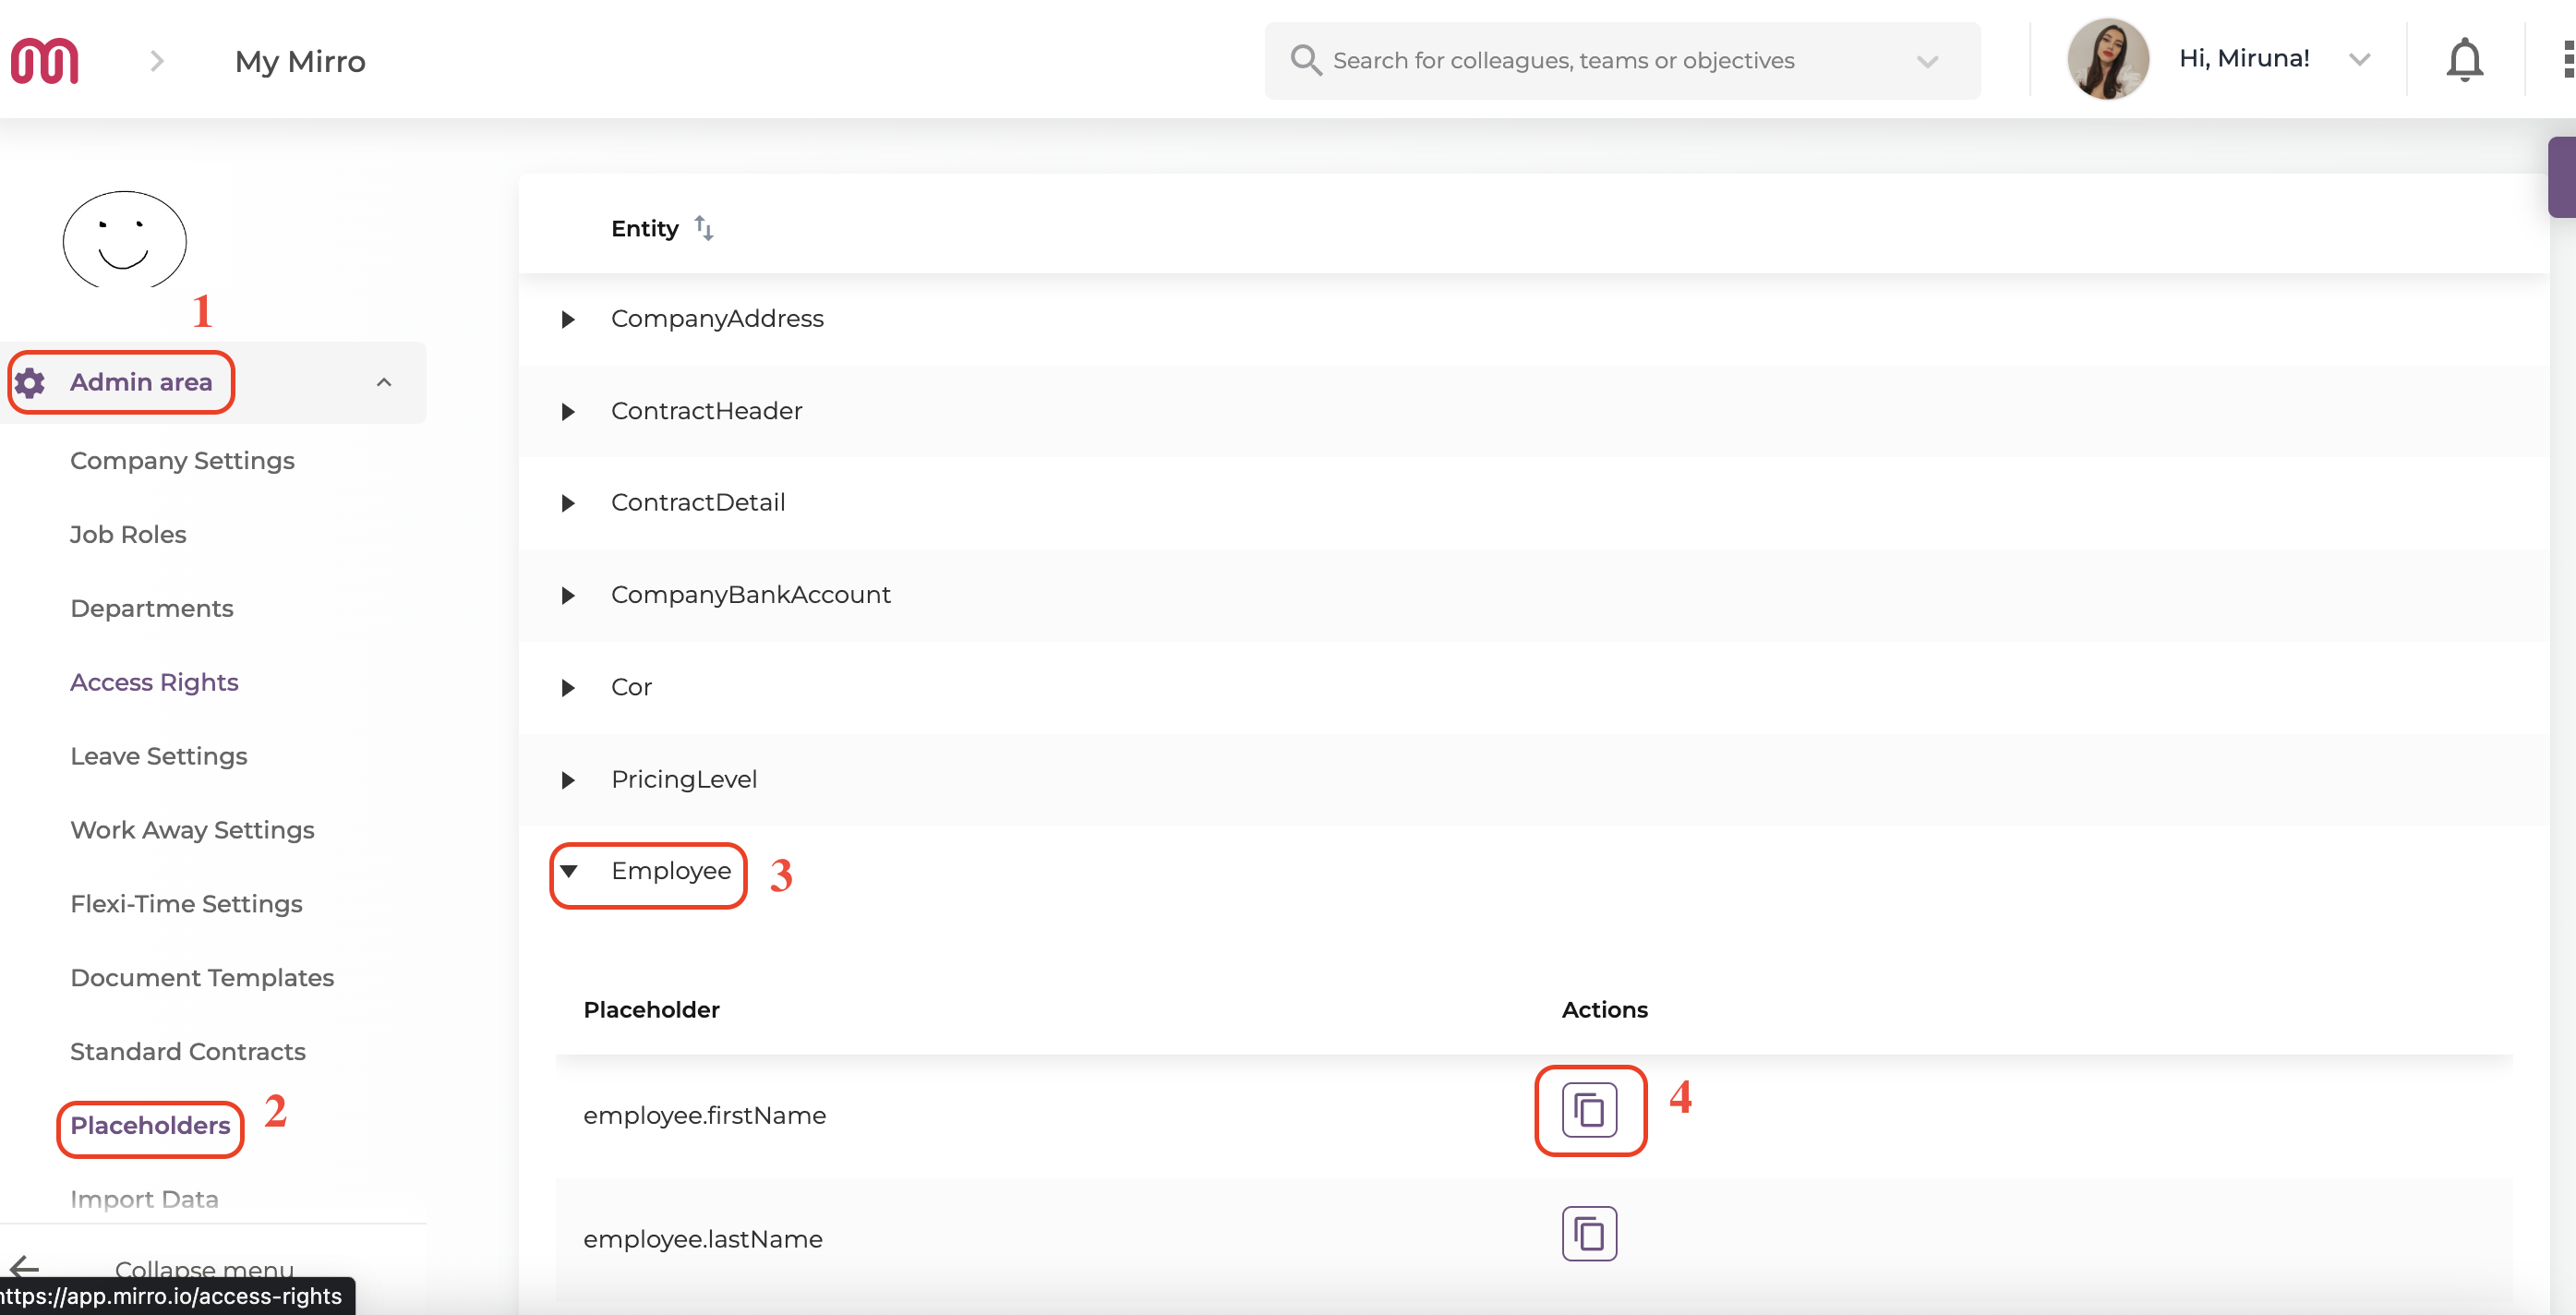
To add the placeholders, you will need to access the Admin Area module > Placeholders section, and copy the placeholders needed from the corresponding entity. For example, for completing a certificate of employment document you can use the following placeholders:
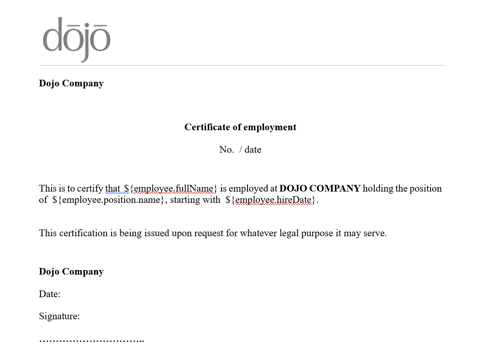
- ${employee.fullName} - which will extract the name of the user for which the document will be generated;
- ${employee.position.name} - variable which will extract the user position defined in Mirro for which the document is being generated;
- ${employee.hireDate} - variable which will extract the hire date of the user for which the document is being generated;
In the end, the template of the employment certificate should look like this:
After you finish customizing the template, you will be able to upload it to the application.
2. Upload a document template:
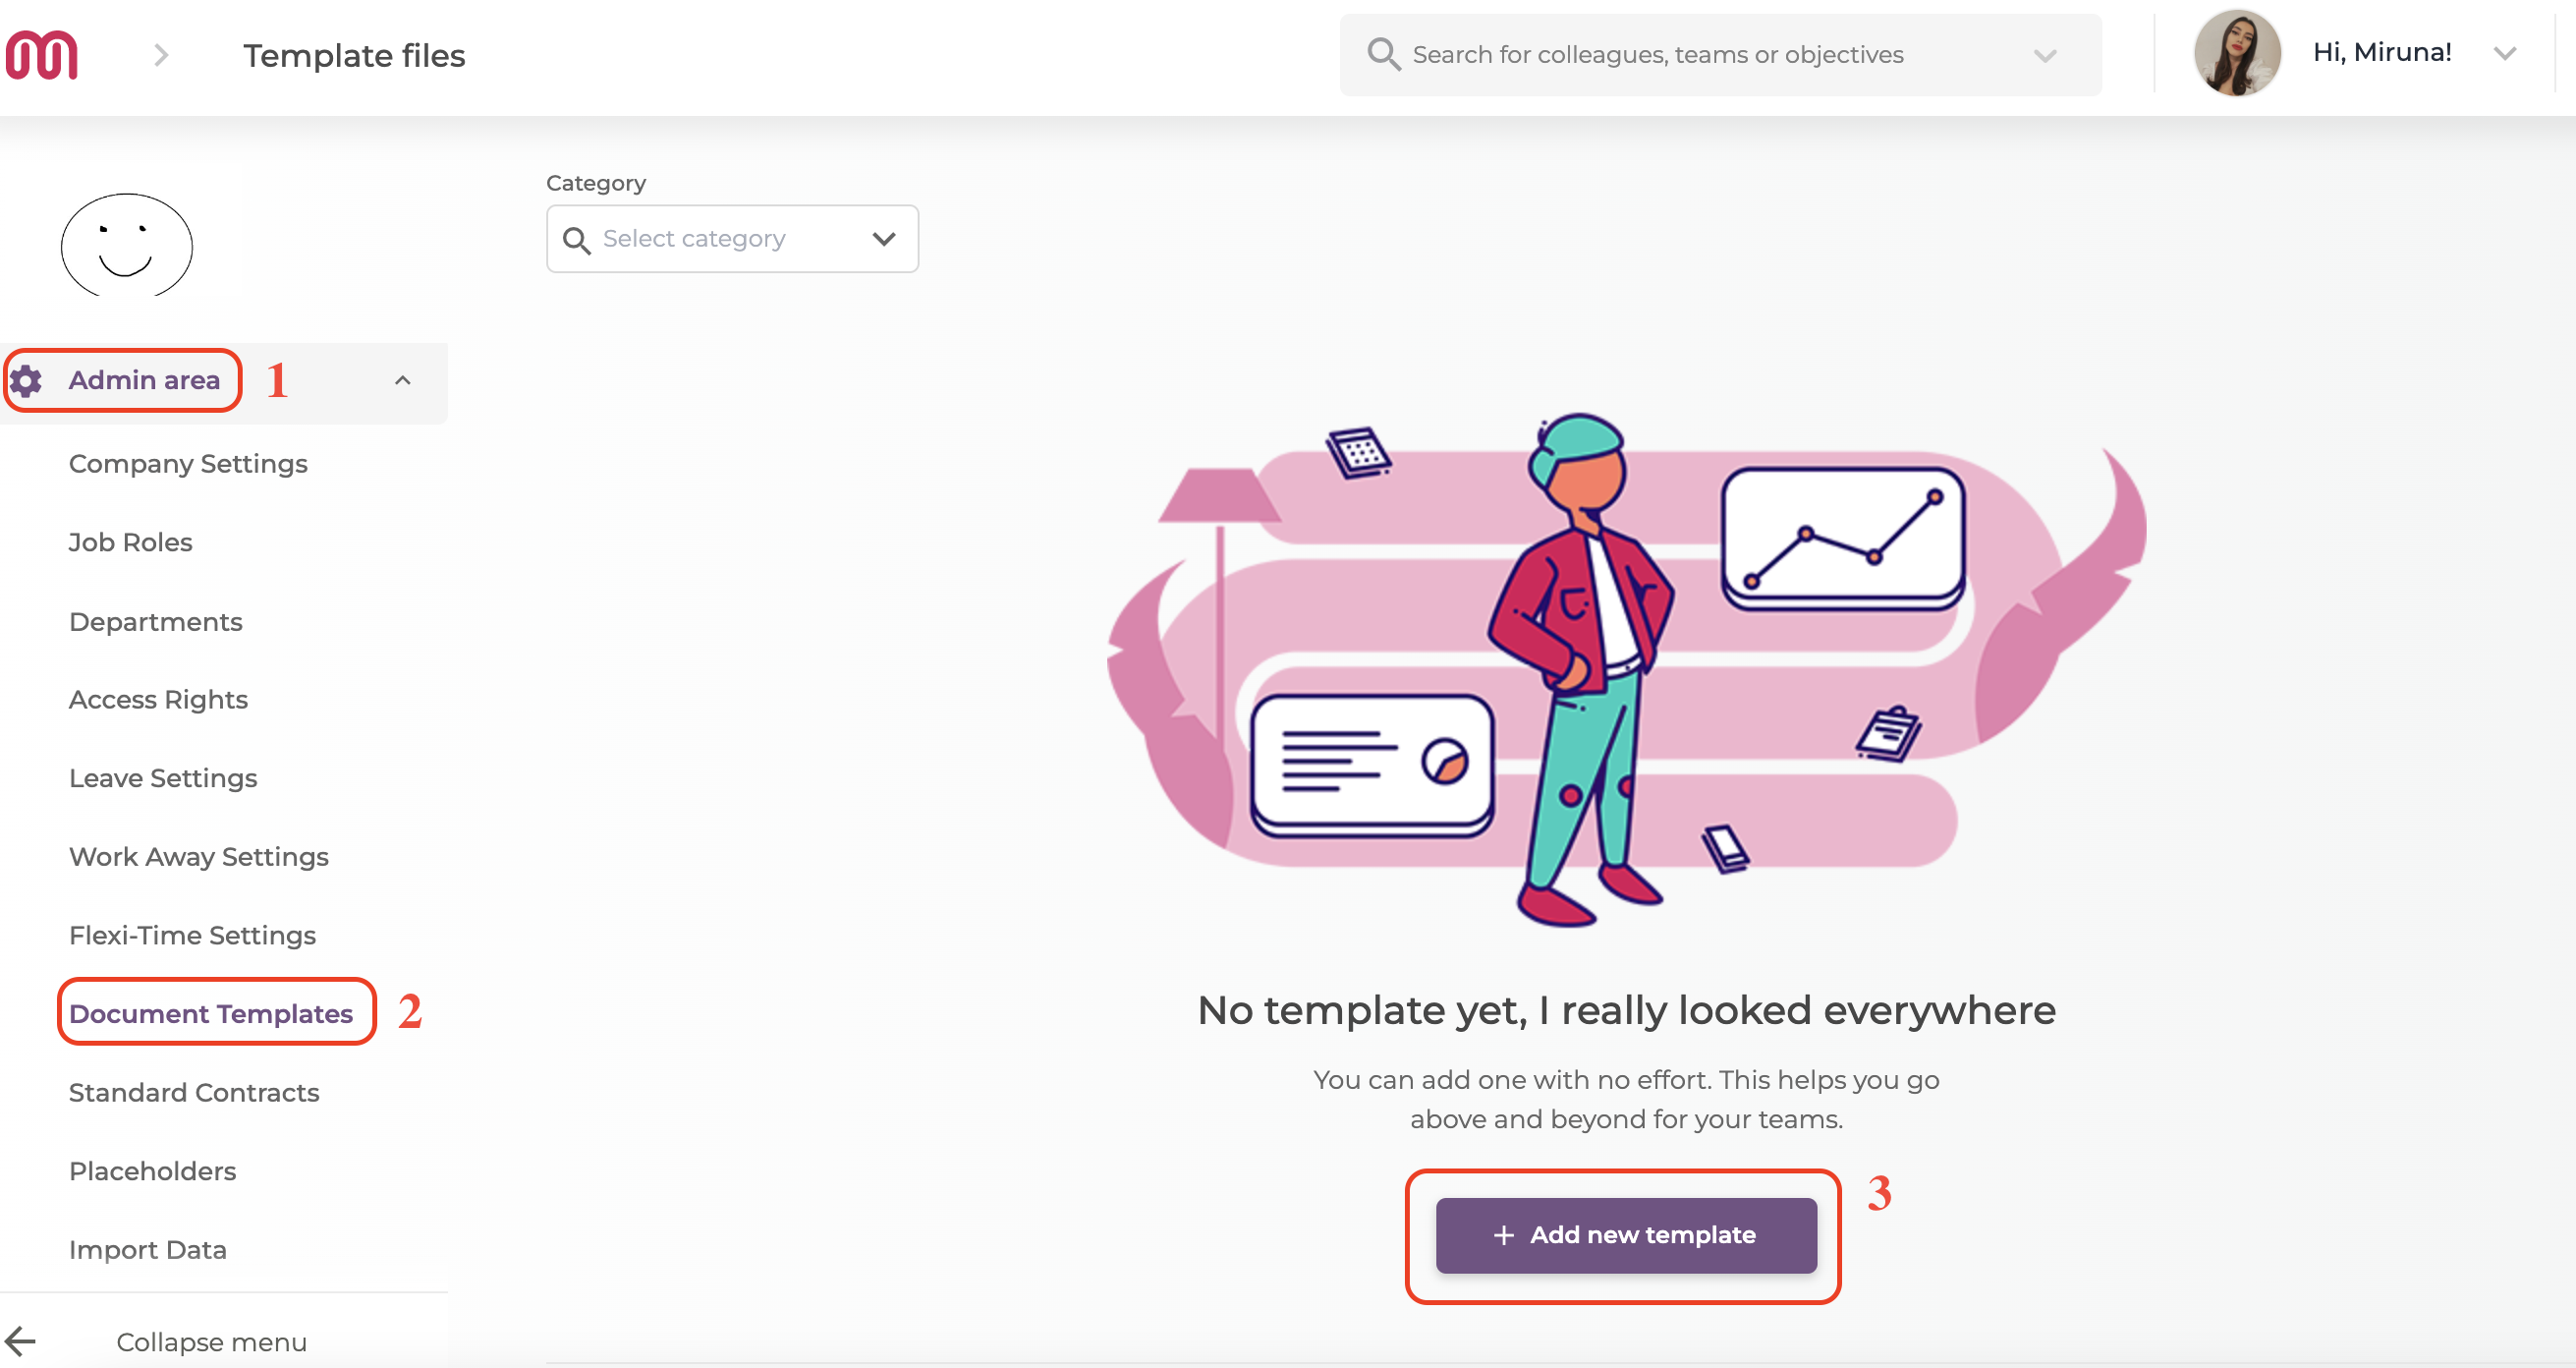
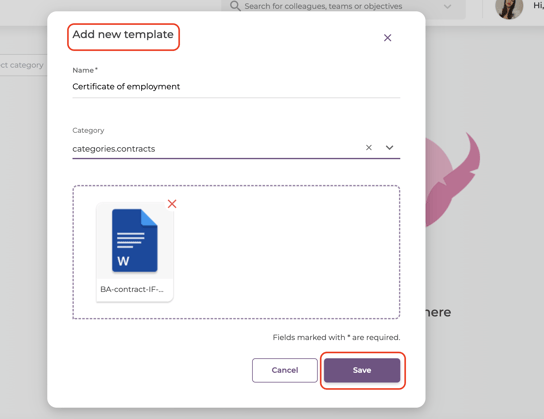
To create a new document template, you will need to access the Admin Area module > Document Templates section, and choose the option Add new template. A new form will be opened for you to fill in the details of the template, as follows:
- Name: you will need to fill in the name of the document. For example, certificate of employment;
- Category: you will have the possibility to choose from a wide range of categories where the document should be added;
- Drop files: you will need to select them from your local computer the template;
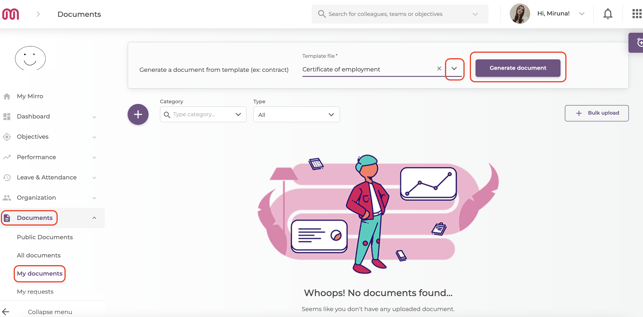
Mirro offers you the possibility to generate a document by accessing different sections in the application.
-> You can generate a document for yourself, by accessing the Documents module > My documents section > Generate a document option:
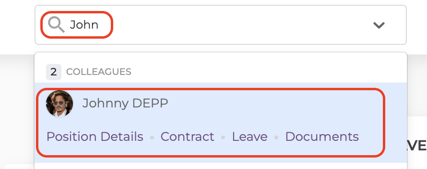
-> You can generate a document for one of your colleagues by accessing their profile and searching his name in the top bar. After accessing their profile, you will need to select the option View employment data, and go to the Documents section to access the option Generate document from his profile.
When a document is generated, it will be downloaded by default to your computer. Once a document has been generated, it will look like below, as the information will be extracted based on the placeholders previously mentioned.