We know how important is for you to be able to define your own company settings when implementing a new tool in your organization. Think about headquarters, working schedule, currency or even values. We cover all in Mirro!
To get started, you will need to access the module Admin Area- Company Settings. Afterwards, you will notice multiple subsections offering you the possibility to define all aspects mentioned earlier.
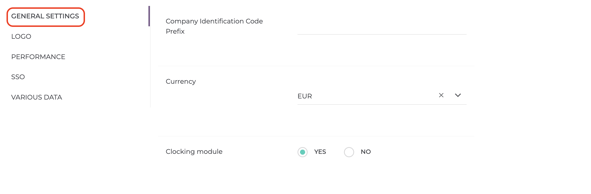
1. Define the general settings
By accessing the sub-section General settings you will be able to define the following details:
- Company identification / prefix - the identification data about your company;
- Currency - you can choose from different currencies and if you do not find in the list, contact us and we will add for you;
- Clocking module - if you will enable this option, you will offer all users the possibility to count their time spent at the office;
- Various data - here you can see the general details of your company;
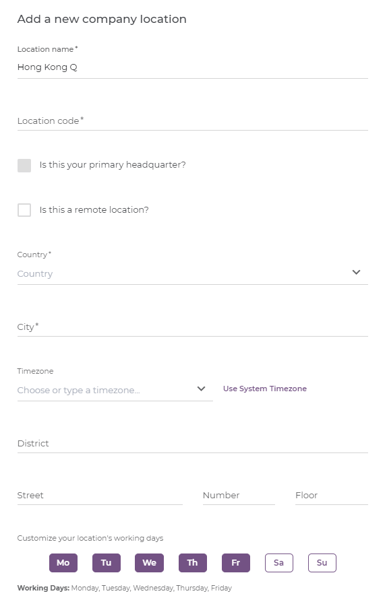
2. Define the quarters of your company
To add a new quarter for your company, you will need to access the Admin Area module > Company settings section > General settings subsection > Add new option. When adding a new quarter, you will have the possibility to define the following details:
-
Location name: the name of your location;
-
Location code: the short code of your location;
-
If it is your primary quarter - you can have only one primary quarter;
-
If it is a remote address;
-
Details about the location of the quarter, like country, city and street name;
-
The time zone associated with this location: this information will be reflected in the application based on the location from the user profile;
-
The location working schedule: you can select or unselect the days which will create the working schedule. The details will have impact on the leave module, based on which the free days and working days will be calculated when a leave request is added.
After filing-in the form, you will need to save the details for the changes to be reflected in the application. The headquarter will be marked with the ![]() icon.
icon.
If you would like on the future to make any changes about the details of the location, all you need to do is to click the location name and the editing form will be available for you. At the end, always remember to save your changes.
You can also define a working schedule for each of your company's locations directly in Mirro, including start time, end time, and break duration. Working hours are calculated automatically, and any new location you add will inherit the HQ schedule as a starting point, saving you setup time. This is the foundation that makes flexible time tracking, overtime calculations, and time-off accuracy possible across all your sites.
To define a working schedule, you will have to access the module Admin area- Company settings- Company addresses and click on the address you want to set the working hours for.
You will be able to edit the details of the location, including the working schedule (time start, time end and break):
3. Define your logo / symbol company
You will need to access the Admin area module > General settings section > Logo subsection > Change logo / Change symbol option.
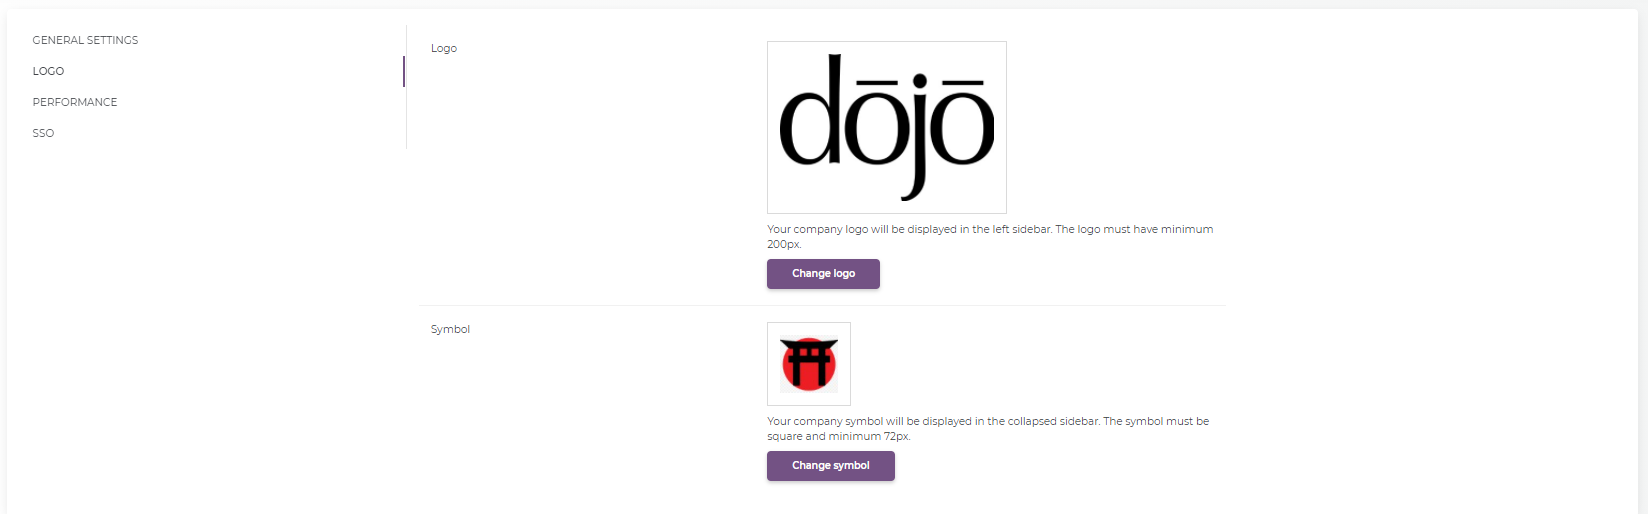
To change the logo, you can also access the option from the top left corner, as it can be seen below: