You can use Mirro to handle all your people and their details in one place, starting with personal details up to documents management. Users are uniquely identified by their email addresses , and we strongly suggest using company email addresses when creating their account.
Add and define each user profile in part:
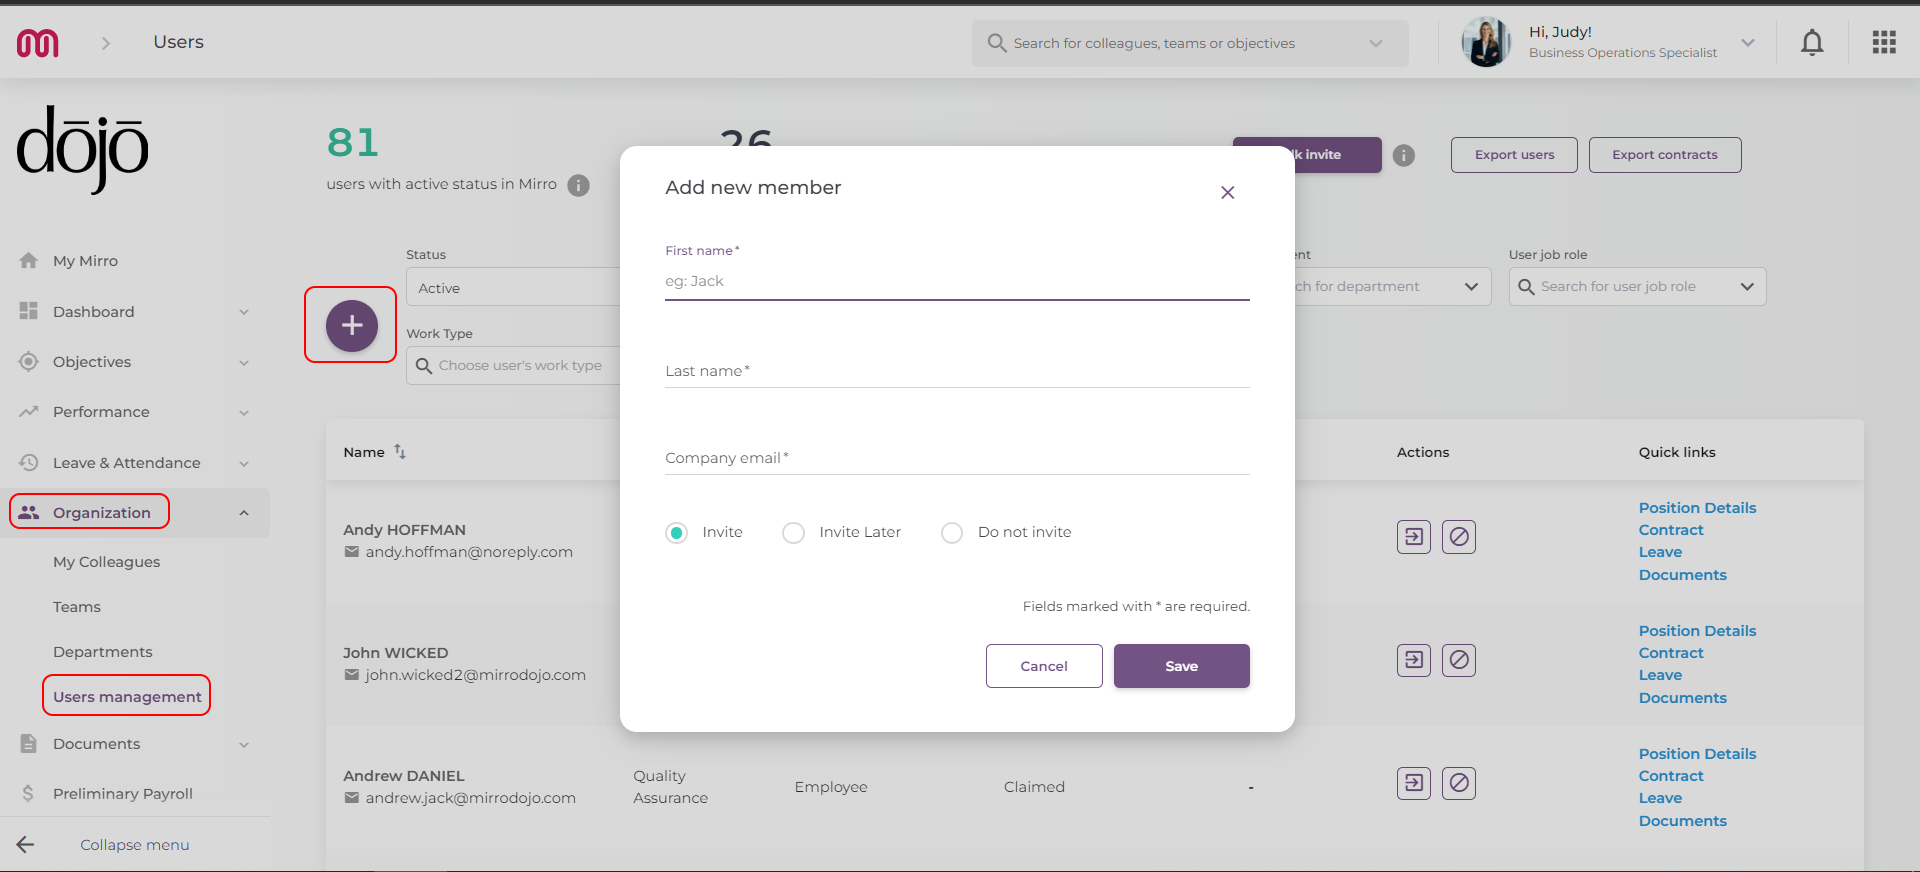
To add a new user in the application, you will need to access the Organization module- Users management section- Add a new member option. A new form will be opened for you to fill-in the following details:
- First name of the user;
- Last name of the user;
- Company e-mail - the email that will be used by the user to log-in in the platform;
- The action that you would like to perform for this user:
-Invite- an welcome e-mail will be sent automatically to the user with the details about the registration process;
-Invite later or do not invite- the welcome e-mail will need to be sent afterwards manually by you;
Once the changes will be saved, the user will be added in the list and you will be redirected to the user profile. In the user's profile, you will be able to identify the option Employment Data, selected by default, which is giving you the possibility to complete the details about the user, as following:
- Personal data tab, including id details, contact persons and payroll information;
- Position details tab, offering you the possibility to assign the performance manager and time-off approver to the user. Each user will have a performance manager assigned to be able to complete the performance management process. At the same time, each user will have a time-off approver assigned, responsible for approving leave/ work away/ flexi-time requests. The time-off approver and the performance manager can be the same person or different persons;
- Contract tab, offering you the possibility to activate a contract for the user;
- Documents tab, offering you the possibility to upload the user documents and access them each time from this place;
- Leave tab, offering you the possibility to view and adjust the user current balance;
- Flexi time tab, offering you the possibility to add a flexi-time request on behalf of the user and to see the user current flexi-time balance;
- Work away tab, offering you the possibility to add a work-away request on behalf of the user;
- Access rights tab, offering you the possibility to grant or restrict the user access within the platform;
Once all details were defined, you can return to the Users management section and add more people in Mirro.
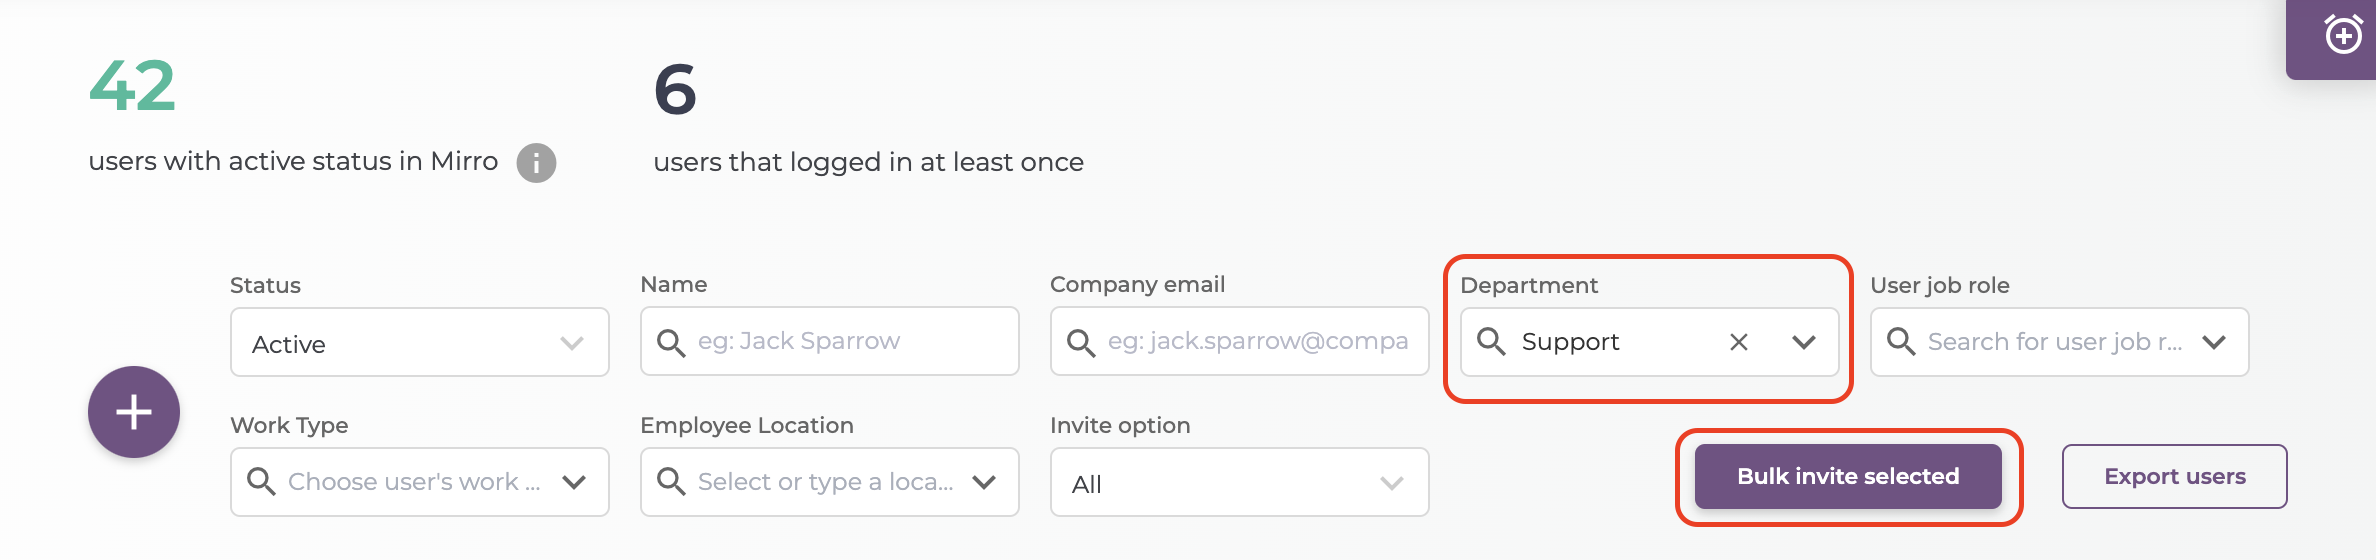
In the Users management section you can also do additional actions, as following:
- Invite the users in the platform, from each user in part or using the bulk option;
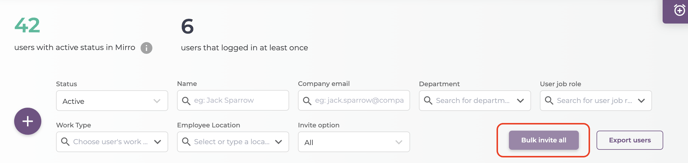
You can also user the filters and send invitations only to certain categories of users:
- You can activate or deactivate a user. When the user is deactivated, it will not be possible anymore for him to log-in. The same action can be performed from the user profile as well.

A user can have one of the following statuses:
- Active users / awaiting invitation- users which will not be able to login in Mirro. This is the default status for imported users;
- Invited- users that received an invitation via email to claim their account;
- Claimed- users that have logged in at least once with their credentials;
- Deactivated- users who can no longer use Mirro. Their data is still safe and stored;
- Access quick links which will redirect you different tabs from the user profile such as Position details, Contract, Leave and Documents;
- Export all users details in a report;