Mirro makes the set-up process easier by using Imports. You can import multiple information in your application:
- Users and their details
- Management lines
- Employment Contracts
- Performance managers and coordinators
- Time off balances
- Carry over days
Import files support .xlsx format and import templates are available to download. For a successful import, please mind data formatting from the downloaded templates.
To import the data in Mirro, you will need to access the Admin Area module > Import data section. After deciding which details you would like to upload, you will need to download the template which should be filled-in with the information according to the header and the legend.
Add the carry-over days easily, using the Import carried-over days option from Admin Area module > Import data section.
One of the main admin issues companies are facing is correct handling of attendance. Use these imports, time off requests import and carry over days import when onboarding your company and you are good to go when it comes to leave set-up in Mirro.
When adding the users for the first time in Mirro, you may need to add their carryover days to have an accurate leave balance for each user. Mirro makes it easy for you with the import option.
You need to access the Admin Area module > Import Data section and download the template Import carried over days. While filling-in the details in the import file, please mind data formatting according to the legend below:
- The column Employee Identifier should be filled-in with the e-mail address of the user or the employee identifier (available in the position details of the user)
- The column Vacation Days should be filled-in with the carryover days of the user. In this field it should be included the total number of the days remaining from the previous year.
- The column Expires after should be filled-in with the number of months after which the carried over days expire and cannot be used anymore. Leave blank if the days never expire.
When the file is ready to be imported, you will need to access the Admin area module > Import Data section > Select the file to upload and access the option Import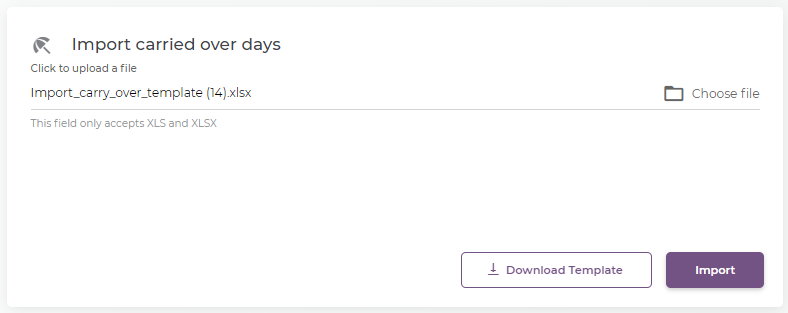
Once you accessed the import option, you will be redirected in the Import History section where you can track the import progress. At the same time, when the upload is finished, you will be notified.
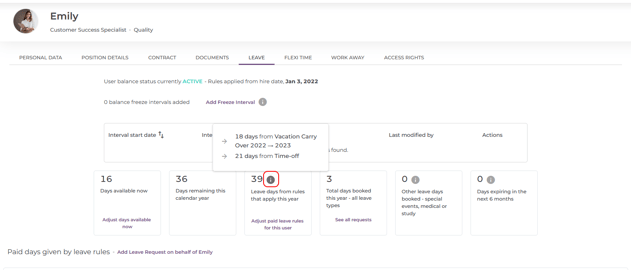
When the details will be imported, you will notice that each balance of the user has been updated. To visualize the details, you have two options:
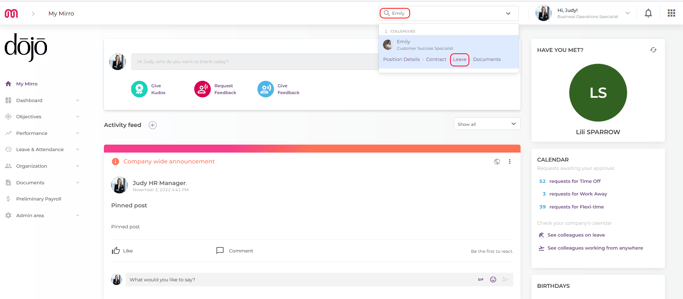
- You can access the administrative profile of the user, select the Leave tab and hoover the mouse over the info option, as it can be seen below:
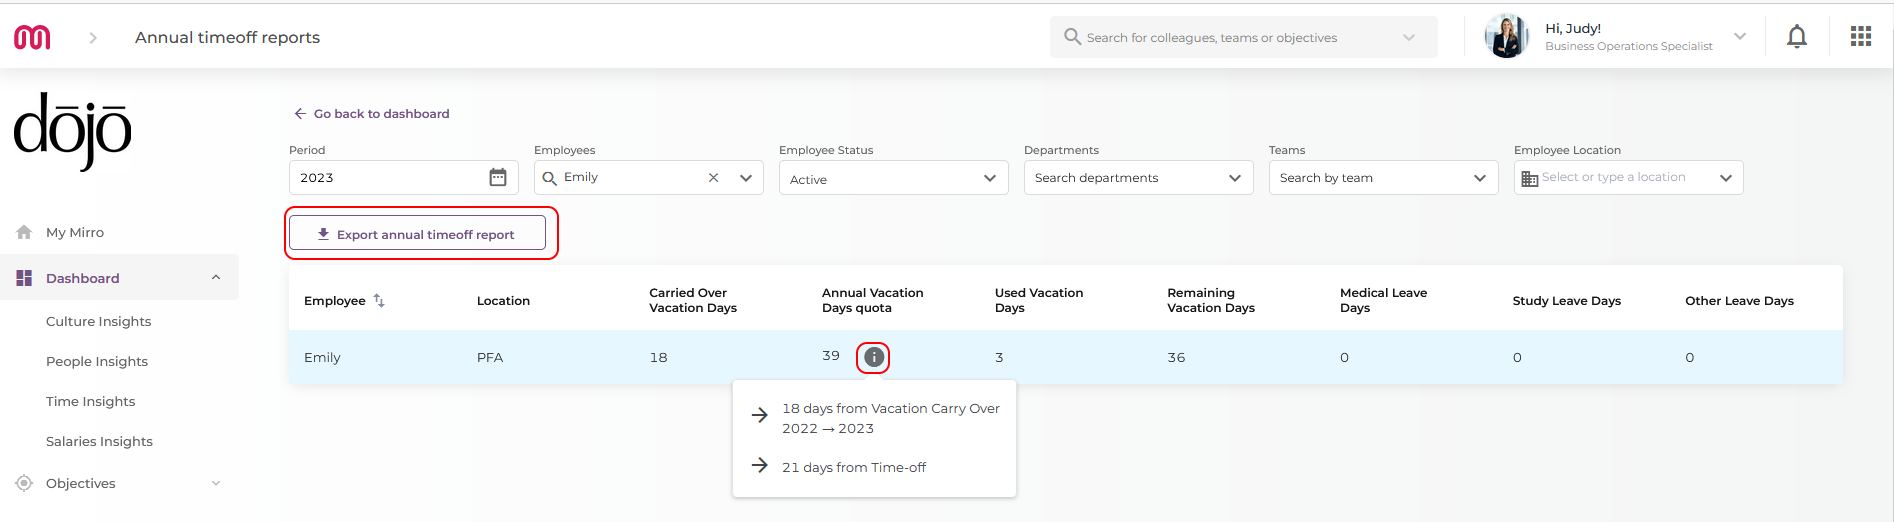
- You can access the Annual timeoff report from Dashboard module > Time Insights section.
You can see the whole process more detailed in our video How to import the Carried over days and Timeoff requests.