How to set-up custom fields in Mirro

We all love data, but what we might love even more is to have all data stored in an organized matter, in one place. We got you covered! With MIRRO is more than easy to define different custom fields which will be stored to gather more data about your people. 

And what makes these fields even more attractive is that they are customizable so you can store different information, because we would like for you to have flexibility, from VAT number details up to educational background details.


Gather all data in one place with just a few clicks

Let's take an example to better illustrate the steps you will need to follow to define the custom fields. As an HR admin, I would like to store more details about Jack. First, I'll need to make sure that I have the proper access rights, like App settings management to define the fields and Organization Specialist to fill in the fields in the user profile. For more details about access rights, please consult the article How to grant access rights to an user.
 
Define the custom fields in the Company Settings 
Once I've made sure that all access rights are associated with my account, I accessed the Admin module > Company Settings section > Various data subsection, as it can be seen below: 
 
 
As the fields are customizable, I was able to add 3 different options. To add a new field, you'll just need to click on add field option and fill in the name of the field, the code, and the variable that the field could take. You can also leave the variable field blank so that you will be able to store different details for each colleague in part, like different VAT numbers. 
 

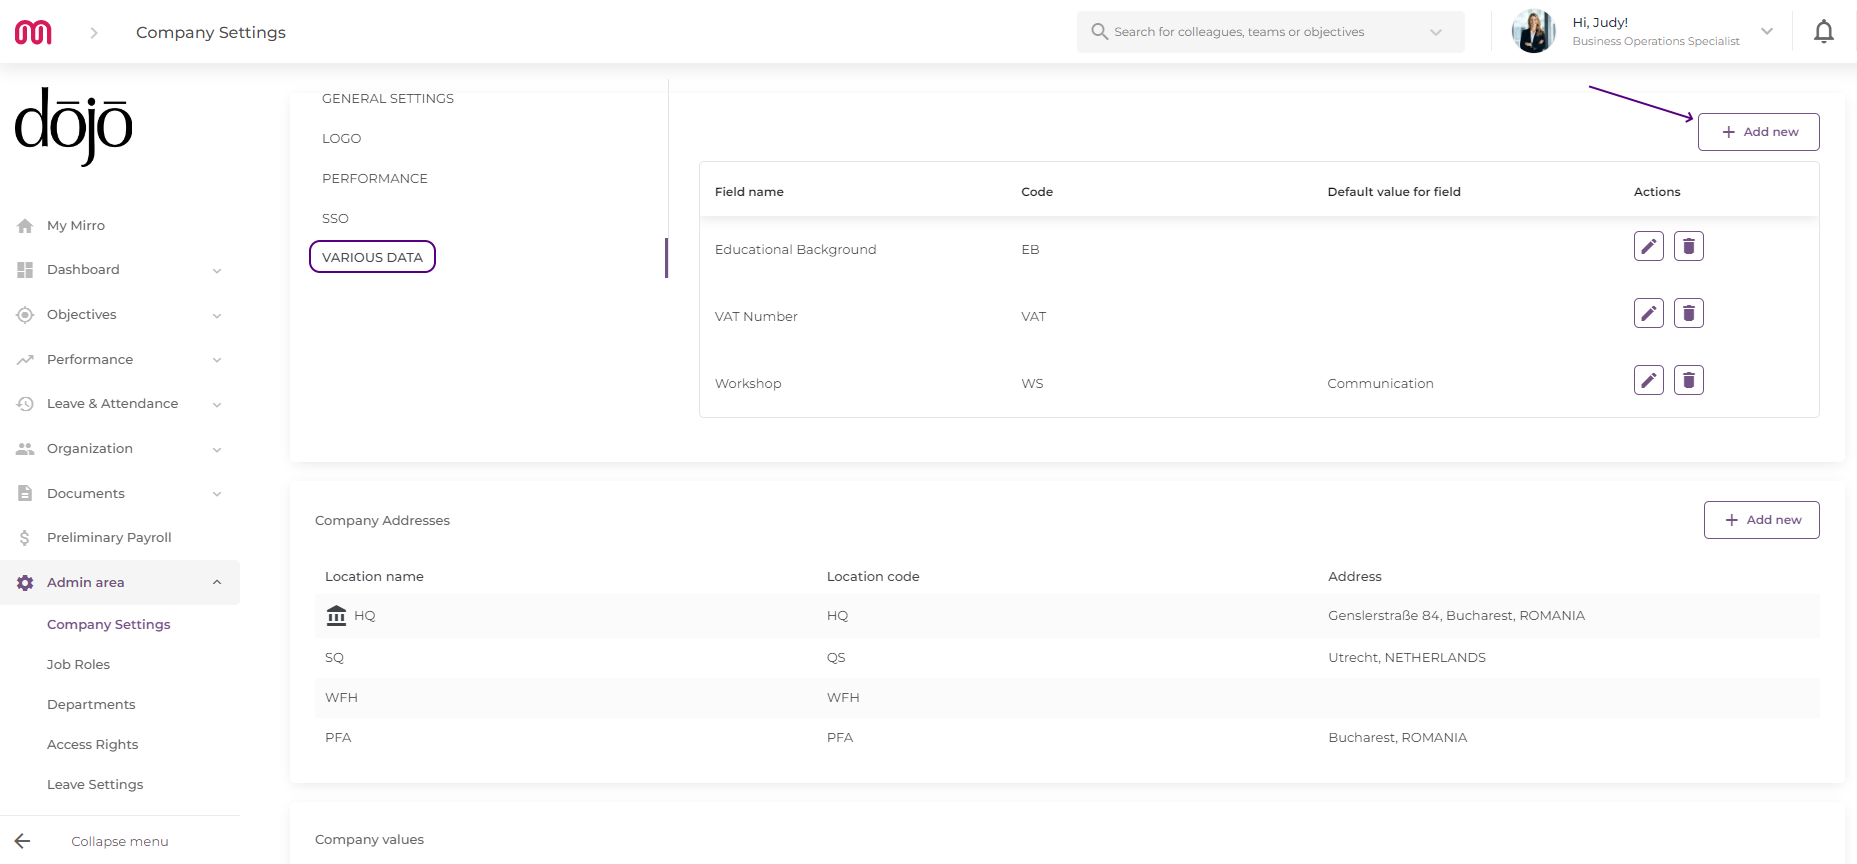
Fill-in the custom fields manually or using the import option

Once the custom fields were defined at the level of your company, now it's time to store the data. With MIRRO you have two options: 


1. Store data in custom fields manually  
You can choose to add details in the custom fields manually by accessing the user profile, the Personal Details tab, as I did for Jack, when it comes to educational background. 


2. Store data in custom fields using the import option 
For the other two fields, I decided to use the import option. You need to make sure that your account is also associated with the Import data access right to be able to access the Import data section from Admin Area module. 
Once you go to Import Data, you will need to download the template for custom fields. In the template you will have 3 sheets: 
  • The Working sheet where you will need to fill in the details.
  • The Read-me sheet where you can find guidelines on how to fill in the working sheet. 
  • The CompanyVariousData where you will be able to see which custom fields were defined already. 

I added the details about Jack, I saved the file, I got back in MIRRO, I've selected the file and hit on Import option. 


Once the import was ready, I received a notification mentioning that the process is finished and no errors were encountered. 
We know that sometimes mistakes happen, so we will notify you about them, by generating the file for you and seeing exactly the lines where the information was not properly filled in. 
 
 
Once the data was imported you will see the changes in the administrative profile of your colleague.
 

For more detailed information, you can check our video How to create your own custom fields.