Logging in is the start of every great story, so why not start this amazing narrative together? In this article, you will find relevant information regarding how to guide your people to log-in in Mirro for the first time.
Ways to log-in in Mirro
When adding a user in Mirro manually, you can choose to add their email address, phone number, or you can choose to leave these spaces blank. Depending on the fields you choose to complete, each user will have assigned one way of authentication.
-by email: if you complete their profile with their email address, they will receive the invite on their email;
-by phone number: if the user does not have an email address set, but they do have a phone number on their profile, they will receive an SMS on that number;
-by QR code: if the user does not have an email address set, nor a phone number, the user with the access role Organization Specialist will receive a QR code on behalf of the employee; the QR code will be generated in a pdf document which will be added in the Documents tab of the administrative user profile.
You can find more information regarding adding users in Mirro in our articles: How to import users details and How to add a user in Mirro.
1. Log-in with email address
This option is available when adding a user, and choosing to also add their email address.
To invite them to the platform, you will have to access the module Organization- Users Management. Here, you have two options:
-invite each user manually, by clicking on Invite by email next to their name:
-invite all users at once, by using the Bulk invite all option: You can also user the filters and send invitations only to certain categories of users:
The user will receive an email coming from the address notifications@mirro.io, with an invitation link:
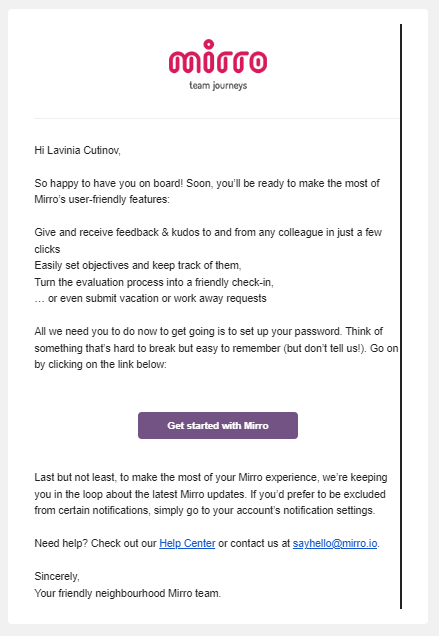
The link will redirect the user to Mirro, helping them to set up a password.
Please be advised that the link is available for 7 days. After the link expires, if the user did not managed to log in, another invite should be sent.
2. Log-in with phone number
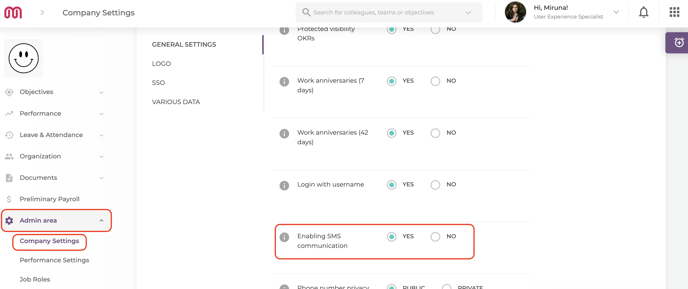
The first step is to activate this option, by accessing the module Admin Area- Company Settings- General Settings, and clicking yes on the option Enabling SMS Communication.
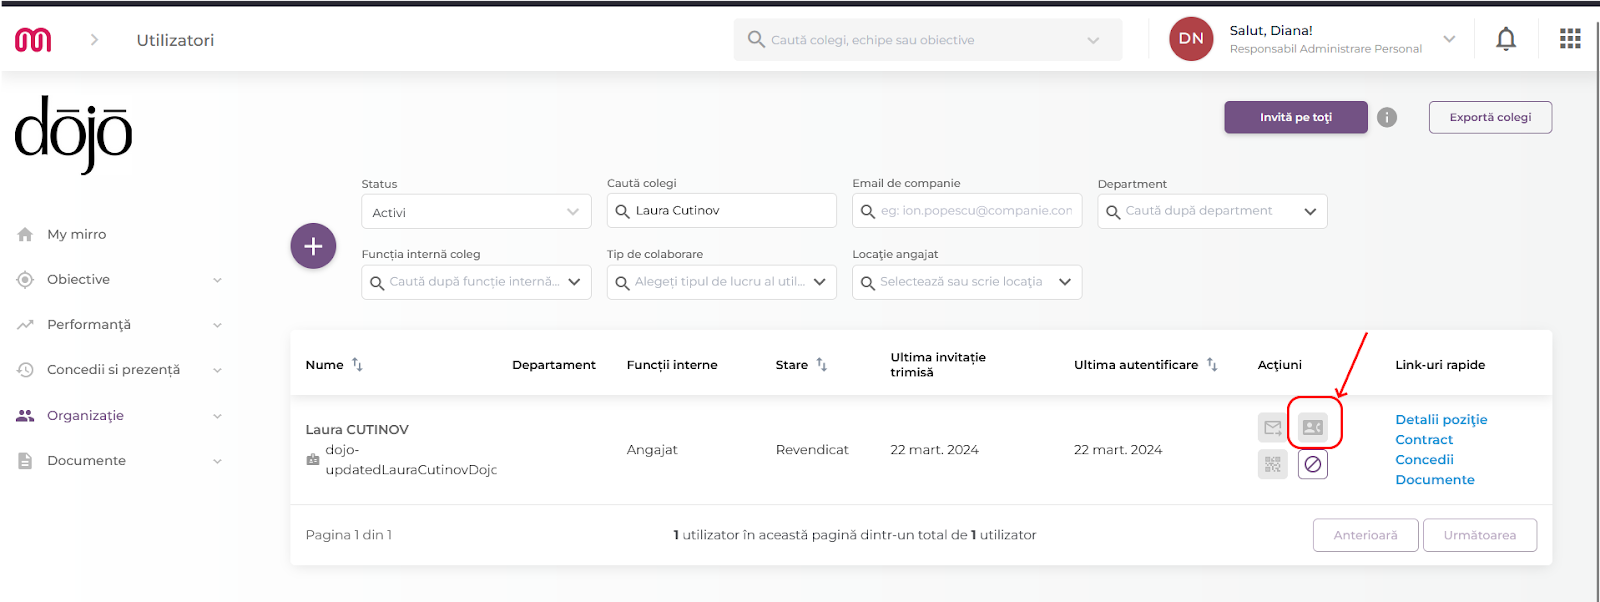
Next, if you have a user you want to invite, you can access the module Organization- Users Management, look for their name and click on Invite by SMS.

If you want to invite multiple people at once, you can also choose the Bulk invite all option, and you will have the option to invite by SMS:


You will receive a notification that will let you know the user was successfully invited, and their status will change from Awaiting Invitation to Invited.
The user will receive an SMS where they will find an assigned username.
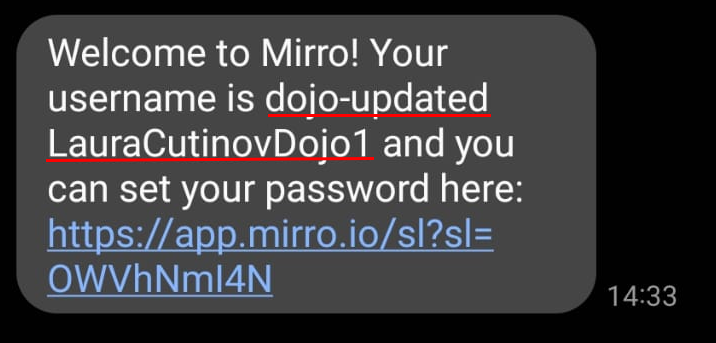
Once the user clicks on the link, they will be automatically redirected in a browser, as can be seen in the screenshot below:
The employee will be asked to create a password, that needs to contain at least 8 characters, a capital letter and a special character.
Once the password was all set, they will be redirected to a log-in page, where they will have to type in the username from the SMS and the password they just created.
3. Log-in with QR code
A user will have to log in with a QR code if they do not have set an email address or phone number on their profile.
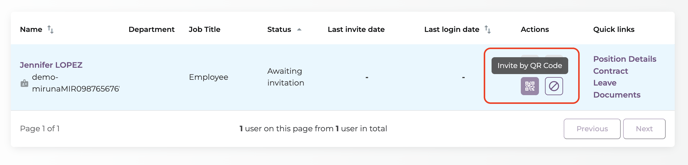
If you want to invite a user that does not have these two details on their profile, you can access the module Organization- Users Management, search for their name and click on Invite by QR code.
Please be advised that the QR codes invitations are generated based on location.
That being said, if we have two users that have the location set to London, and three users located in Bucharest, when bulk inviting them, two documents will be generated, one for each location.
A document has a capacity of maximum 50 QR codes. If you want to generate 70 QR codes, two documents will be created: one with 50 and one with 20 codes.
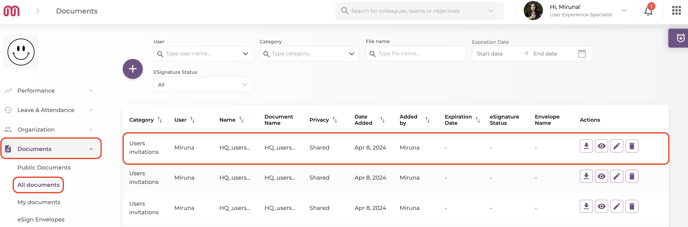
The user with the access role Organization Specialist will receive a web notification that will let them know the document was created. They can either click on the notification, or access the module Documents- All documents, and download it.
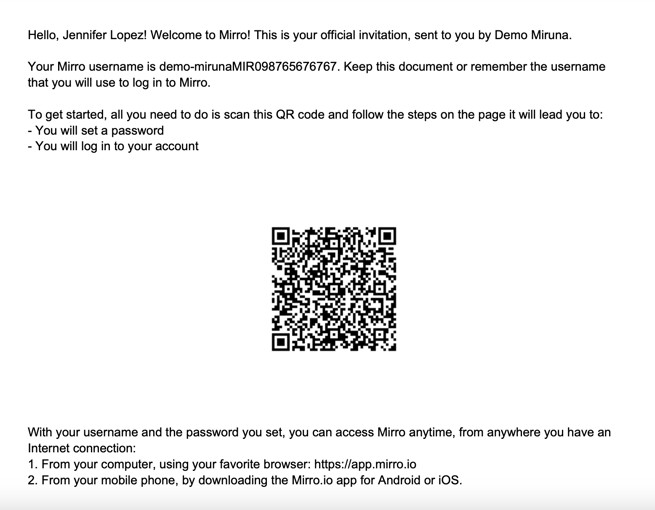
Once the document was downloaded, the QR codes will have to be shared to their assigned users.
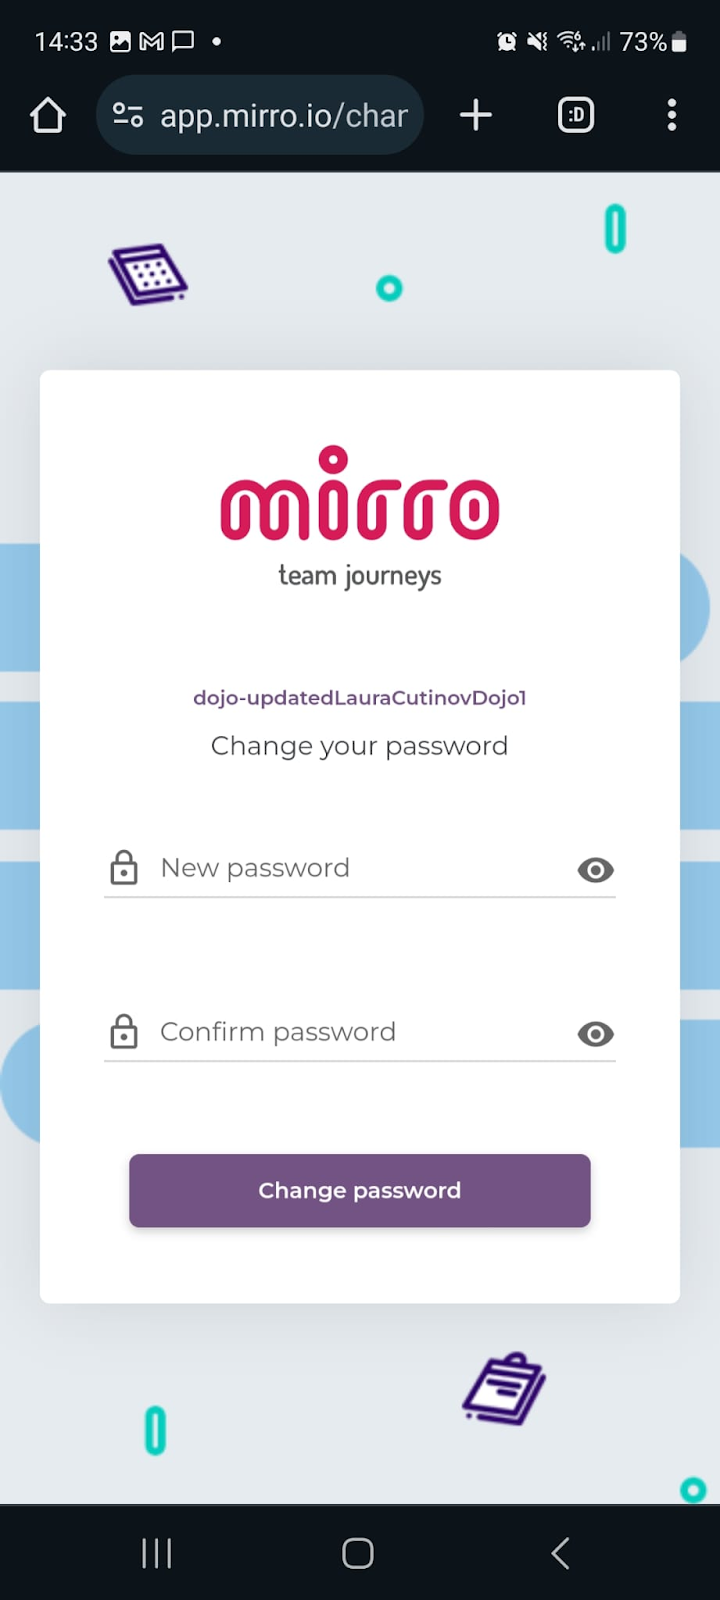
Once the employee has received their QR code, they will have to scan it, and they will automatically be redirected into a new page, where they can set up their password.
How to reset your password
If you forgot your password, don't worry about it! With Mirro, you can reset your password in just a few steps. Easy-Peasy!
1. If you log in using your email address
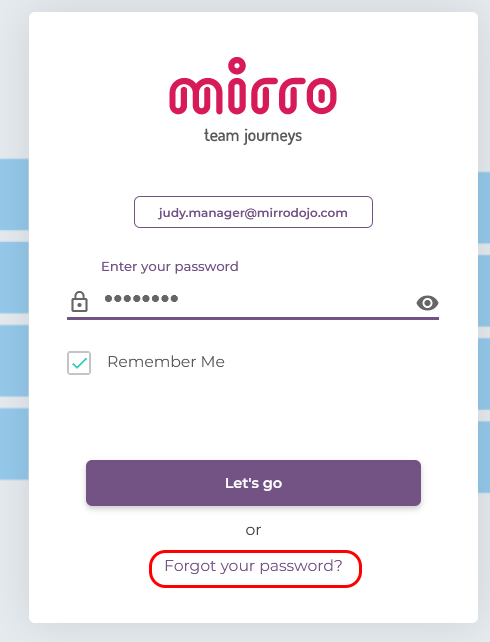
In this situation, you just have to access Mirro, write down your email address in the field specially made for that, and then click on Forgot password.
You will receive an email that contains a link to reset your password.
2. If you log in using SMS or QR Code
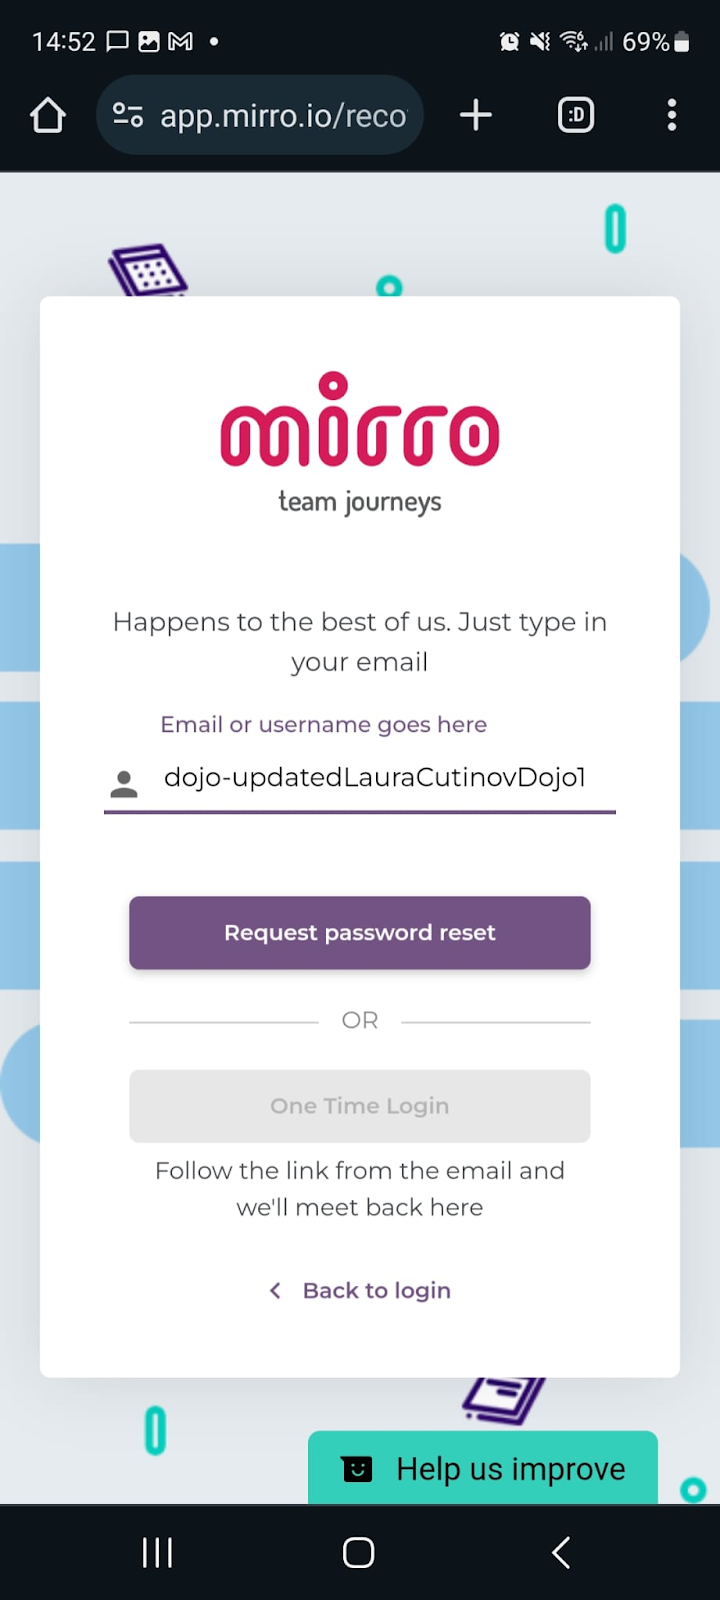
On the log in page, you will be able to click on Forgot password, once you've written their complete username you've received in the invitation.
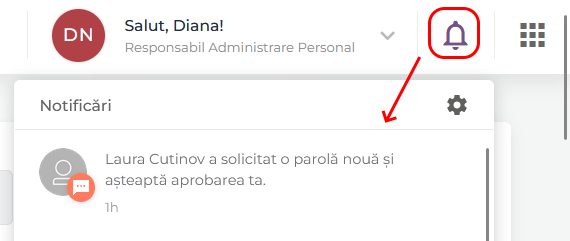
Once the password recovery was requested, all the users in the company with the access role Organization Specialist will receive a web and email notification:
The user receiving this notification can click on it, and they will be redirected to the module Organization- Users Management, with the filter set on the user's name. That way, the Organization Specialist can send again the invitation: