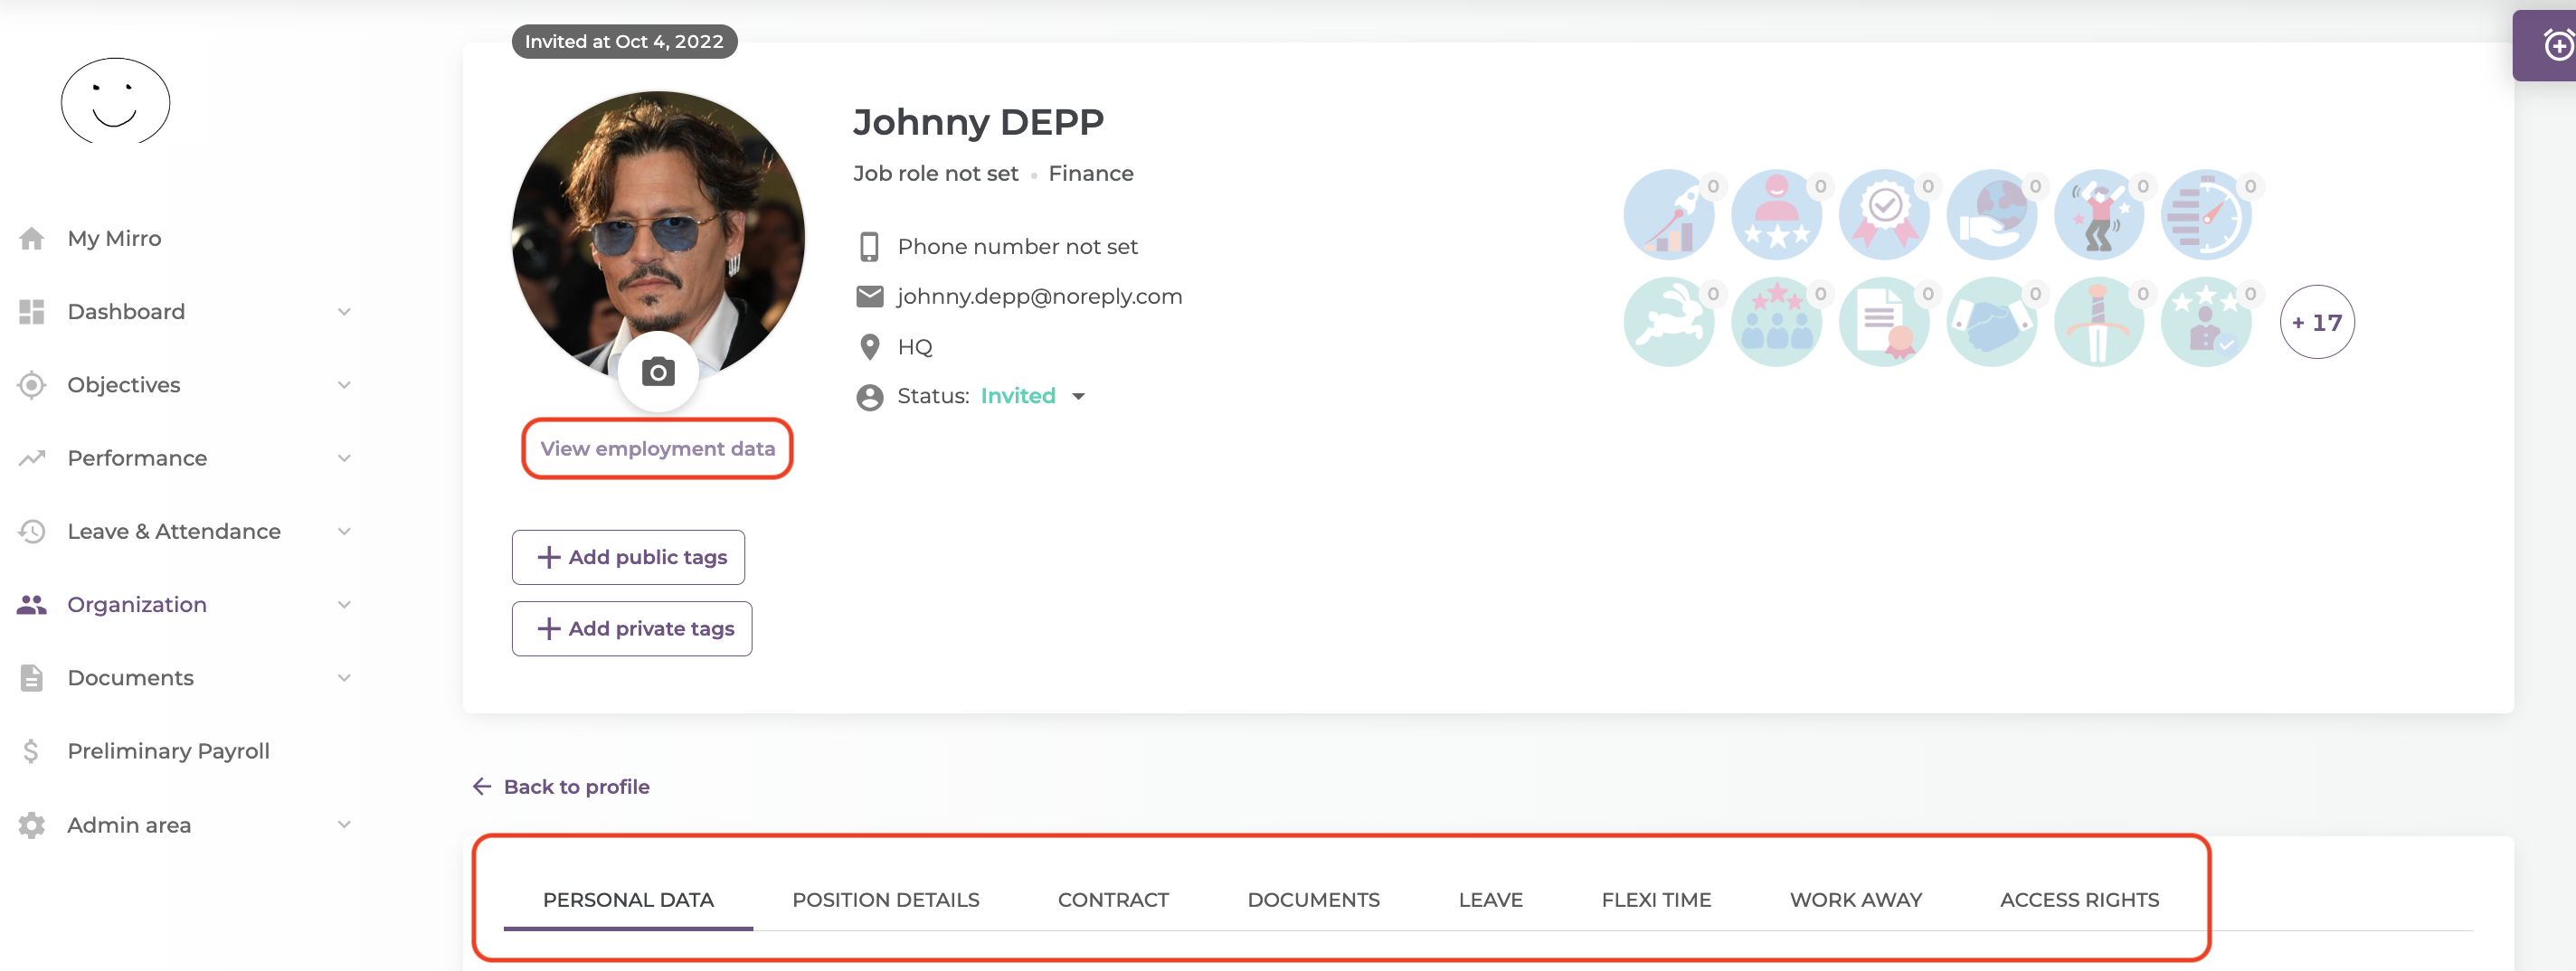
Once you are done importing user data, it's time to edit personal details of each employee.
You will have to go to the user's profile- View employment's data. Here you will find eight columns, each of them may be relevant or not for the details you want your employees to have on their profile. We recommend completing the profile with as many information as possible, so you can have a better evidence of the details.
If you select Personal Data, you will be able to set up the basics of the profile. On the left you will see ID Data, Contact Persons, Payroll Data and Various Data, each section with it's optional/mandatory fields.
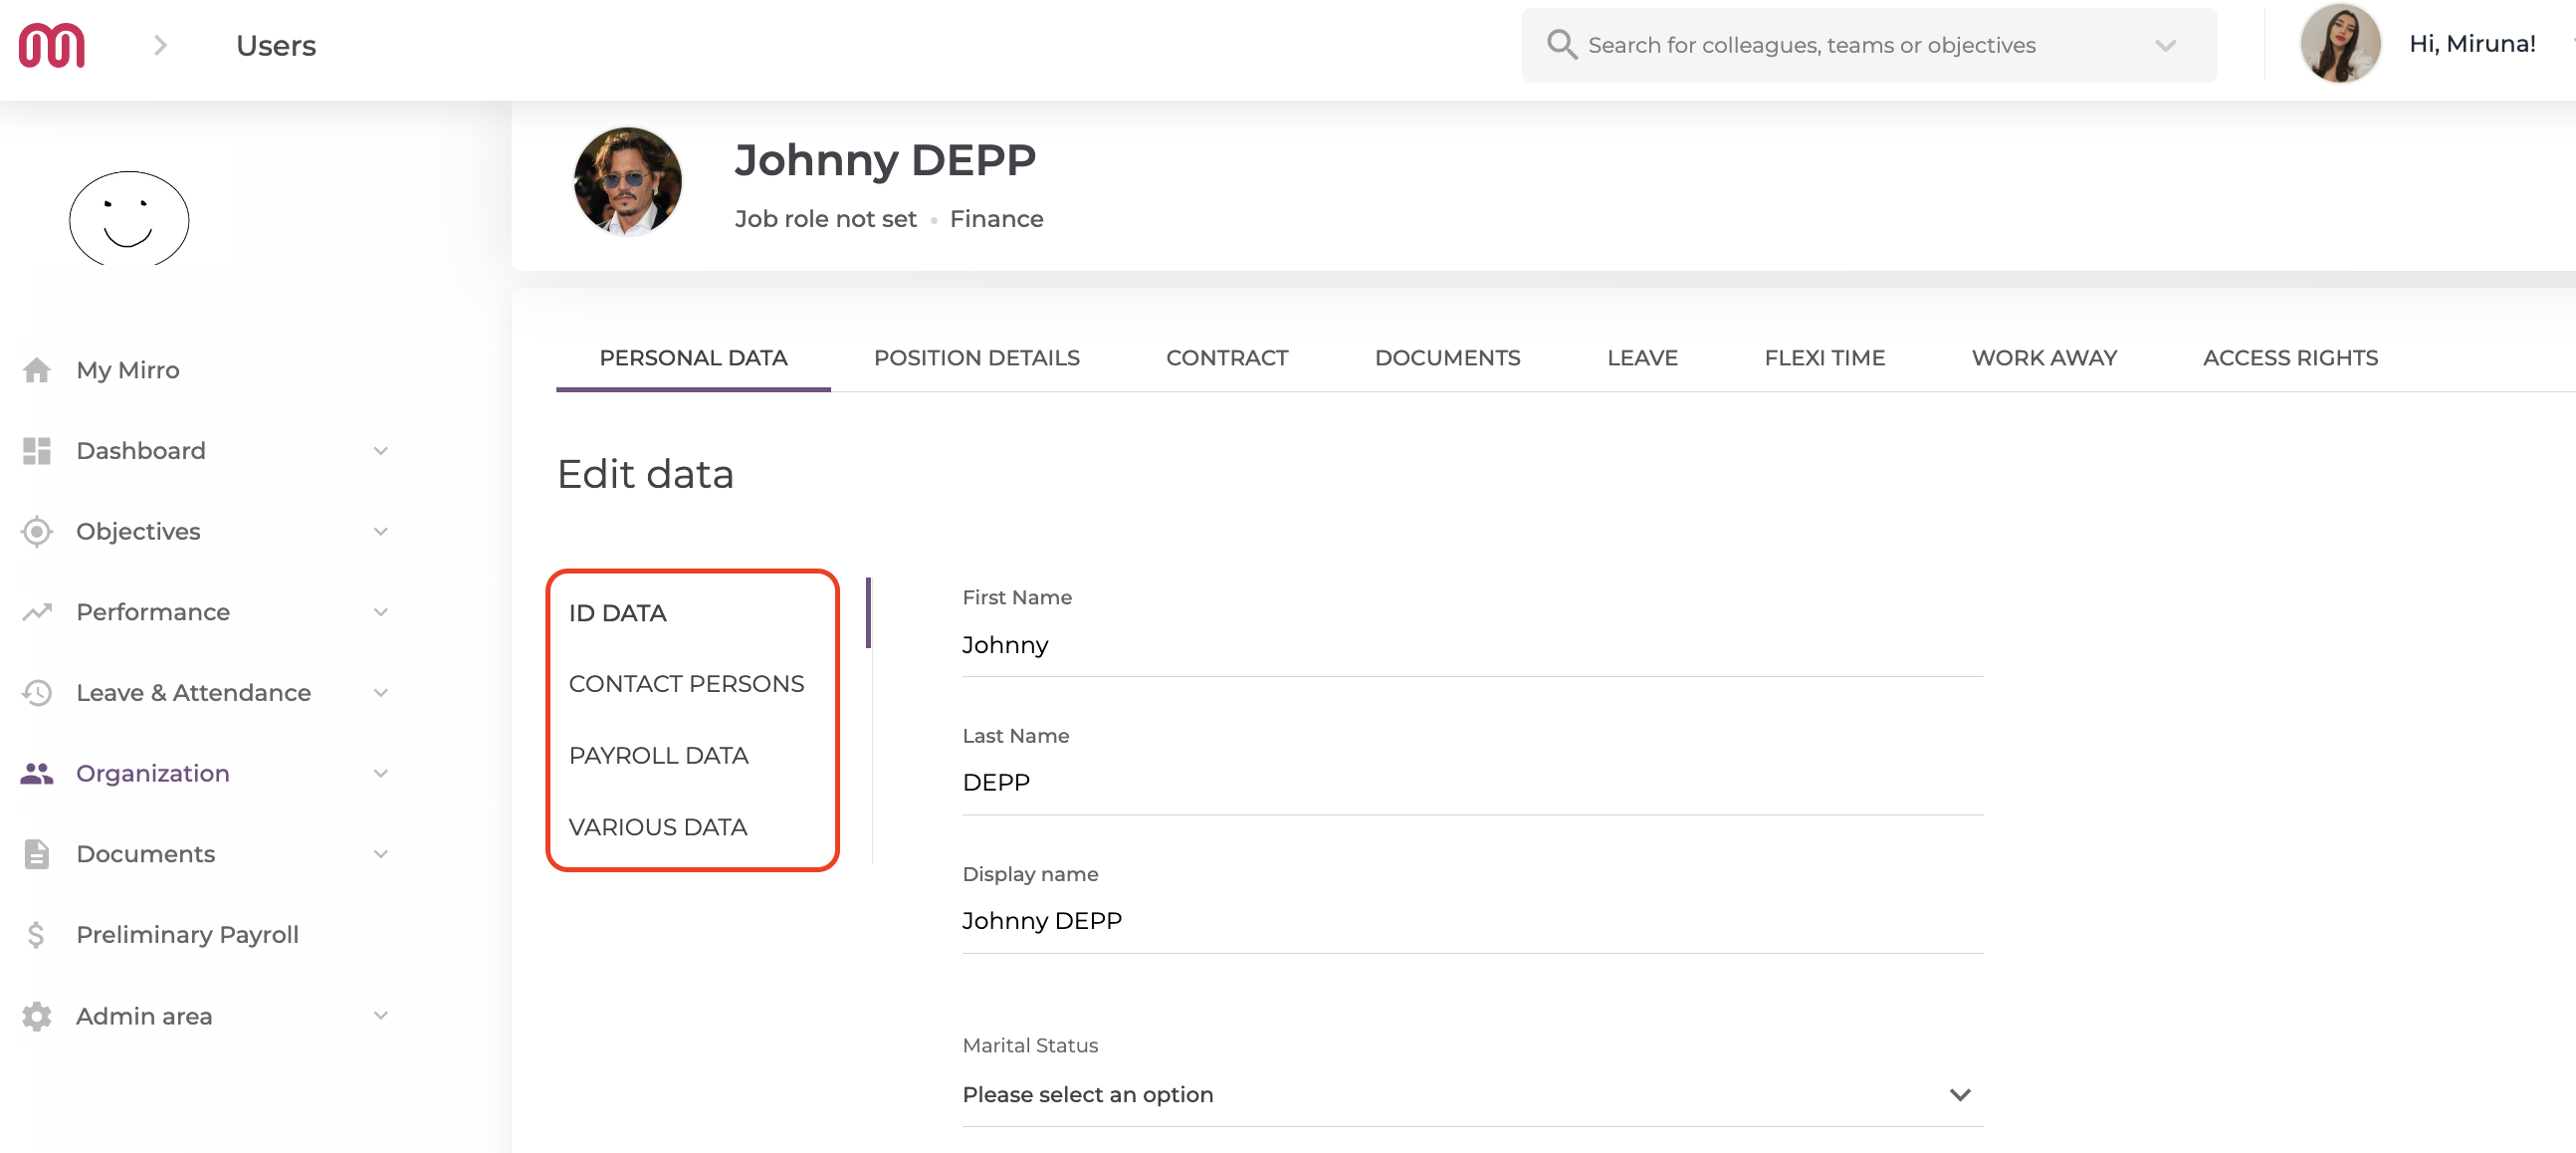
ID Data: There you will find the basic information, such as First and Last name, Display name, Marital Status (you will have to choose an option from a list offered by us), Personal Identification Number, etc;
Contact Persons: Here you can set up emergency contacts for each user;
Payroll Data: Here you will have to input the bank details, and to check a few boxes, saying if the employee's have any dependants, if they have a handicap or if they are tax free;
Various Data: This option is related to the custom fields which can be defined in Company Settings. You can read more about it here: How to set-up custom fields in Mirro
The option Position Details shows exactly what it says: information about the user's position, such as hire date (even though it is not mandatory, we find this really helpful when it comes to keeping the evidence of paid leave, and not only), last worked date (in case of a suspended or terminated contract), job role, department, time off approver and performance manager (it is not mandatory that the time off approver and the performance manager to be the same person), and the location.

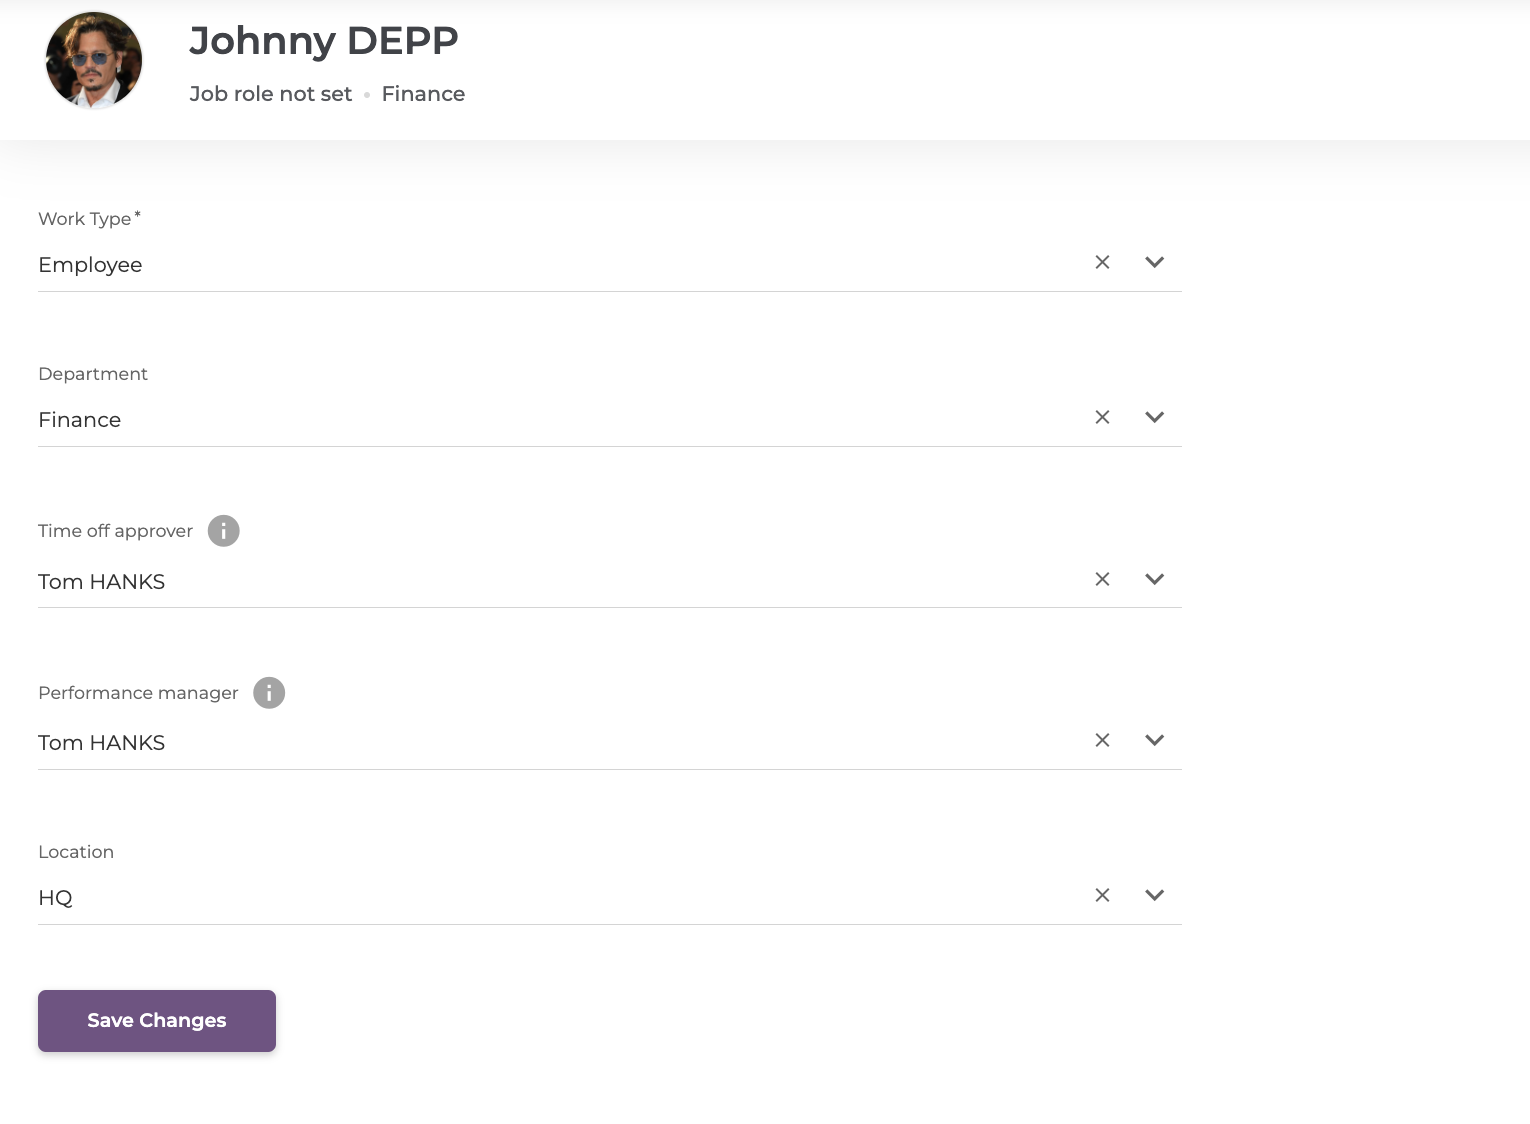
The fields with the asterix are mandatory (e.g: Work Type).
Contract is an option from where you can see every aspect of the user's contract, after you import it on Mirro. These details are visible to you, the person who is entitled to add this kind of information to a user's profile, and the employee in question.
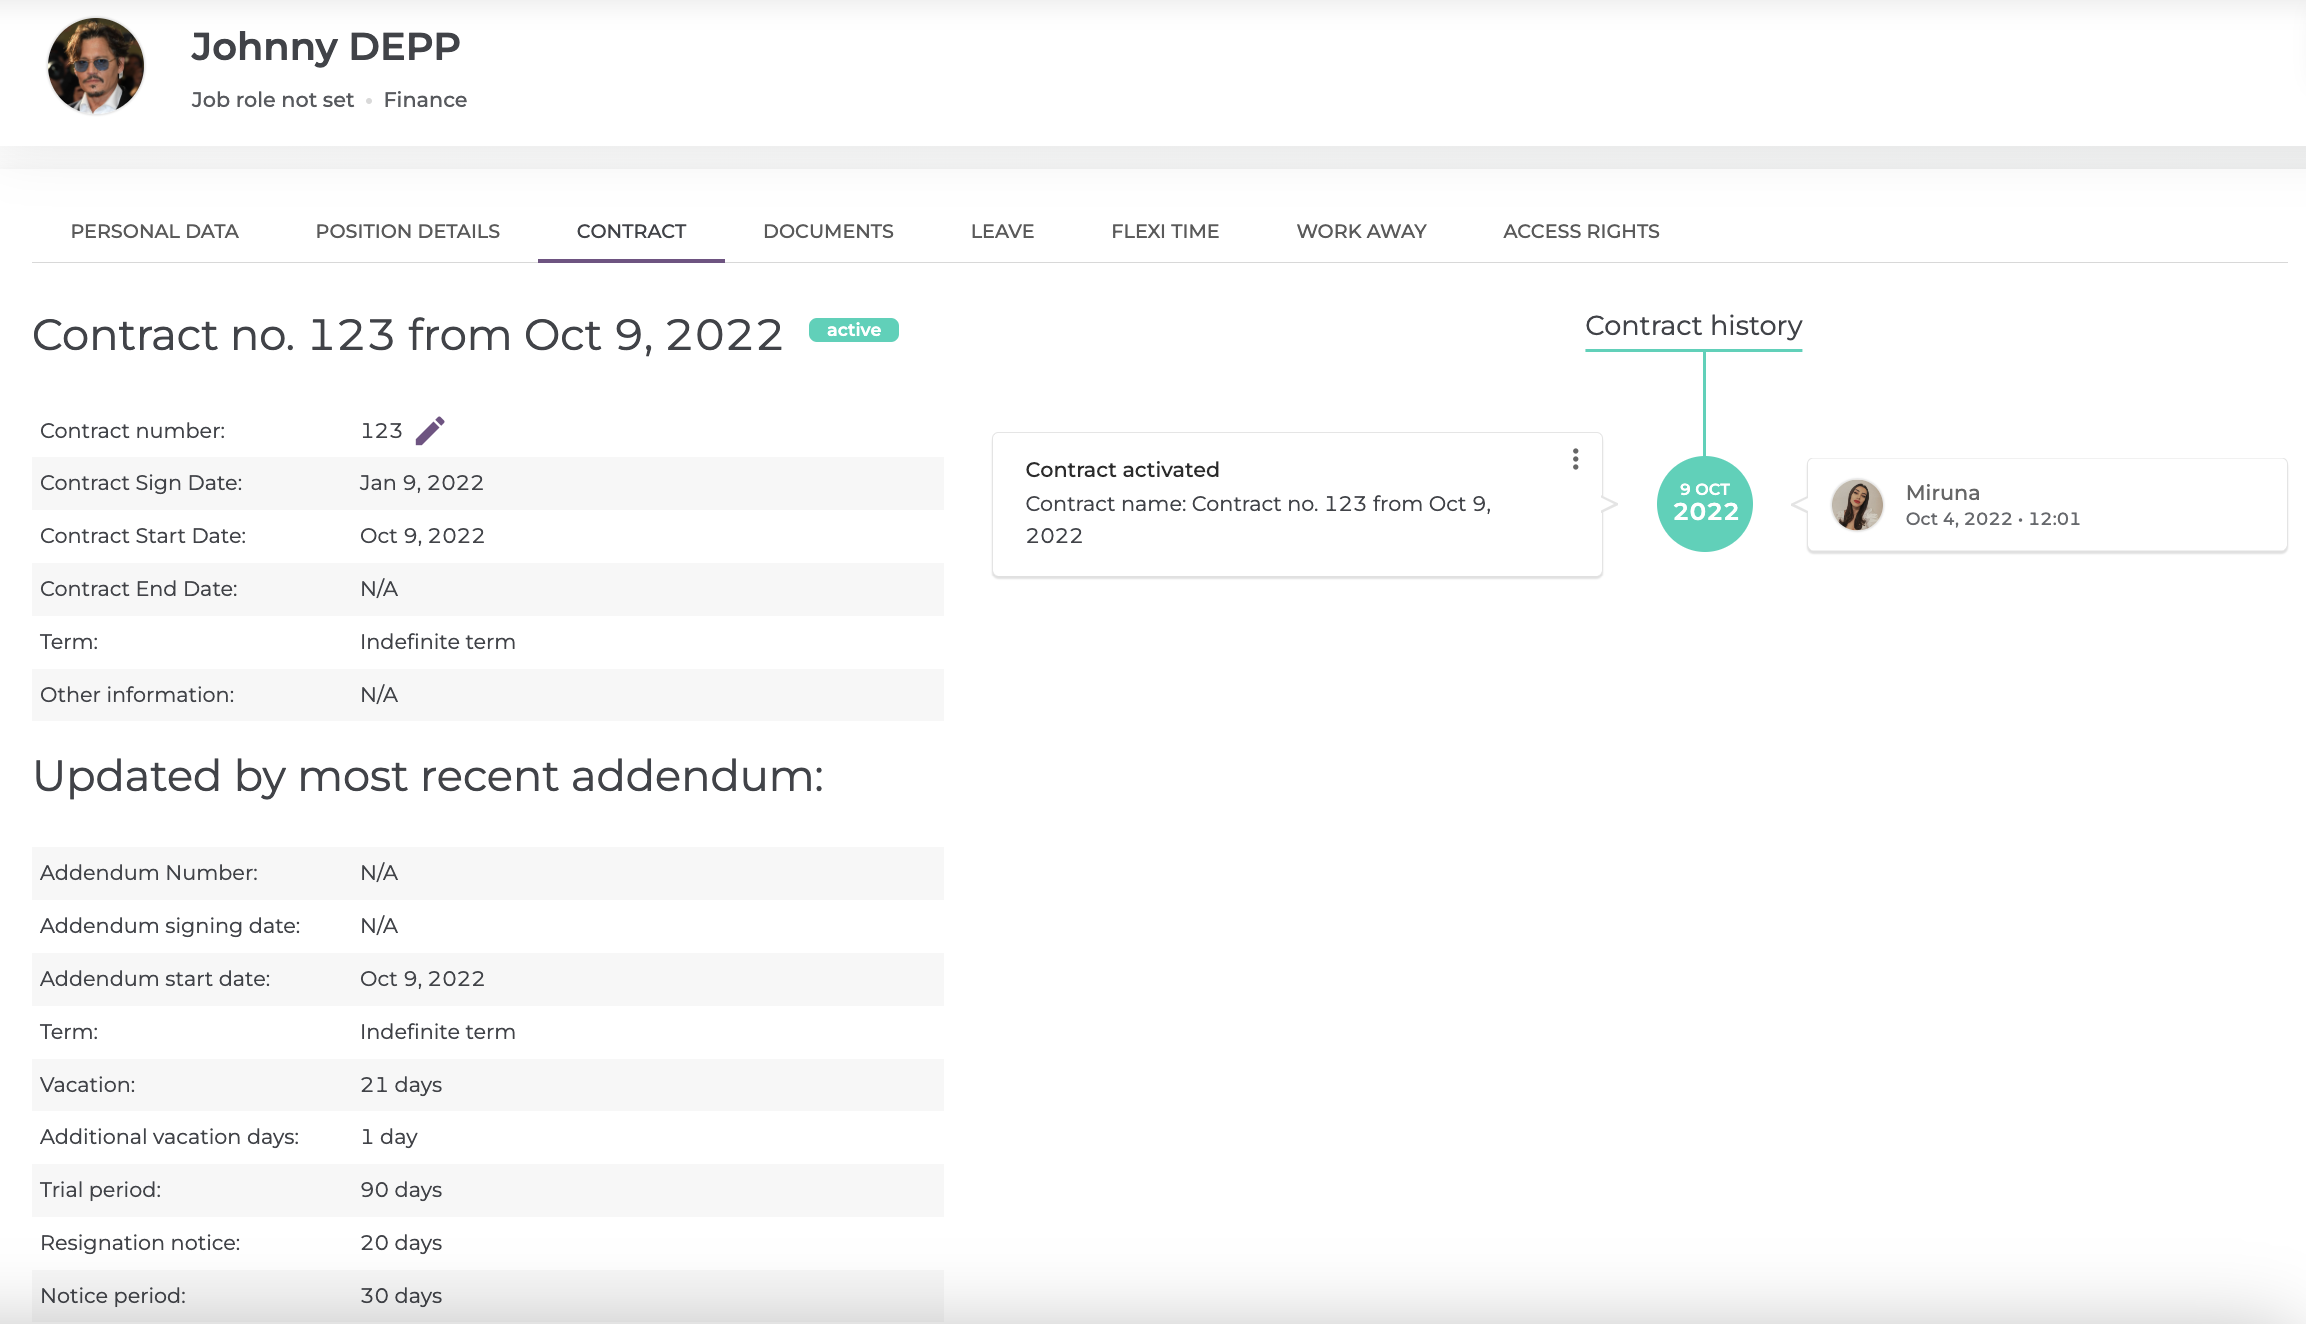
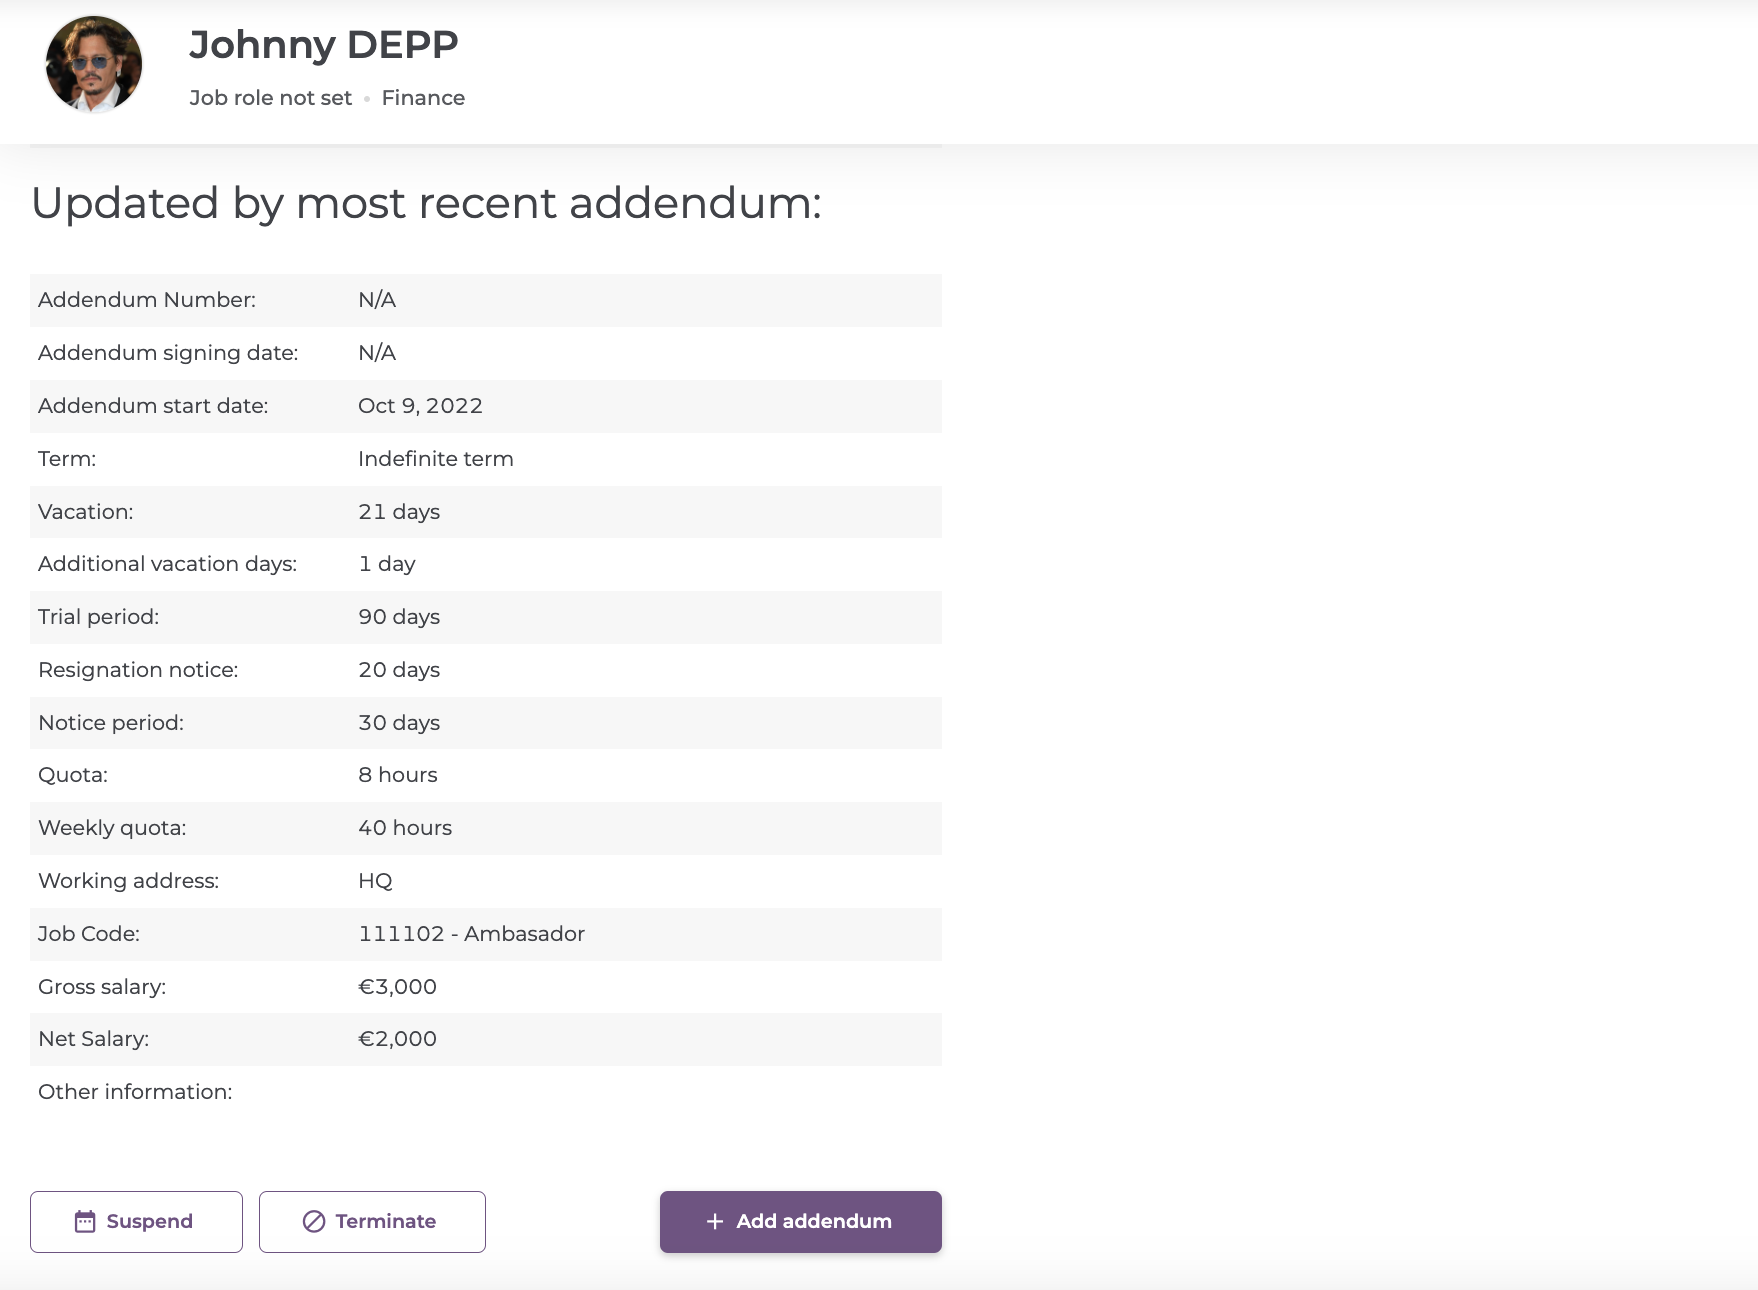
From here, you can Suspend the contract (e.g: in case of a sabbatical year), Terminate it or Add Addendum.
More information about the contracts here: How to activate a contract in Mirro?
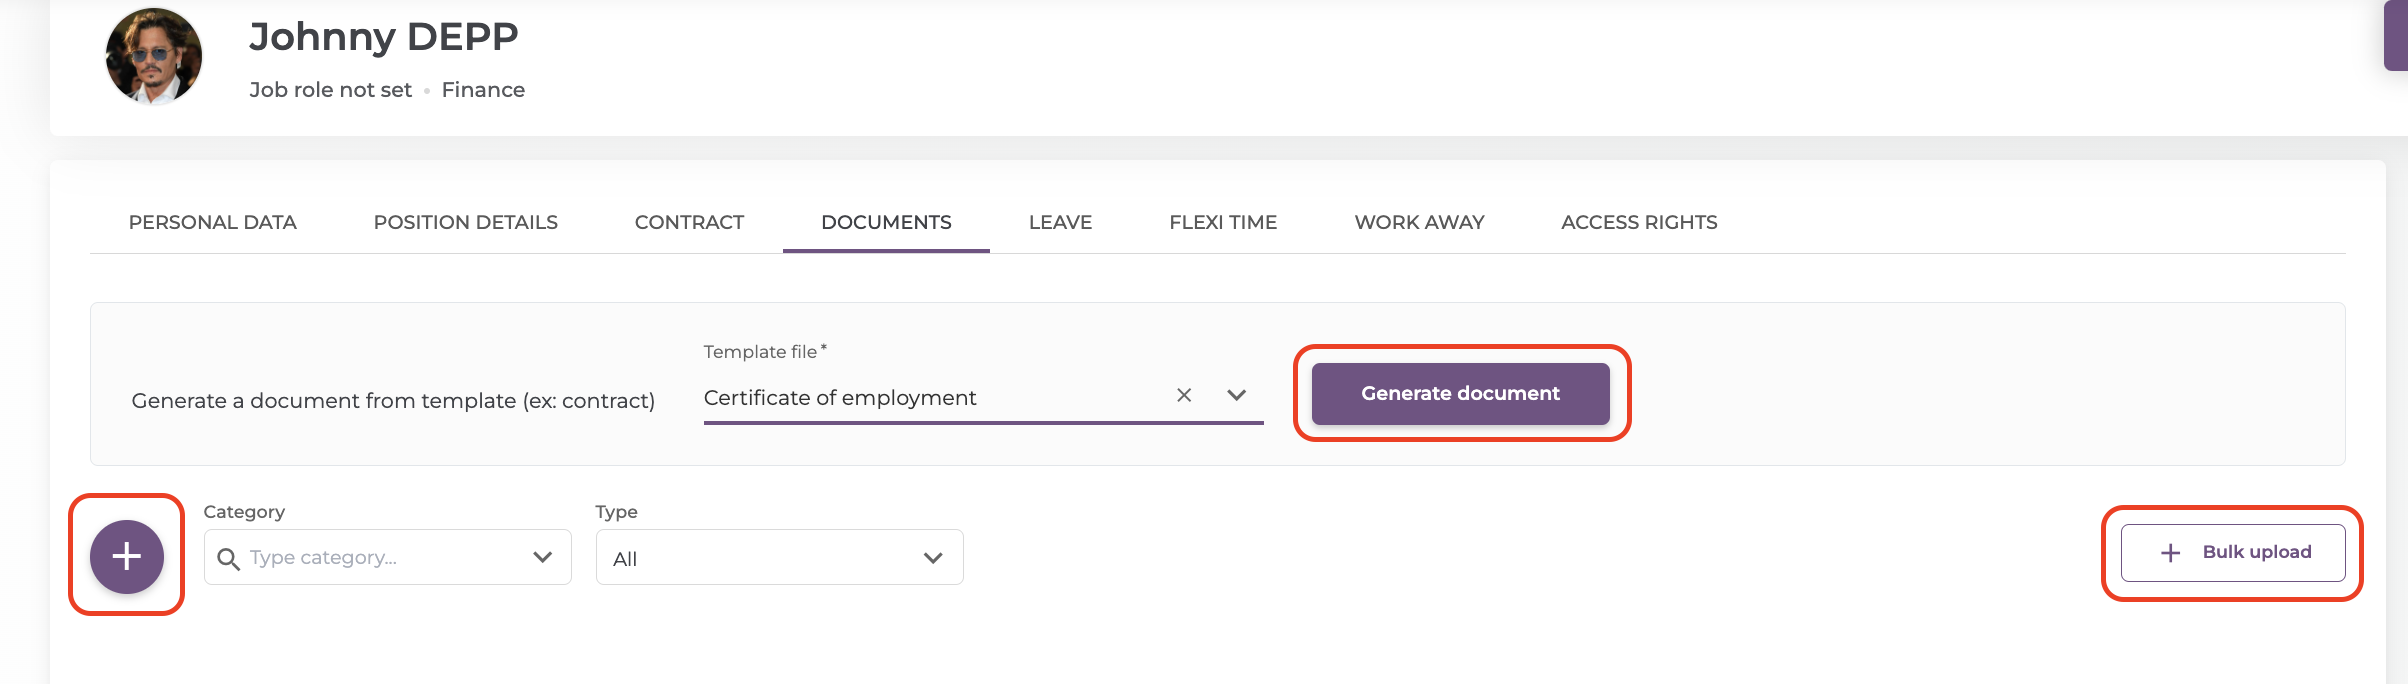
The option Documents it's really helpful, and it's best to use it for when you want to generate a document from template (e.g: contract), or to upload one or multiple documents at once, using the button Bulk upload.
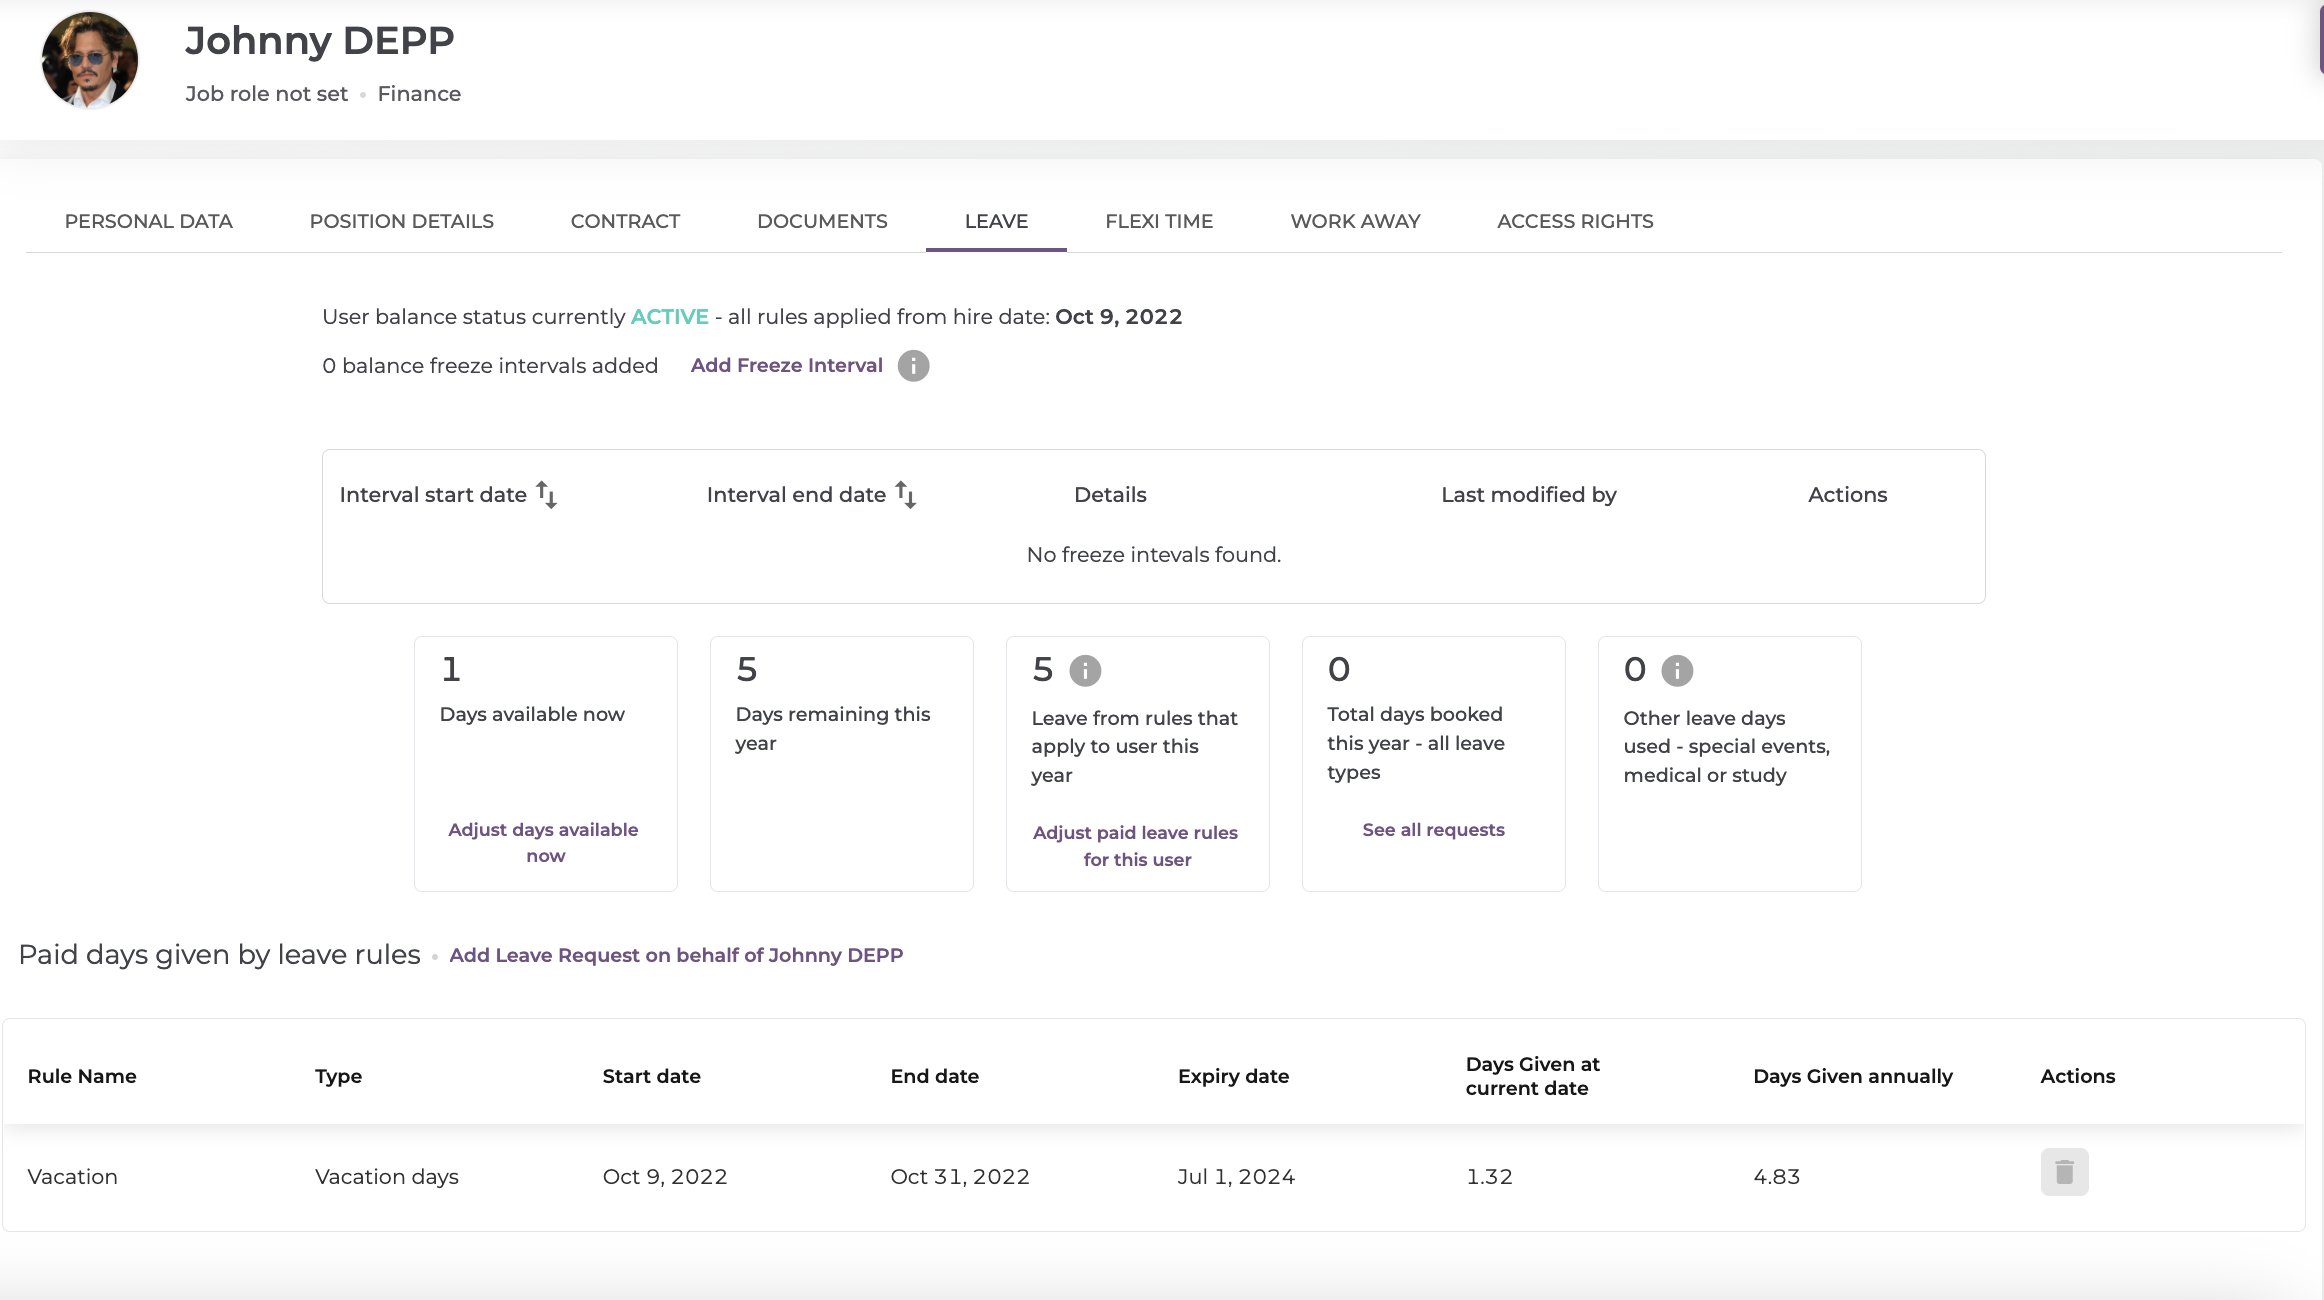
The column Leave helps you to keep evidence of the employee's available and used days of paid leave, as well as special events, medical or study leave. It also lets you add a leave request on behalf of the employee and add a freeze interval.
Flexi Time offers you the possibility to request some hours off or some recovered hours in advance, on behalf of that user. You can read more about this functionality here.
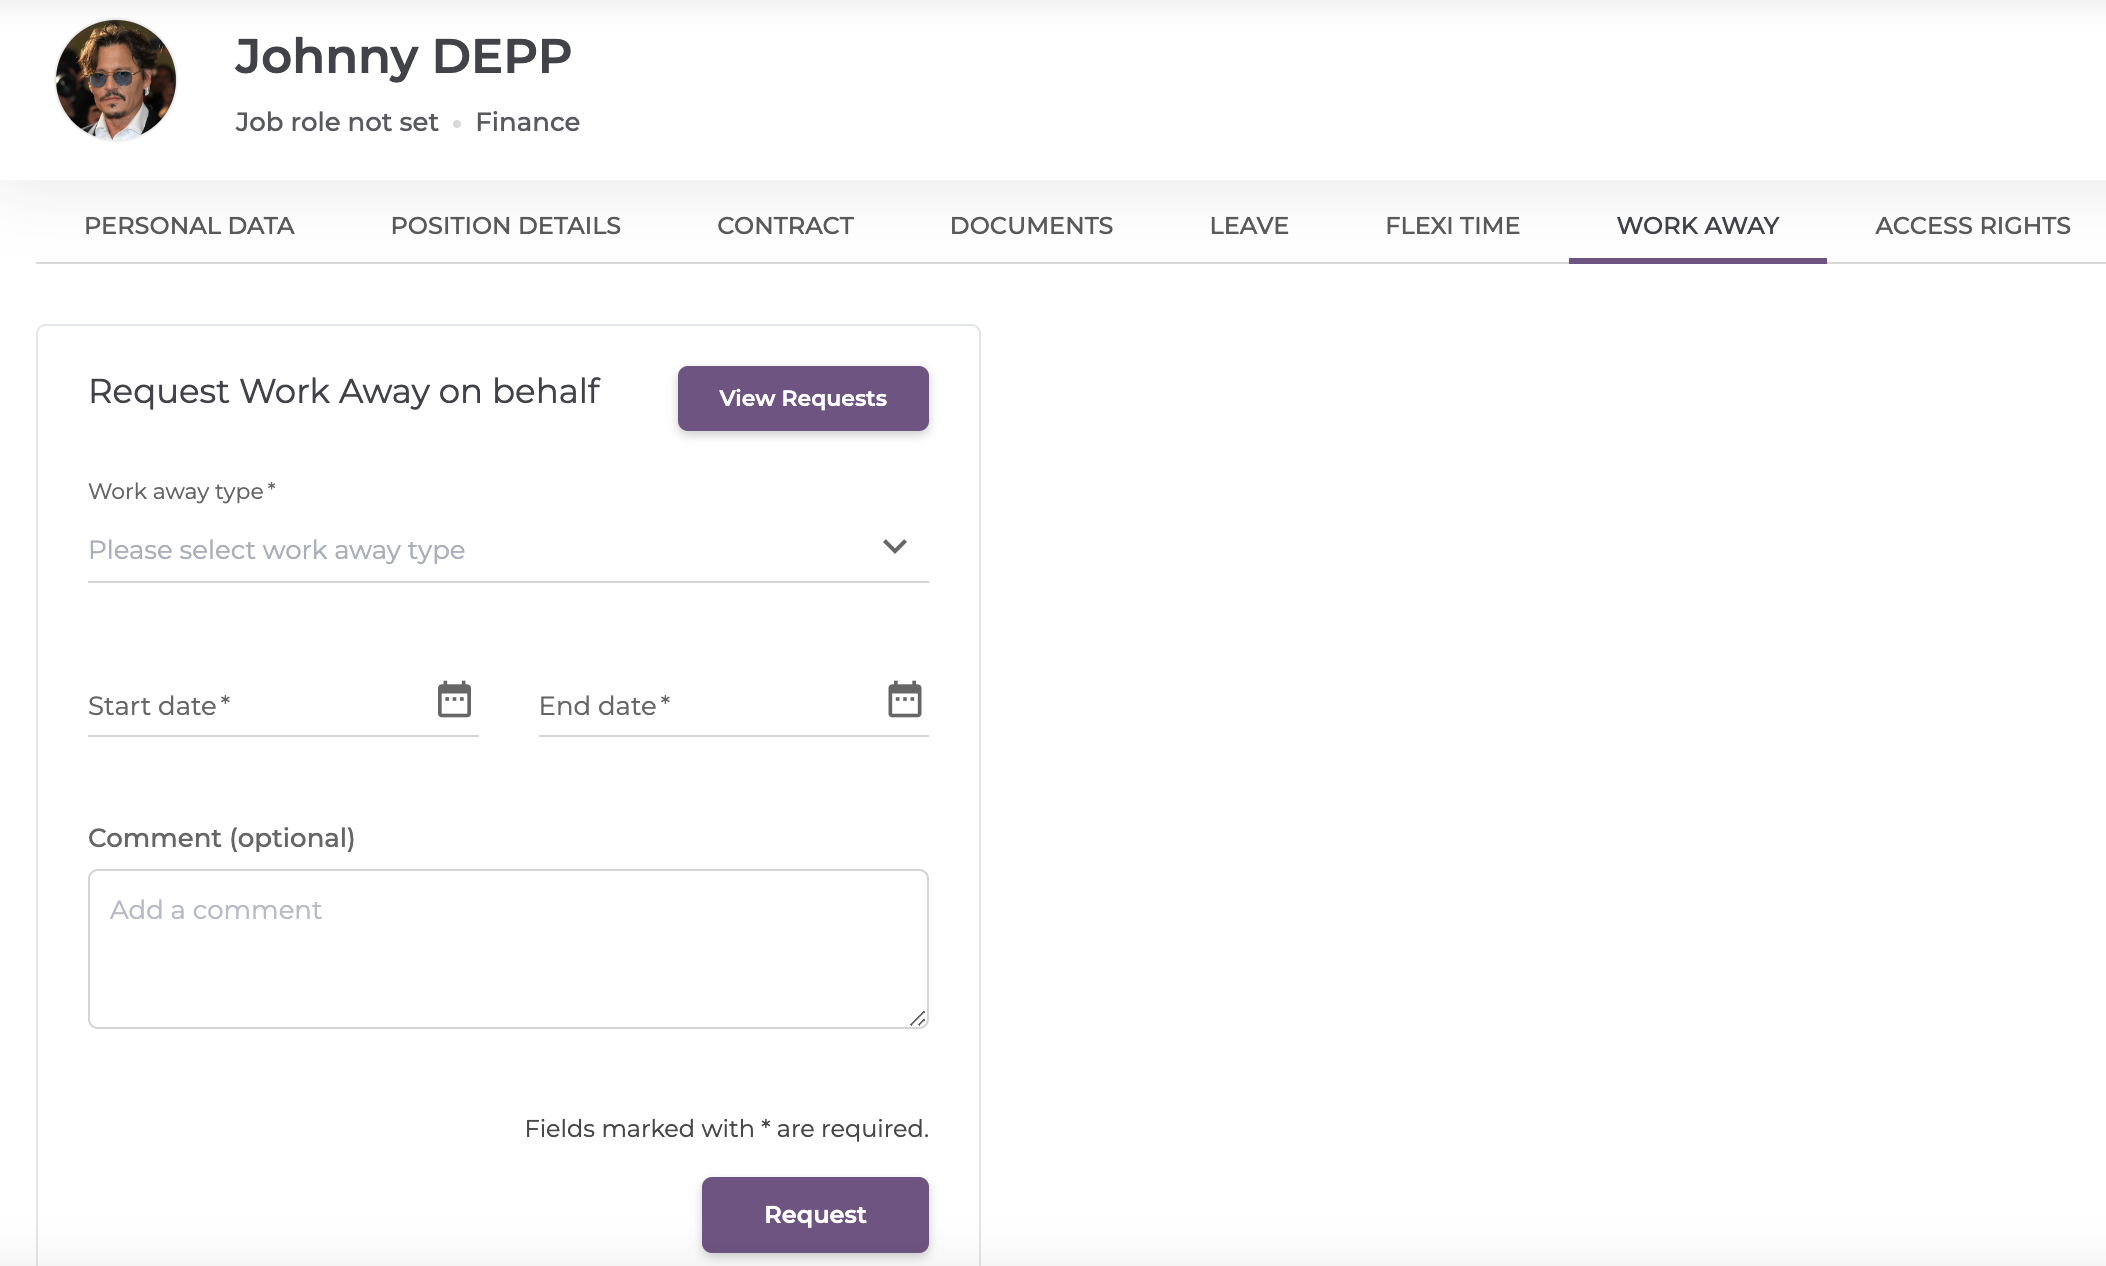
Work Away is ideal to use when you want to make a work away request on behalf of other user. It's really easy to use and it only has a few fields you have to complete with the employee's data.
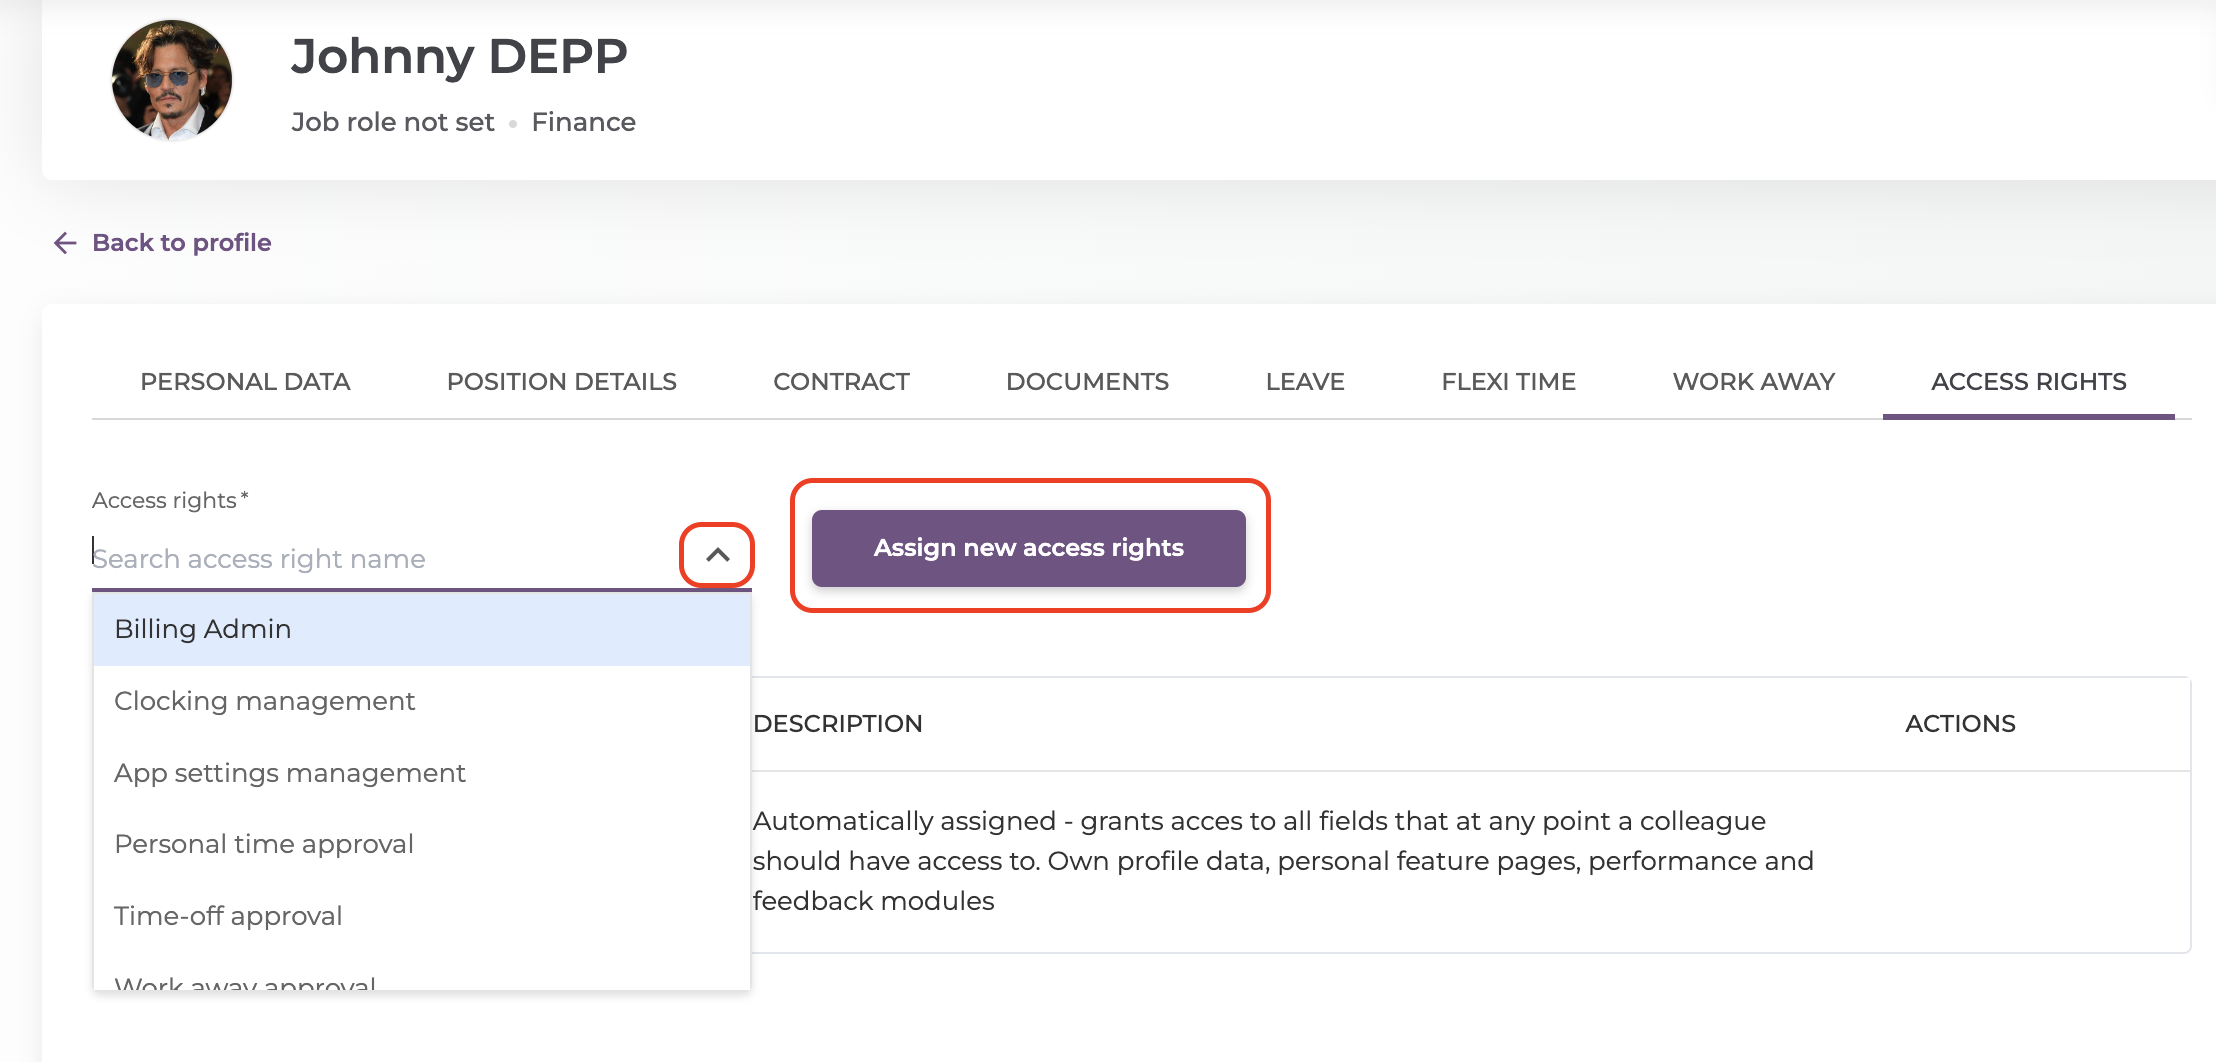
The column Access Rights allows you to see which type of access rights does the employee have, and you can even add more from a list offered by us.