![mirro_logo_pnk_slogan.png]](https://help.mirro.io/hs-fs/hubfs/mirro_logo_pnk_slogan.png?height=40&name=mirro_logo_pnk_slogan.png)
Mirro allows you to centralize and manage documents for every user — including contracts, annexes, and certifications — directly from each user's administrative profile. This article walks you through the required access rights and both the single-document and bulk upload methods.
To do that, first, you will have to make sure that you have the correct access rights, which are Organization specialist, App settings management, and Document requests management. You can check the article How to grant access rights to a user.
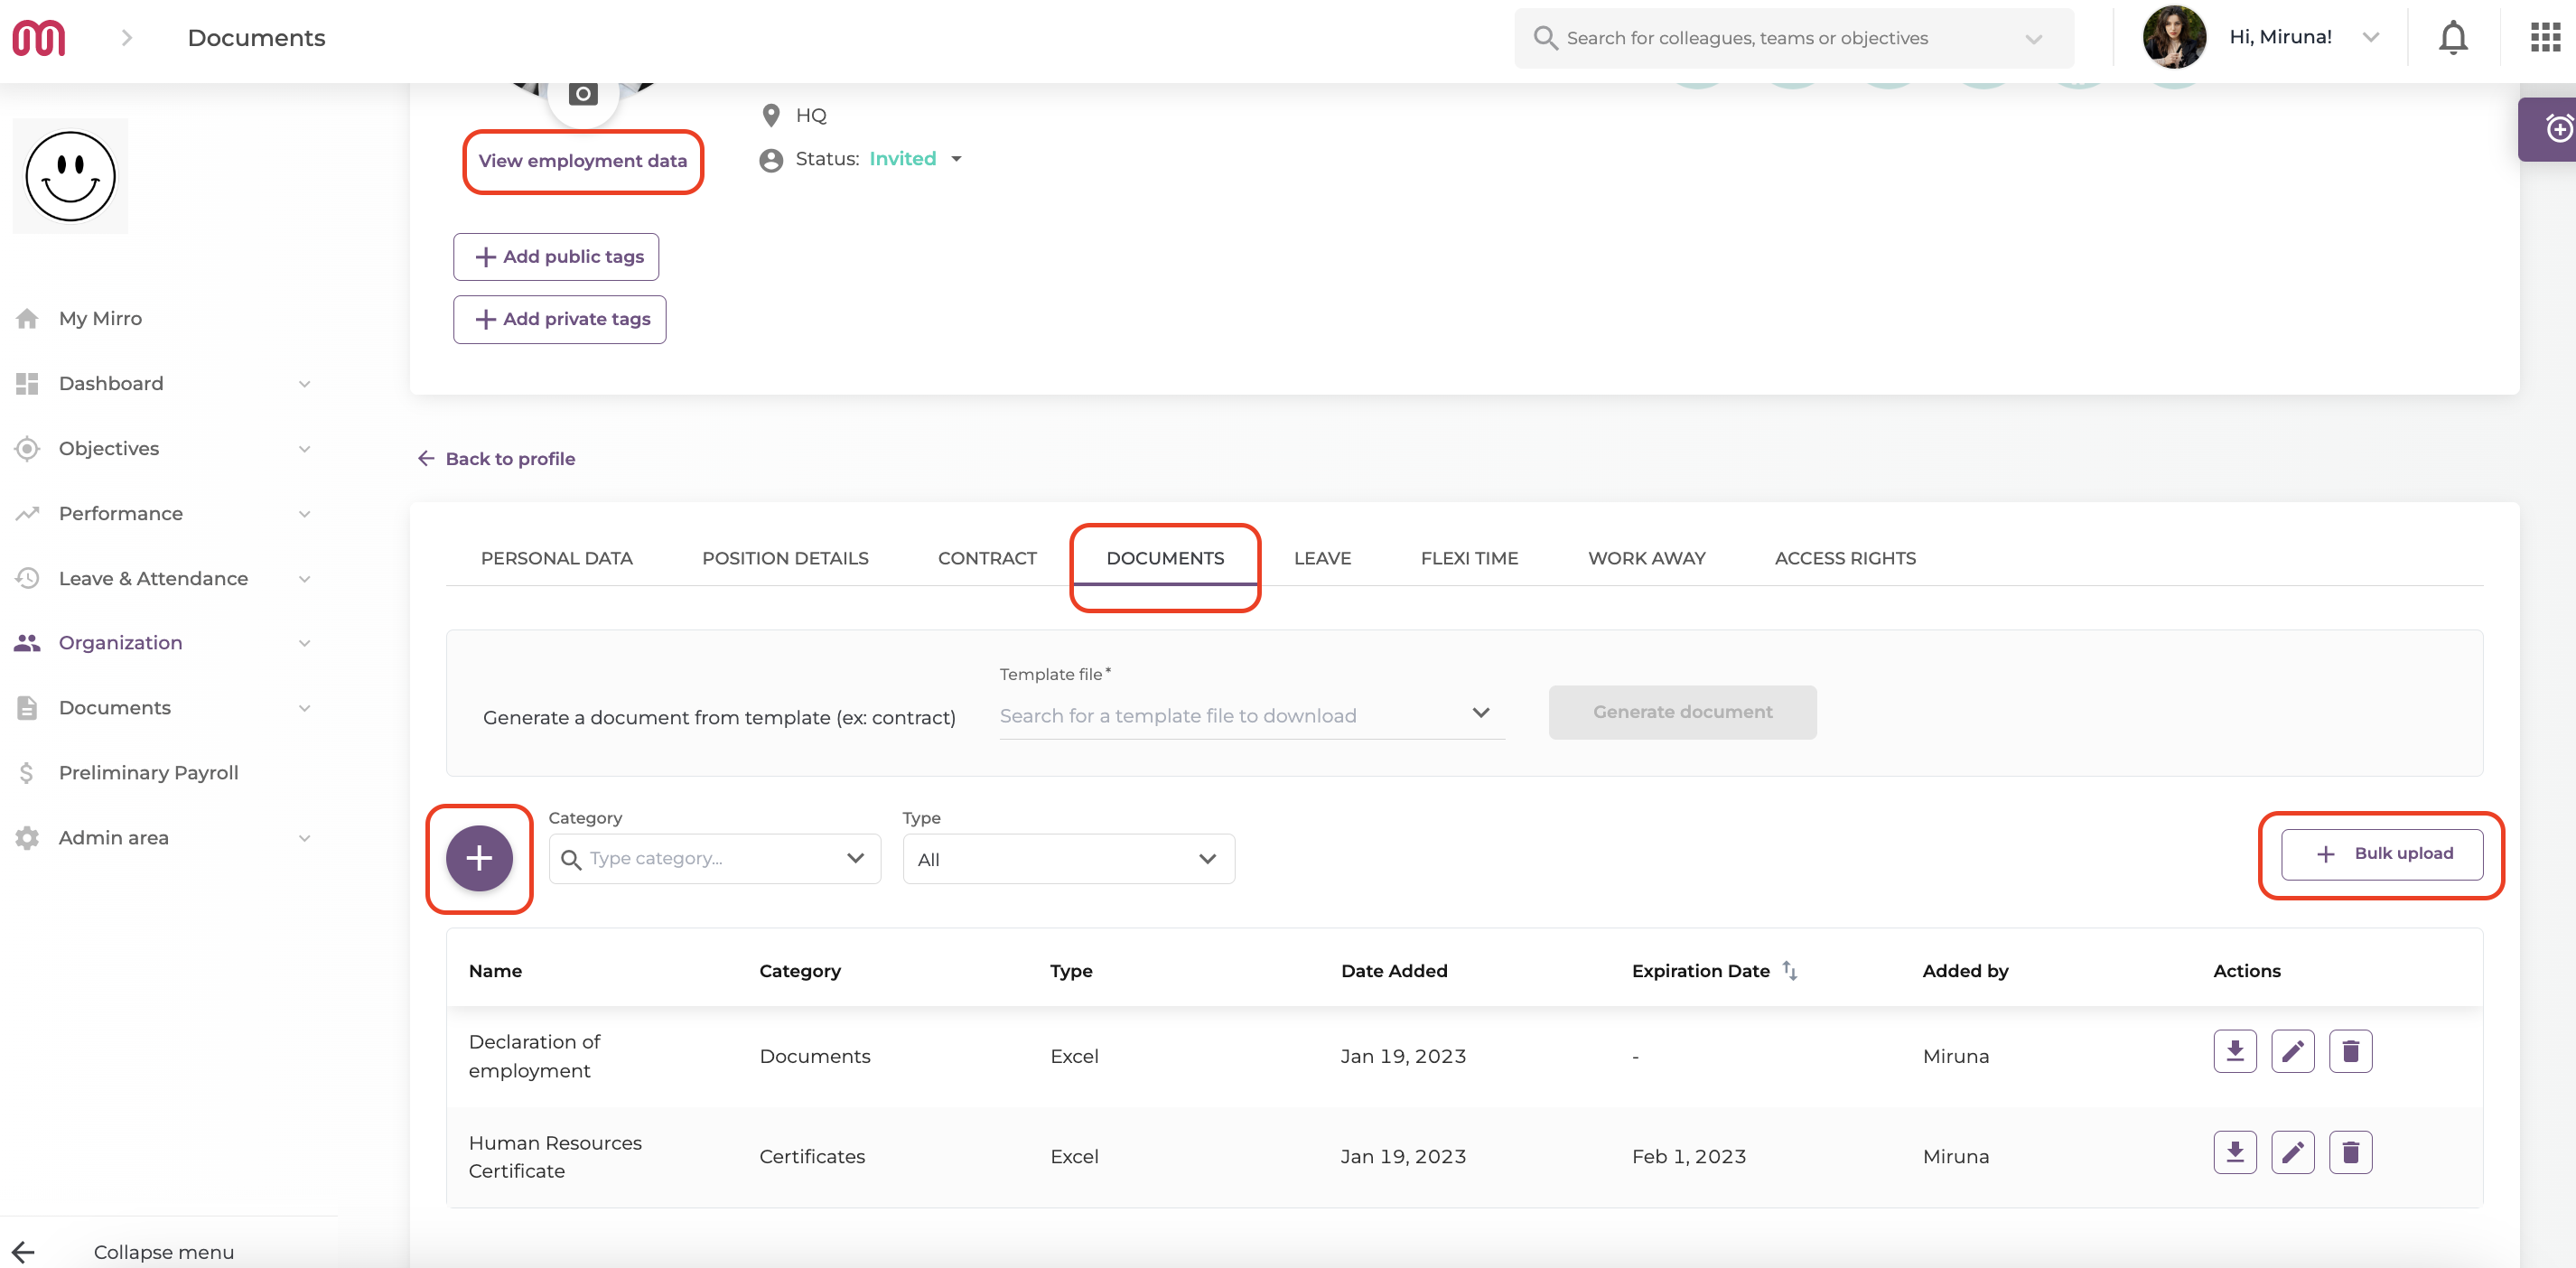
Next, you will have to go to the user's administrative profile - View employment data option - Documents tab.
How do you upload a document to a user's profile?
Any previously uploaded documents are listed on this tab. To upload documents, choose one of the following options:- Click Add a document to upload a single document.
- Click Bulk upload to upload multiple documents at once (check the platform for the current upload limit).
How do you add a single document manually?
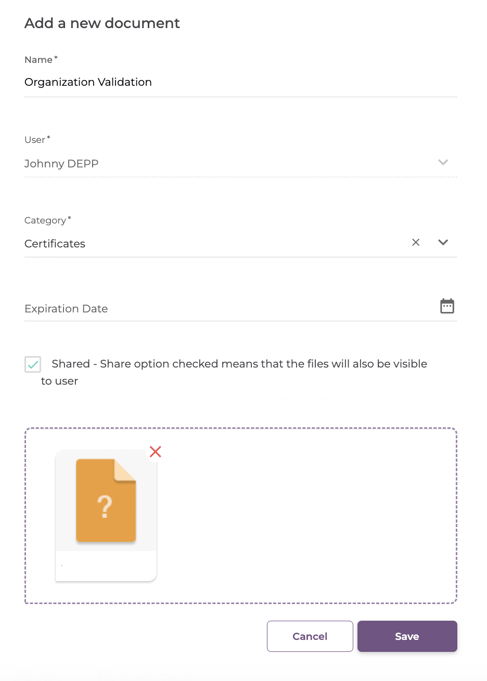
To add a single document manually:- Fill in the mandatory fields: Name, User, and Category.
- Optionally, set an Expiration date.
- Select the document's visibility: Private (visible to administrators only) or Public (visible to the user).
- Attach the document file and click Save.
How do you bulk upload documents?
To bulk upload documents:- Select the Category, User, and, if applicable, the Expiry date.
- Attach your files — documents are automatically named using the file names saved on your computer.
- After uploading, click Edit to update the document name, category, user, or expiration date. You can also delete or download any document from the same view.

To make things easier, you can generate a template, complete it and upload it once you have here all the information needed.
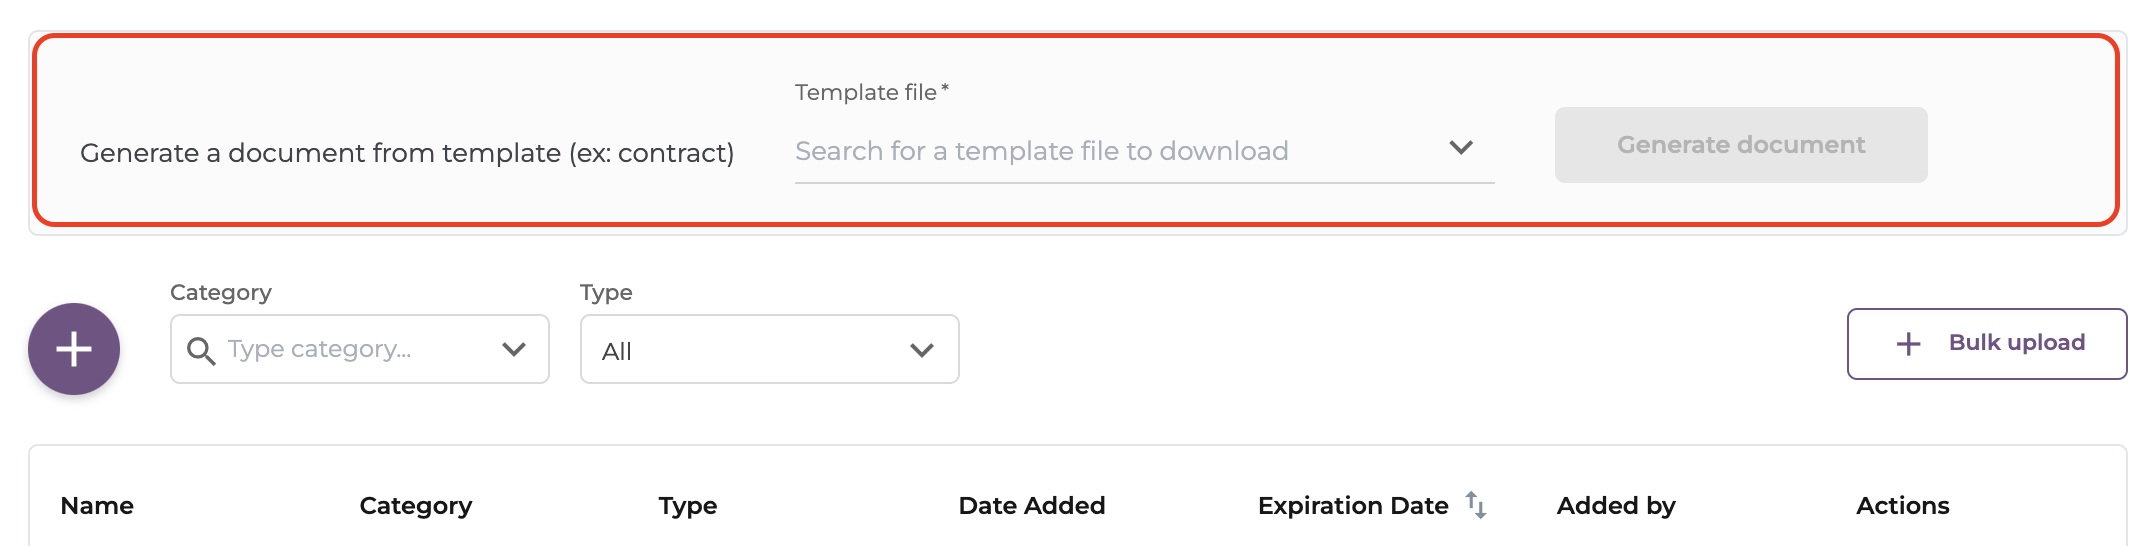
Read more about defining templates in the article How to set up document templates.
You can also search for a certain category or type of document, by using the filters meant to help you.

How do you view all documents uploaded across all users?
To view all documents uploaded across all users, navigate to the All documents section from the Documents module.Check the article How to manage all documents requests within your company.