We know how difficult may seem in the beginning to implement a new tool in your organization. With Mirro, we would like to make sure that the onboarding process is as smooth as possible!
Summary:
-> Define your company settings and values;
-> Add all users with their details in the platform;
-> Set up the organizational chart;
-> Invite everybody in Mirro.
This is the quick set-up module which will cover only the basics of the administrative part without including the performance set-up and detailed administrative tasks, such as contracts and documents management or time-off settings.
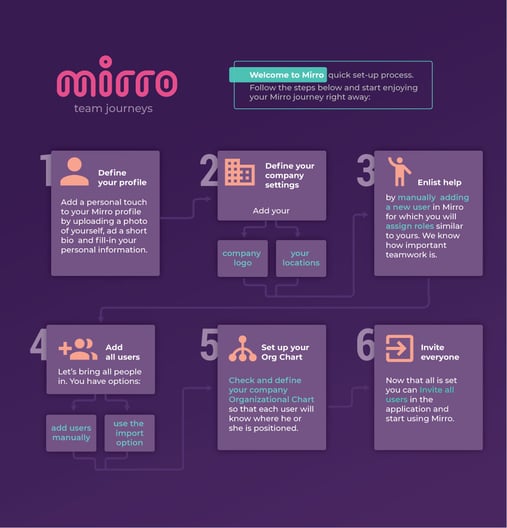
1. Define your personal profile- Add a personal touch to your Mirro profile by uploading a photo of yourself, adding a short bio to describe you and filling in your personal information. To do so, you will need to access your personal profile from the top right corner.
2. Define your company settings by adding your company logo, your locations and values in Mirro. Check out the KB article How to set up your general company settings and How to set up your own company values.
3. Add a helping hand by adding manually a new user in Mirro for which you will assign similar roles as yours in the application, because we know how important teamwork is.
4. Let’s bring all people in Mirro manually or use the import option. To do so, check the next articles: How to add manually an user in Mirro and How to import all users details in Mirro.
5. Check and define your company's Organizational Chart so that each user knows where is positioned within your company.
6. Invite all users to the application and start using Mirro. You can invite each user in part or you can use the bulk invite functionality, both options being available in the Organization module > Users management section.
Because sometimes is easier to remember what we see, we also created the scheme below which can be downloaded and used as a guideline.
Once all the details were covered, you can start to enjoy Mirro and configure the additional settings.

